Hot dog bouquet
By VicentaLakin

Recipe Recommendations
- high-gluten flour 213g
- low-gluten flour 53g
- Rapid dry yeast 4g
- salt 4g
- sugar 40g
- milk powder 11g
- whole egg liquid 27g
- warm water
- butter 27g
- boiling water 23g
- salty and sweet
- roast
- several hours
- ordinary
Steps for Hot dog bouquet
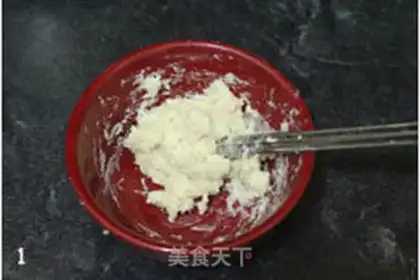
1
pumping 23 g of water into 20 g of high-strength powder, mixing it evenly with chopsticks. as illustrated. put it in the freezer for the night。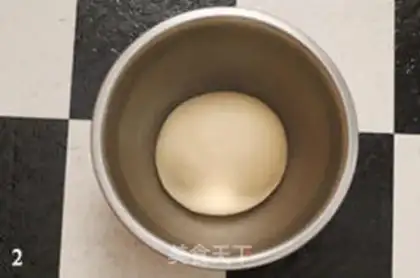
2
The post-oil process brings the noodle to the extension stage, places it in the basin, covers it with a film, and provides basic fermentation for about an hour。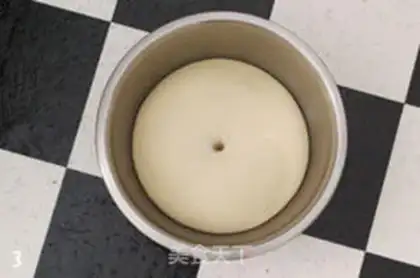
3
The dough is twice as big, the fingers are powdered, the hole is pierced in the middle, it does not shrink and the base fermentation ends。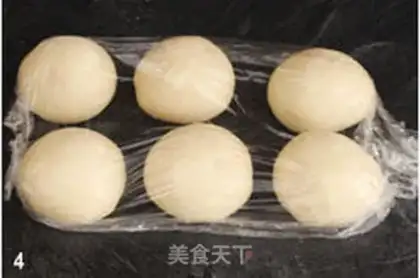
4
flow the noodles, roll round, split into six 75g. roll round, cover the film, relax for 15 minutes。
5
Get the sausages off the back。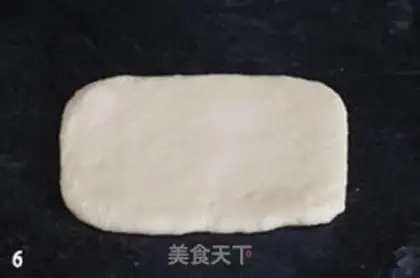
6
Flows loosely, rolls, rolls into ellipses, pulls four horns into rectangles。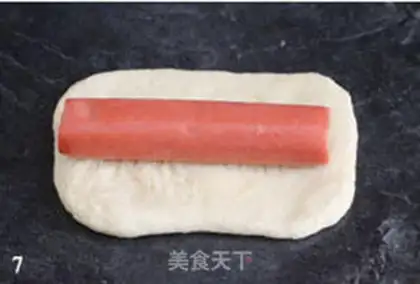
7
Put the hot dog on。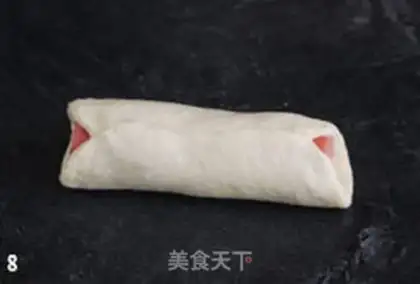
8
The interface is tight。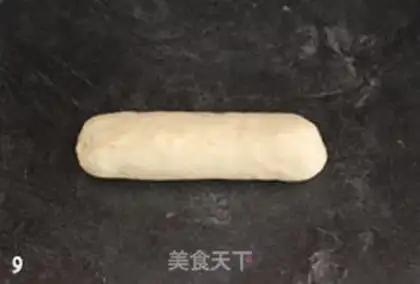
9
Hold on tight。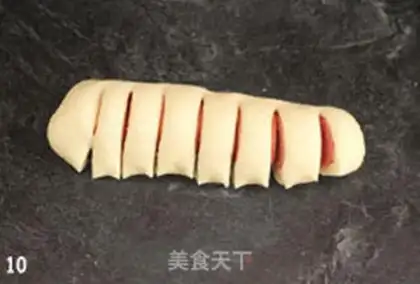
10
Seven cuts, eight。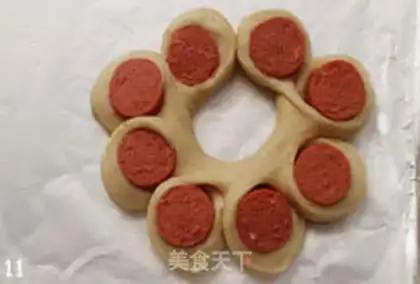
11
Shapes in the grill。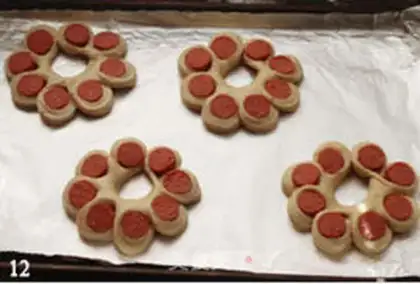
12
Twist all the flowers。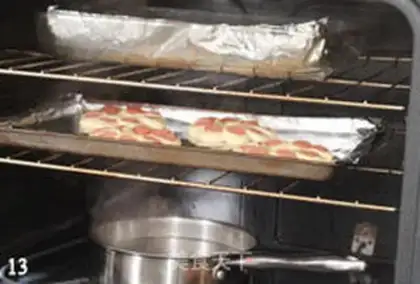
13
Put it in the oven and have a second fermentation for about 40 minutes。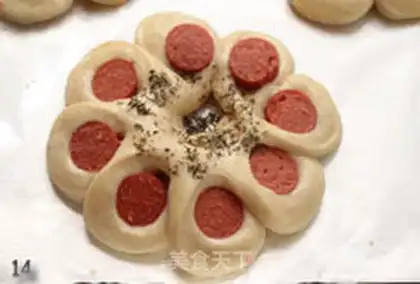
14
After the end of the second round, the grill is removed, the bread surface is brushed with egg fluid and dry roller is spilled in the middle。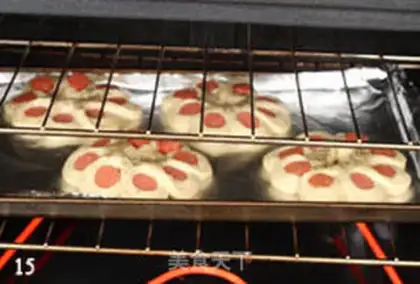
15
THE OVEN PREHEATING 325 F (163 C), UPPER MIDDLE, 15 MINUTES。Hot dog bouquet Make Tips
1. Please adjust the amount of water according to different seasons and brands of flour.
2. The hot dogs used here are regular ones from American supermarkets, with a length equivalent to domestic grilled sausages.
3. Pinch the seams and ends tightly; you can roll them on the counter a few times to make them stick together more firmly.
4. When dividing in Step 10, place the seams facing up; this way the seam of the twisted flower pattern will be in the middle, making the petals look better.
5. When twisting the petals, I like to stretch them out a bit and place them flat on the baking sheet. This makes the petals look more distinct. You can also twist them according to your own method.
6. Please adjust the baking temperature and time based on your own oven's characteristics.