Homemade yogurt
By VicentaLakin
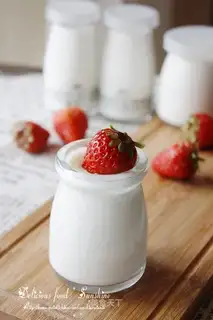
The only way to buy a bakery is to wipe its face, and although some other functions are seen, they remain invisible. The yogurt, which is popular, is not only delicious but, more importantly, very nutritious and healthy. Old yogurt in the traditional sense, called condensed yogurt, presents a solid state. As consumer appetites become increasingly high, people add a little more gel or denser than normal yogurt, making it “old yogurt”. In the strictest sense, the “old yogurt” product on the market should be called “the yogurt freeze”. In April 2012, concerns were raised about the addition of industrial gels from old sour yogurt with broken shoes. It's taken from encyclopedia, and since it's not safe to buy it outside, do it yourself, it's easy, and it doesn't taste like it outside。
Recipe Recommendations
- milk 1000ml
- Old yogurt yogurt starter 1 small package
- milk fragrance
- skills
- several hours
- simple
Steps for Homemade yogurt
1
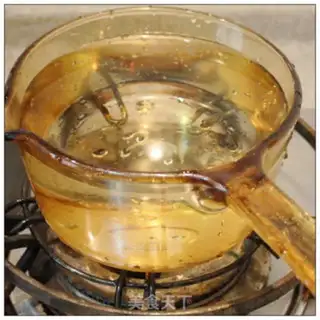
A pot of milk first boiled with boiling water for a few minutes。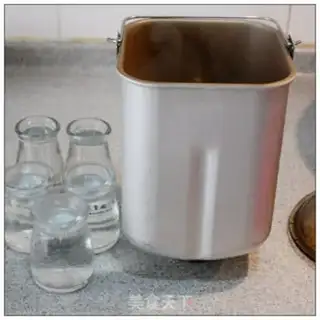
2
Bread drums and containers requiring yogurt were also boiled with boiling water and dry water filtered。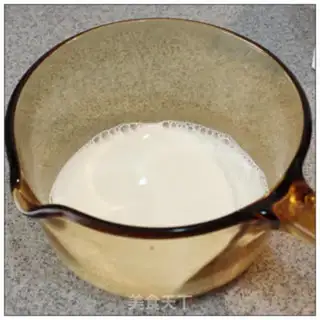
3
Just pour some milk in the pot。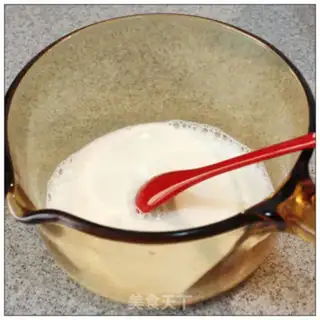
4
Pour a small pack of yoghurt fermentants and mix them evenly。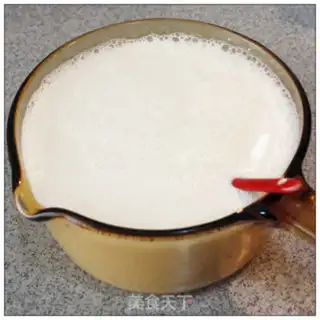
5
And then you pour the rest of the milk and mix it evenly。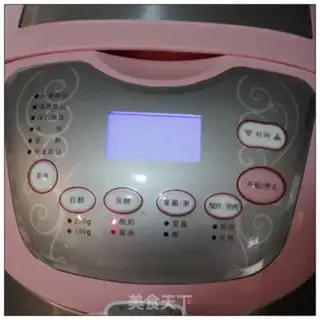
6
Put the mixed milk in the breadbox drum, select yoghurt fermentation, and press the start。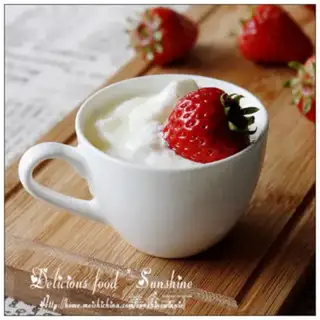
7
My bakery is for six hours, I'm doing it on the weekend, I'm out in the afternoon, I'm going home to open the lid, the yogurt's ready, tasted, sour, and some honey。Homemade yogurt Make Tips
Ingredients: Milk 1000ml, Yogurt Starter 1 small pack (1g)
1. There are many ways to make homemade yogurt; you can buy a yogurt maker directly, or use a bread machine with a yogurt function. If you have no machines at home, you can even use a rice cooker, etc. Simply put, you just need a temperature suitable for yogurt fermentation. If it's winter, you can make yogurt just by placing it on a radiator.
2. Scalding the container with boiling water before making it is for sterilization and disinfection; this makes it easier to succeed in making the yogurt and easier to preserve once done.
3. If you don't need to take photos, you can pour the milk directly into the bread machine bucket. To take better photos, I poured it into a pot first.
4. The finished yogurt can be eaten directly; if you find it too sour, you can add some sugar, honey, or fruit according to your preference, which are all great.
5. Yogurt starter can be purchased at supermarkets; if the supermarket doesn't have it, look for the all-powerful Taobao.