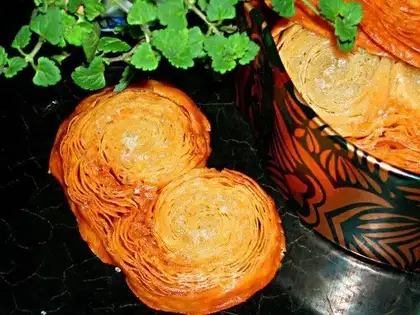
On Saturday, he boasted to his colleagues that he would bring Hu Die Crispy to everyone on Monday!
Originally, the heat of my oven has passed, but a sister from my colleague next door has been making oven-type food these days, which has aroused my enthusiasm again. The two of us often bring our own baked things to taste each other and give them to our colleagues. Eat, I only had a little free on Sundays, so I made butterfly cakes again yesterday afternoon. The slices were a little thin and crispy, which was much more expensive than the ones I bought.
It costs me almost thirty to make this butterfly cake! A large piece of butter is more than twenty years old ~!
But rest assured, it's not vegetable butter!
butterfly crisp
By LisaBraun
Recipe Recommendations
- sweetening
- baking
- several hours
- ordinary
Steps for butterfly crisp
1
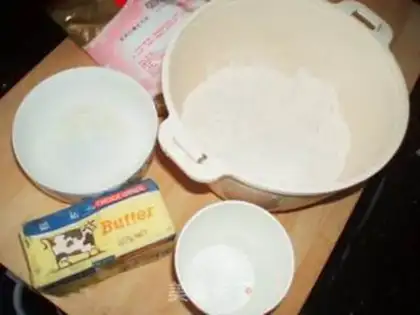
Ingredients: 220 g low-gluten flour, 30 g high-gluten flour, 40 g butter, 5 g fine granulated sugar, 1.5 g salt, 125 g water, 180 g butter (wrapped in)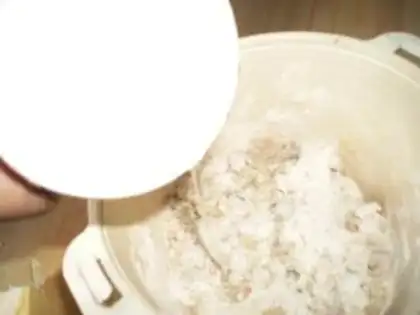
2
Mix the flour with sugar and salt, place 40 grams of butter at room temperature to soften it, and add to the flour. Pour in water and knead into dough. Don't pour all the water in one go, but add it as appropriate according to the hardness of the dough.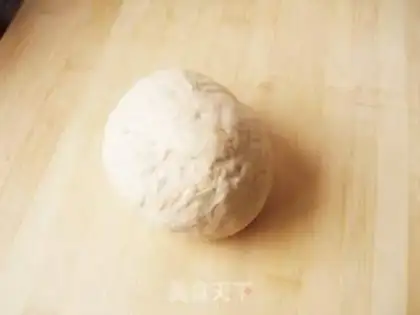
3
Knead into a smooth dough. Wrap in plastic wrap and place in the refrigerator to chill and relax for 20 minutes. I don't rub it very smoothly, so it will be easier to rub it after 20 minutes of waking up.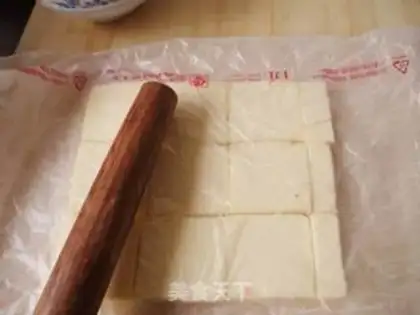
4
Cut 180 grams of wrapped butter into small pieces, place them in a crisper bag and line them up. Use a rolling pin to press the butter into a large, uniform thin sheet. At this time, the butter will soften slightly and place it in the refrigerator until hardened again.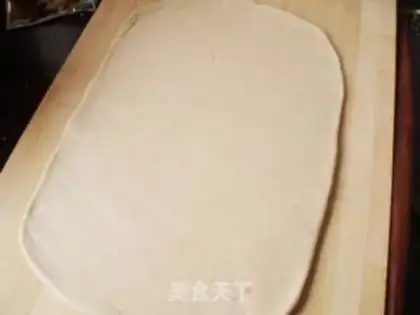
5
Take out the relaxed dough, apply a thin layer of anti-stick powder on the table, place the dough on the chopping board, and roll it into a rectangle, about three times the width of the butter slices and slightly wider than the length of the butter slices.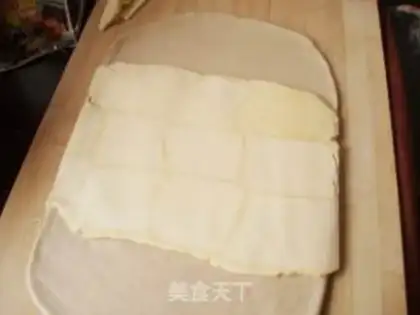
6
Remove the butter slices that have been hardened in cold storage and tear off the preservation bag. Place the butter flakes in the center of the rectangle. Turn one end of the dough sheet toward the center and cover it on the butter slices. Put the other end of the dough sheet over too. This wraps the butter slices in the dough sheet.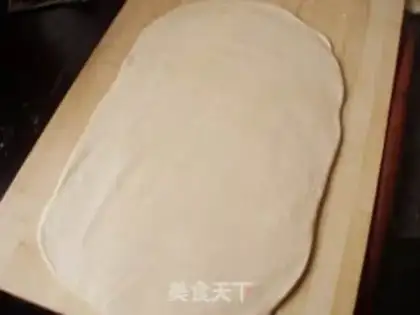
7
Squeeze one end of the dough sheet to death, move your hand along one end of the dough sheet, close to the dough sheet to the other end, and drive out the air bubbles in the dough sheet from the other end to avoid wrapping the air bubbles in the dough sheet. When you move your hand to the other end, crush the other end to death. Rotate the dough 90 degrees. Roll it into a rectangle again with a rolling pin. When rolling, roll from the center to the four corners, which is easy to roll into a regular rectangle. The rolled rectangle is as shown in the picture. Fold one end of the dough towards the center. Fold the other end of the dough toward the center. Then fold the folded dough in half. This completed the 40% discount in the first round. Wrap the four-folded dough sheet, wrap it with plastic wrap, and place it in the refrigerator to chill and relax for about 20 minutes. Take out the relaxed dough sheet, repeat steps 16 - 21, and fold it in two rounds. There will be a total of 3 rounds of 40% discount.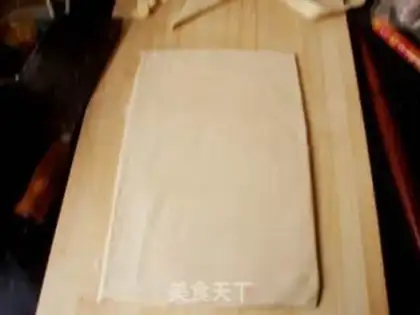
8
Use a knife to plant the uneven corners, and the whole meringue is square.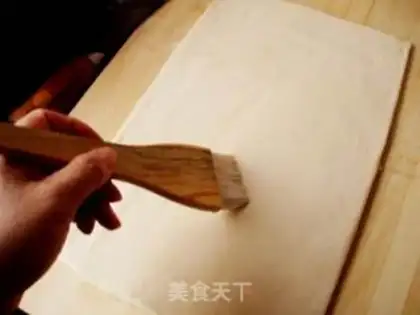
9
Brush it with a layer of water and wait for two or three minutes to make it sticky.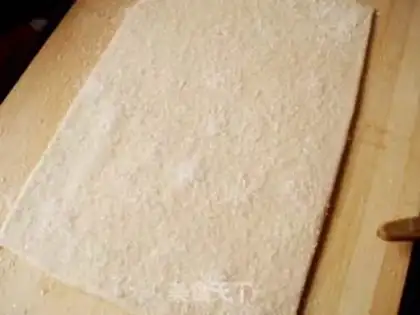
10
Sprinkle with another layer of white sugar, preferably coarse grains, not soft white sugar.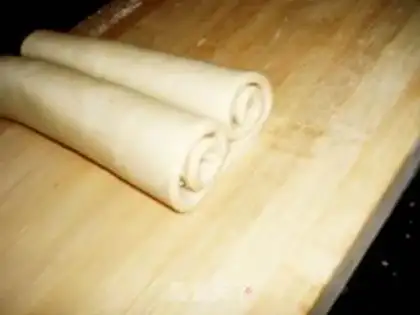
11
Roll it into a butterfly roll symmetrically. If the roll is too soft and cannot be cut into shape, place it in the refrigerator and freeze for ten minutes before cutting.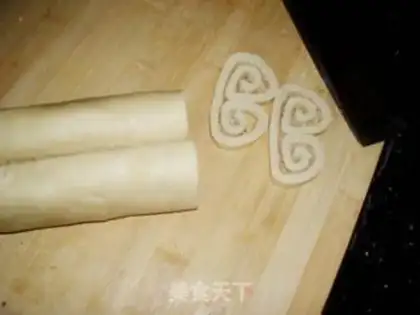
12
The curls I cut still don't look good. It doesn't matter, just wait until I tidy them up.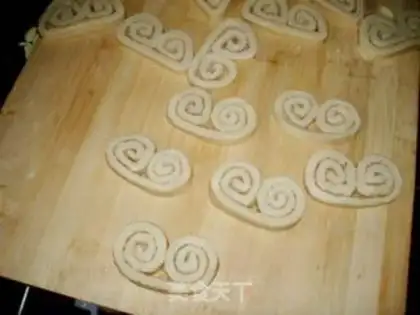
13
The following is sorted out and it looks much better. That is to say, I reprinted it again, hee hee.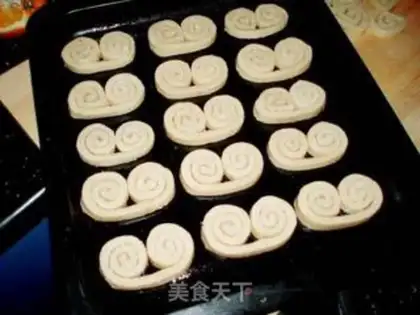
14
It was so beautiful at this time... The difference was that I took two more pictures, but I made a mistake and put them too tightly. The consequences were very serious. When they expanded after being heated, they all crowded together. It is recommended to put only nine pictures.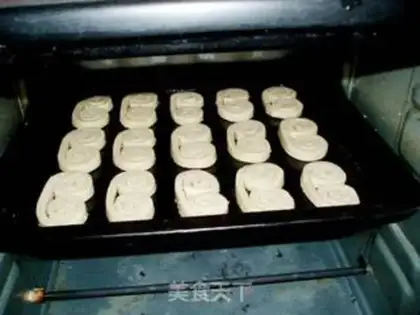
15
Preheat the oven at 200 degrees, then put it in for about 20 minutes. I cut it thin, and it will take fifteen or six minutes.
16
Butter seeps out during the roasting process, which is normal.