♪ Flower coconut bread ♪
By VicentaLakin
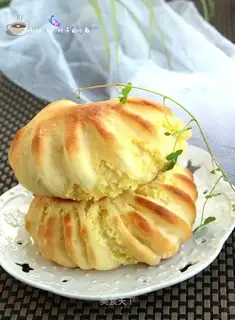
Today this bread is a recipe that my baby can't eat enough. It's the baby's birthday, and it's the other way around, and it's probably because it's very skilled, and it's really nice to make it, both in appearance and colour, and most importantly, it's really superb, and it's really very fulfilling, actually, when the baby says in a fragrance. It's not complicated, but let's try it.
Recipe Recommendations
- high-gluten flour 200 grams
- eggs a
- egg yolk a
- coconut 80 grams
- milk 80 grams
- light cream 100 grams
- white granulated sugar 65 grams
- yeast 3 grams
- salt 1 gram
- sweetening
- roast
- several hours
- ordinary
Steps for ♪ Flower coconut bread ♪
1
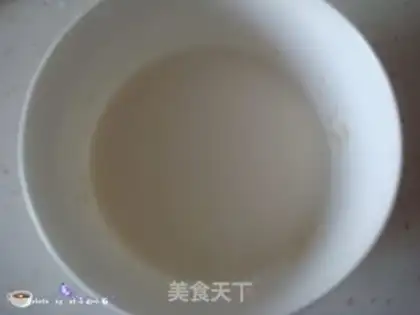
Milk warms up to about 35 degrees, and the yeast is still for a few minutes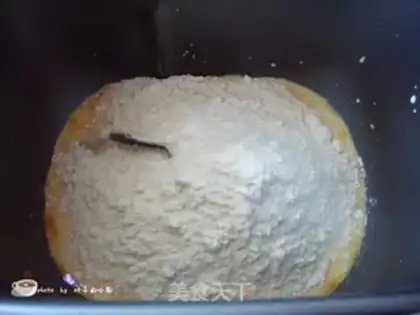
2
You pour milk with yeast into the breadbox, you pour eggs, you add 35 grams of white sugar, you add high-banded flour, salt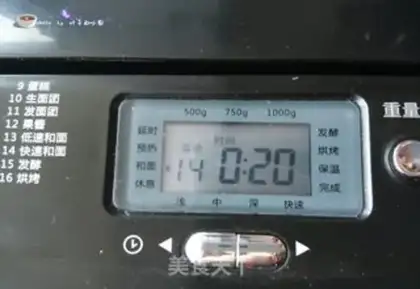
3
Move to speed and face and start the bakery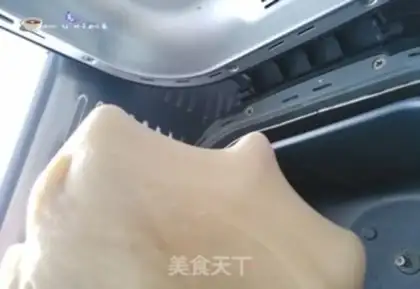
4
It's 40 minutes for the two-faced program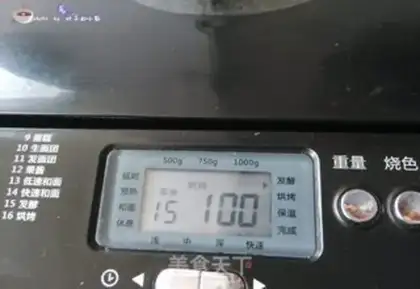
5
Move to the fermentation slot and start the bakery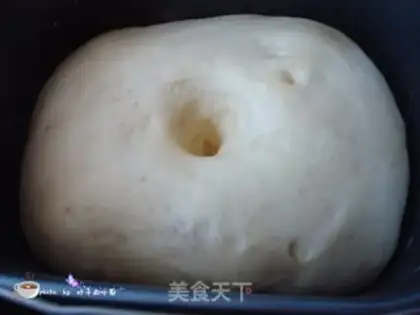
6
Fermentation to 2.5 times the original size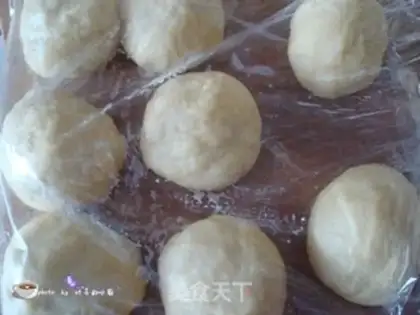
7
Excretion. Fragmented in the right size. Covered for 15 minutes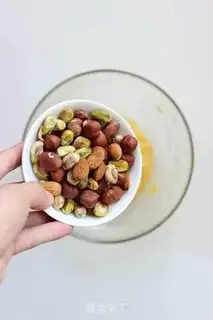
8
Cream cream, yolk, coconut, 30 grams of white sugar, evenly mixed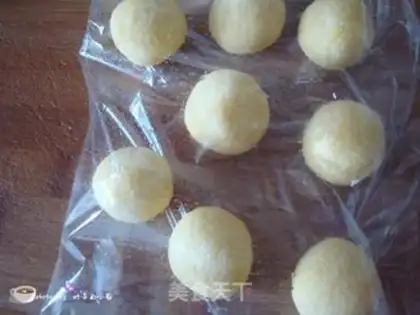
9
Scroll the coconut into a ball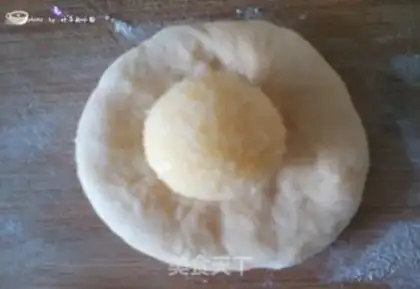
10
It's full of chords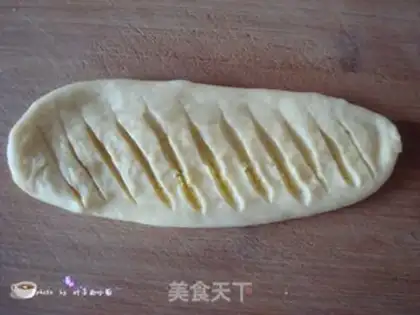
11
When you're wrapped, you grow up with your tongue and slash your mouth with your knife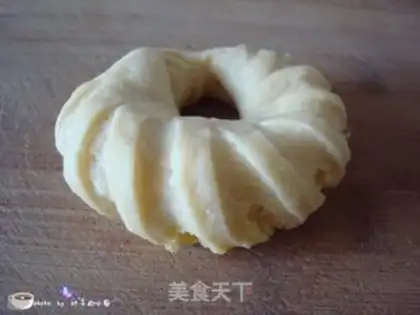
12
It's like a circle. It's twice as big as it used to be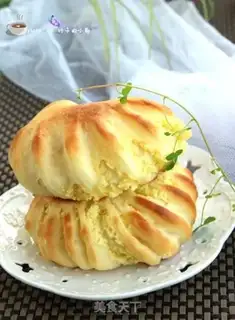
13
Put it in the middle of the preheat oven. Fire up and down. 180 degrees♪ Flower coconut bread ♪ Make Tips
1. The order of adding ingredients to the bread machine pan is liquids first, then solids; do not let the salt and yeast come into direct contact.
2. Before starting the kneading process, give it a rough stir with chopsticks to prevent flour from scattering all over the pan.
3. During the fermentation process, brush a small amount of water on the surface of the dough to prevent it from drying out.
4. After degassing the dough, let it rest for a while so it is easier to handle when wrapping the filling.
5. The baking time should be determined based on the power of your own oven; keep an eye on it.