Bear bread
By VicentaLakin

Spring and warm flowers, and all weekends with babies on their way to the spring, bread cakes and all that, this time, the baby's doing it on its own, and it's a good doodle on the bread, ha ha, look at all the faces and look so cute. Bread is always built in those steps, and this is where it's done, and where it's done, it's done. That's where the fun is done. Today's panda, it's easy to shape. Let's see。
Recipe Recommendations
- high-gluten flour 220 grams
- whole egg liquid 50 grams
- milk 80 grams
- white granulated sugar 35 grams
- honey appropriate amount
- cocoa powder appropriate amount
- yeast 3 grams
- salt 1 gram
- sweetening
- roast
- several hours
- ordinary
Steps for Bear bread
1
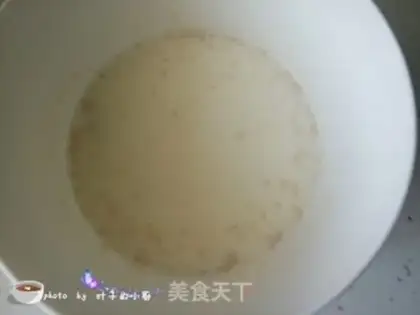
Put milk in the microwave and heat it up to about 35 degrees and add yeast to five minutes of static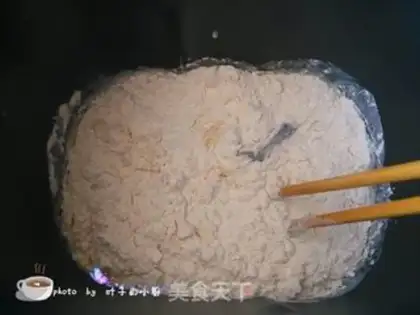
2
The milk that's added to the yeast is poured into the bread drums and then added to the whole egg fluid, white sugar, high-weather flour, salt
3
Start Quick Face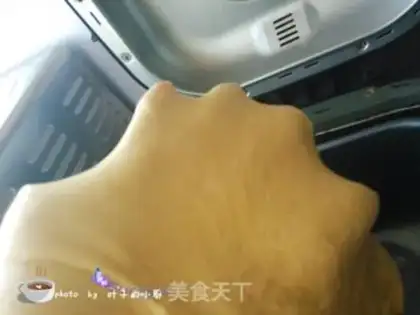
4
Two fast and face programs for 40 minutes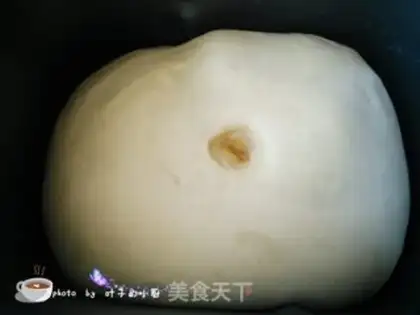
5
Fermentation to 2.5 times the original size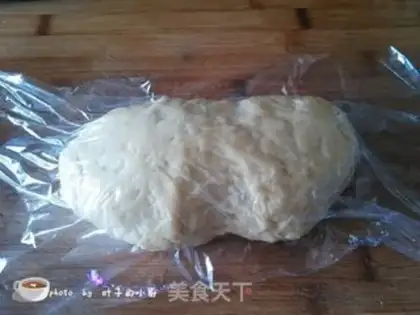
6
And then it's fully smoothed, it's ventilated, and then it's covered with laxity for 10 minutes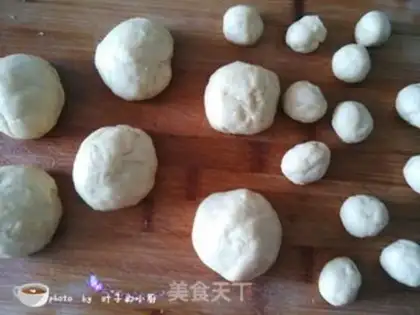
7
Part of the bear's head, part of the ear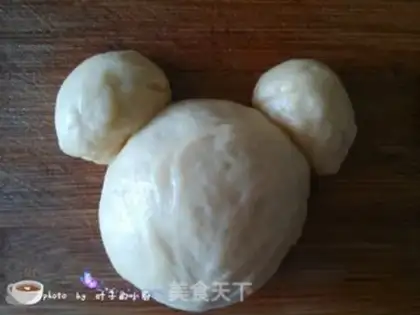
8
It's like the shape of a bear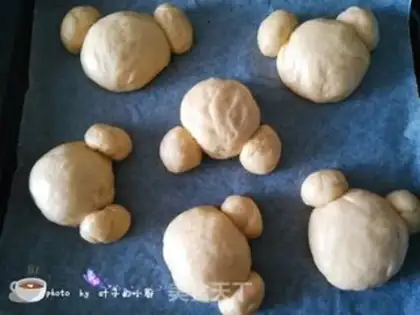
9
It's on the grill with the paper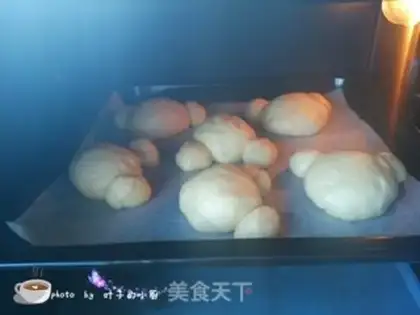
10
Put it in the middle of the preheat oven, and when it fermentes twice the size, turn it into a fire, 180 degrees, 16 minutes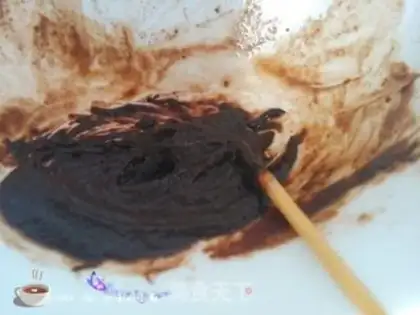
11
Coco powder goes to the right amount of honey, and it goes to the wrong amount
12
Five officials with toothpicks on cocoa paste and bear
13
Cute little bear bread is readyBear bread Make Tips
1. Before mixing, stir with chopsticks first to prevent flour from splashing and making a mess.
2. Since no butter was added, the dough is slightly sticky; apply some corn oil to your hands during degassing and shaping to prevent sticking.
3. During fermentation, brush a little water on the surface to keep it from drying out.
4. Different flours have different water absorption rates, so check the consistency after kneading for a few minutes.
5. When baking, cover with aluminum foil once the surface has browned to prevent it from becoming too dark.