Cranberry cheese bread
By VicentaLakin
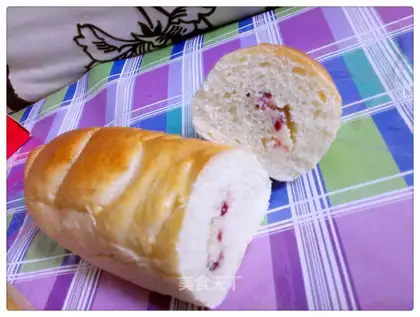
Sweet sour cranberry mixed with cheese for bread is delicious. The square came from Teacher Meng's 100-breads, slightly altered。
Recipe Recommendations
- high-gluten flour 200 grams
- fine sugar 10 grams
- salt 1/3 teaspoon
- egg white 25 grams
- yeast 1 teaspoon
- water 105 grams
- cream cheese 40 grams
- powdered sugar 15 grams
- milk
- corn starch 5 grams
- almond powder
- dried cranberries 10 grams
- unsalted butter 10 grams
- sweetening
- baking
- several hours
- senior
Steps for Cranberry cheese bread
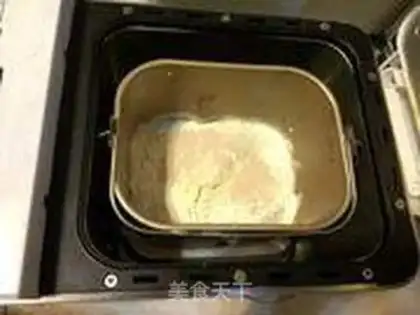
1
Put everything in the bread can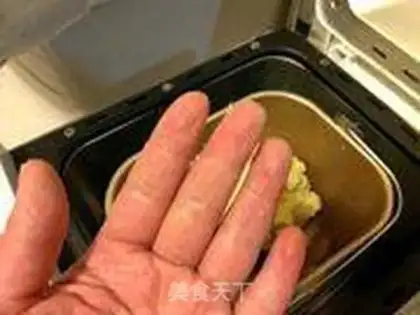
2
Commencing face-to-face, suspending the machine during the initial formation of the noodle, and squeezing it to check if the noodle is soft or hard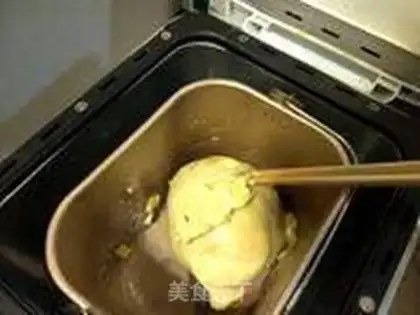
3
One side app is over, with soft butter, re-start and face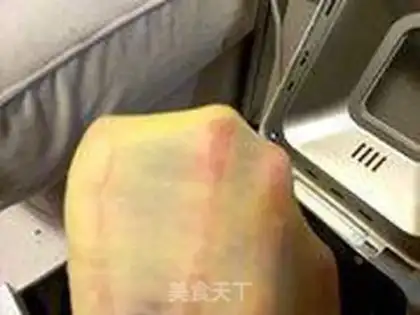
4
Take a little noodle and pull it out slowly. We can pull out a big film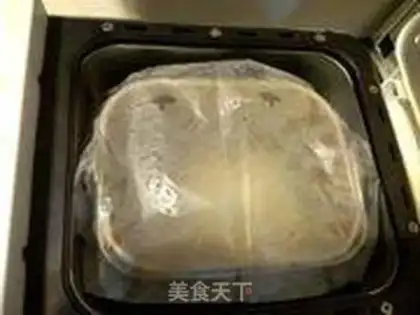
5
Reround the noodles, put them in the bread can, put a baking sheet on it, and put some water on it with your hands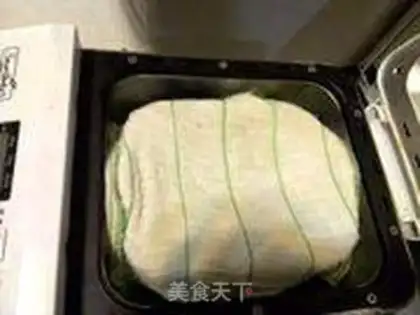
6
Put on a wet towel with dry water, close the hood, start the fermentation program for an hour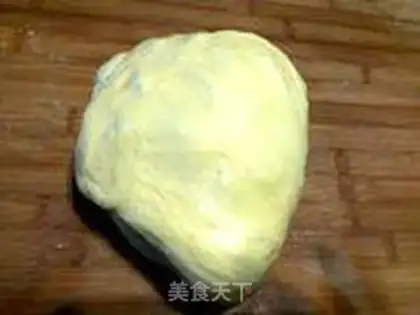
7
When the noodles are fermented to 2-2.5 times the size, the fermented noodles are removed from the bakery, press pressure exhaust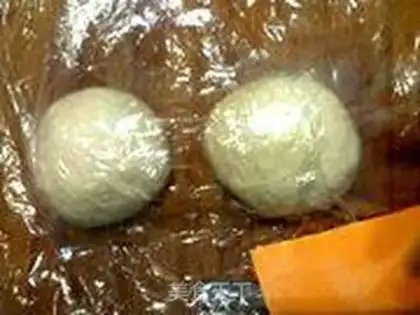
8
Split the air out of the air in two pieces, round it up and cover it with laxity for 15 minutes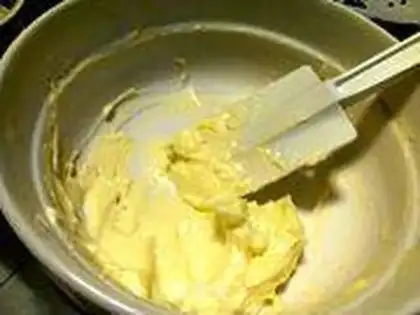
9
At this point, make the internals: softened cream cheese at room temperature, mixed with sugar powder and milk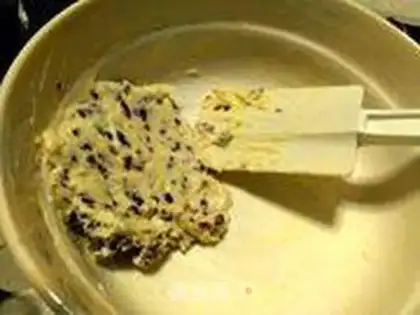
10
Add corn starch, apricot and cranberry dry, and we'll mix it up with smooth cheese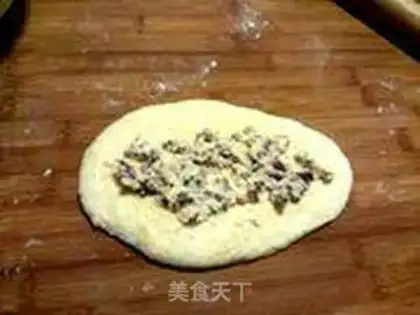
11
Turn your face around and put it in half the cool. Paper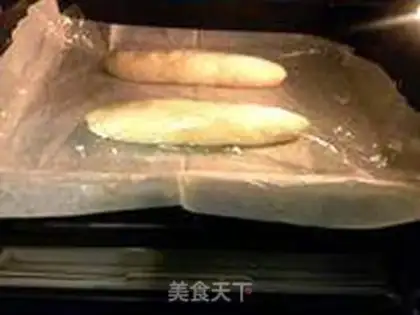
12
Roll up the growing olive, head up to the oven, cover up the film, and ferment the last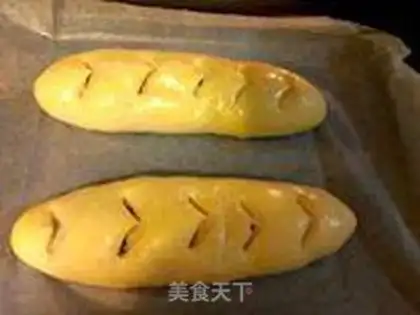
13
fermentation up to two times the size, smoothing out egg fluids on the surface of the face, cutting five blades by 45 degrees with scissors, continuing to ferment for five minutes, putting them in preheated ovens, burning 190 degrees, burning 160 degrees for about 20 minutes
14
You'll bake to the surface, and you'll be able to get out with your hand pressureCranberry cheese bread Make Tips
1. For general soft bread like this, the dough does not need to be kneaded to the full stage; it is sufficient when a slightly transparent film can be pulled.
2. Due to varying water absorption in flour, pause the machine during the first kneading cycle once the dough starts to form. Pinch the dough with your hand; if it feels soft (slightly softer than dough for steamed buns) and only a small amount sticks to your hand, the consistency is correct.
3. After rounding, the dough loses its original extensibility and softness because the internal air has been compressed and expelled. Therefore, let it rest for about ten minutes to allow the gluten to "relax," making it easier to roll out and shape.
4. Pinch the bottom of the shaped dough tightly to prevent it from bursting during the second fermentation or baking.