Sesame braid bag
By VicentaLakin
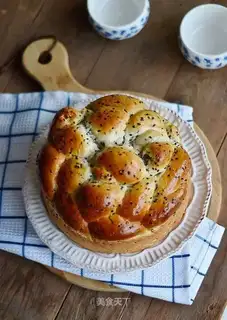
There's always a common problem, bread is good, but it's too time-consuming, it's simple, it's a few hours to wait, it's too hard to eat, it's too exhausting. People keep asking if it's easy, save some time, we're all going to work, we're going back to work, we're going to eat after work, we're going to start making bread, we're going to be late in the night. So teaching people steps to make bread in Chinese, ice and other ways can save a little time, but fermenting in refrigerators can sometimes be difficult to control and can result in failure. That is why today I teach you a lazy version of the way I do it all the time, and I feel very good about myself. One fermentation saves a great deal of time, so that you will have plenty of time to do your work, and you will not have to go into the middle of the night. For many friends, it's a big evangelical, one-bread, a little softer than two-breath, a little more organized after a second fermentation, but if you eat it yourself, it's not that high, but it's just as good as a fermented bread. After only one fermentation, the tissue comes out, and it's obviously also a pretty good bread, and the only difference is that a second fermented bread, no matter how high or how high it tastes, is that one of the toasts is relatively old and, because my family eats more quickly, it's not usually in the next two days, so I've never met the problem of ageing
Recipe Recommendations
- high-gluten flour 250 grams
- milk 105 grams
- eggs 50 grams
- black sesame 50 grams
- sugar 35 grams
- salt 2 grams
- yeast 3 grams
- corn oil 15 grams
- milk fragrance
- roast
- several hours
- ordinary
Steps for Sesame braid bag
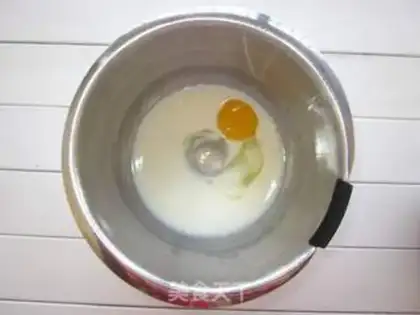
1
The materials are liquid in addition to corn oil。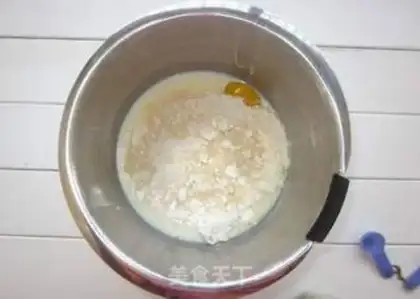
2
The powder material is then placed。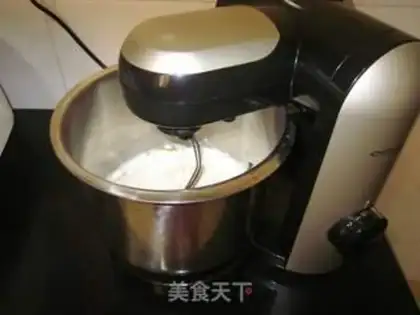
3
The cooks set up the 3rd stage to rub the face to a slightly smooth surface。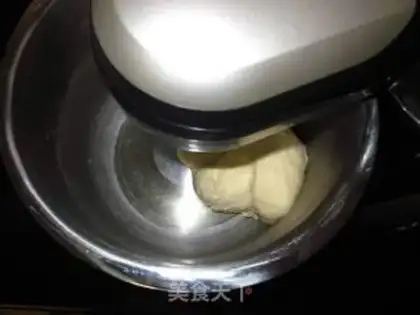
4
Add corn oil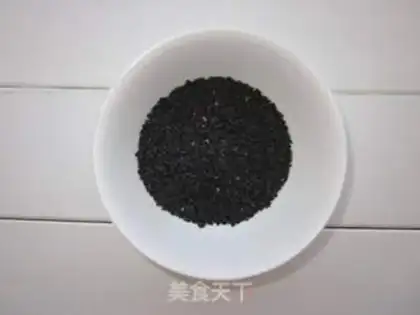
5
50 grams of sesame ready。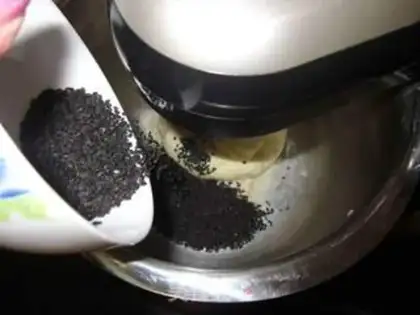
6
Keep changing the 3rd tranche so that it can easily pull out large thin film surfaces. Add sesame and rub it for a minute to even。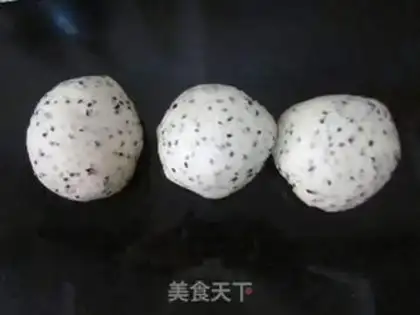
7
Split the covered noodles into three equals, round them, and leave them loose for five minutes。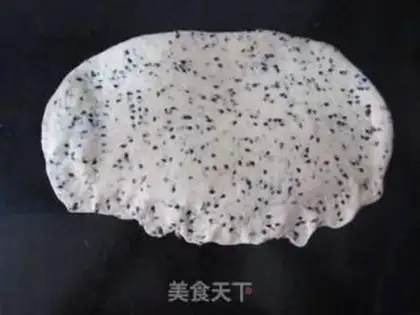
8
Crush the loosely fertilized face into an elliptical form, under pressure. Thin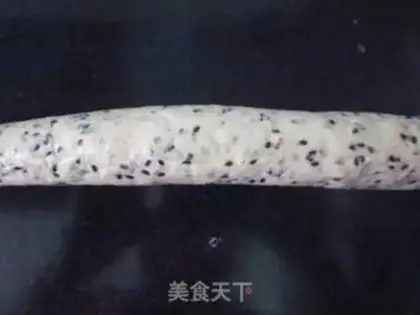
9
Growing strips from top to bottom with your hands on the bottom. And a long strip。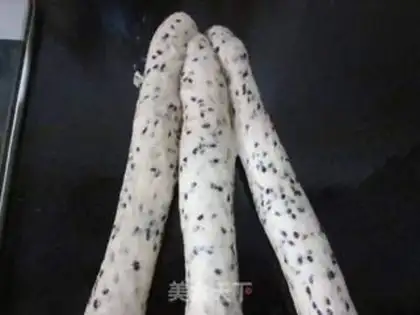
10
This is how the three noodles grow。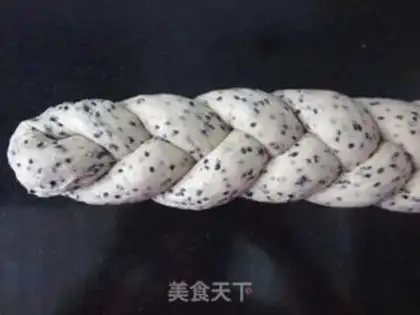
11
It's a basic three-brand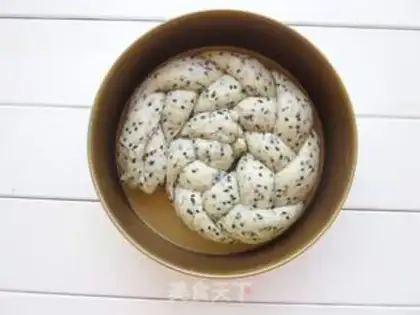
12
Roll it up and put it in a non-clubber cake model。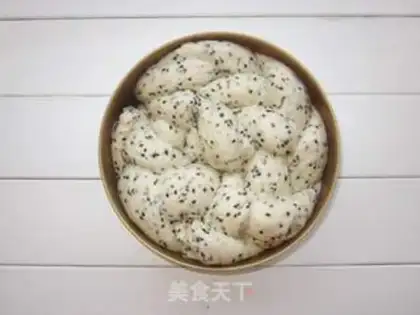
13
The oven is filled with a glass of open water, placed in a cake mold, and closes the oven door for about an hour until the cake is about eight minutes full。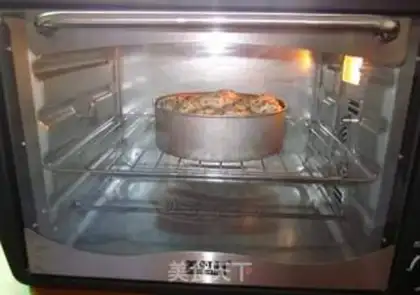
14
It's 160 degrees of preheat on the oven, 30 minutes on the net on the second count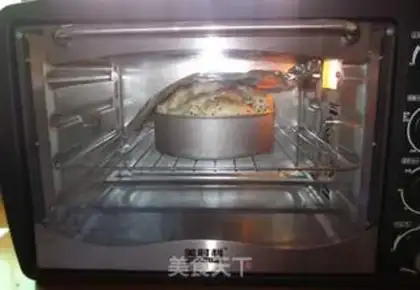
15
About 10 minutes after the mid-term, the bread surface is covered with tin paper to prevent the surface from being too dark。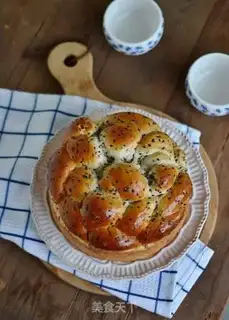
16
Once the toast is baked, it can be removed and stored in a box at a mild temperature。Sesame braid bag Make Tips
1. The dough for this recipe is not very sticky, but since different flours have different water absorption rates, it is recommended to reserve 20g of water and decide whether to add it based on the condition of the dough.
2. My mold is non-stick, so no anti-stick treatment is needed. However, if you are not using a non-stick mold, please apply a layer of butter around the sides to prevent sticking.
3. When baking this type of large loaf, be sure to cover it with aluminum foil once the surface starts to color after about 10 minutes; otherwise, it will end up getting scorched.
4. The bread will rise very well after baking for about 10 minutes; this indicates that the dough has fermented well and is a successful dough.
5. Once the bread is baked, remove it from the mold immediately. Place it on a wire rack until it is slightly warm, then store it in a box or a plastic bag, using the residual heat to soften the crust of the toast.