Coffee lace
By VicentaLakin
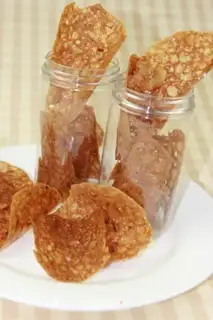
Thin laces and slices of fragrance. The brilliance peels are baked and baked with hot heat, and they appear as the threads of laces, and they are hidden, and when they appear, they are dreamful。
Recipe Recommendations
- light cream 67g
- butter 50g
- fine sugar 90g
- low-gluten flour 22g
- vanilla extract few drops
- maltose 12g
- coffee liquid 5g
- coffee powder 2g
- chopped almond 12g
- sweetening
- roast
- several hours
- ordinary
Steps for Coffee lace
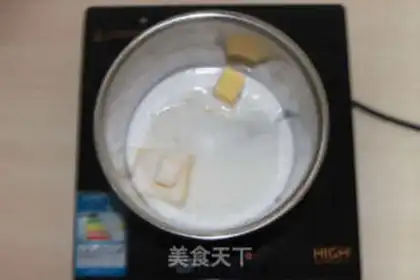
1
Cream cream, butter, sweet sugar in the eggbath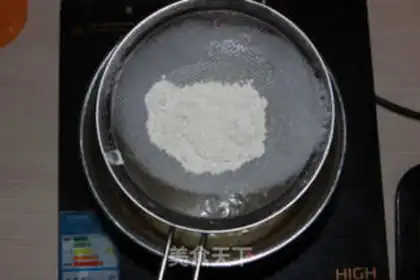
2
Fastly sift in low-banded flour, evenly mixed with a manual omelet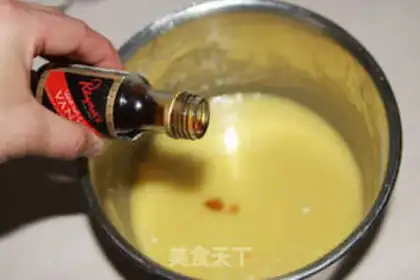
3
Add a few drops of vanilla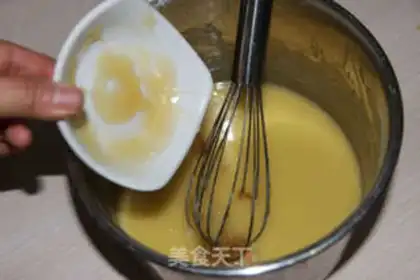
4
Then join the malt sugar mix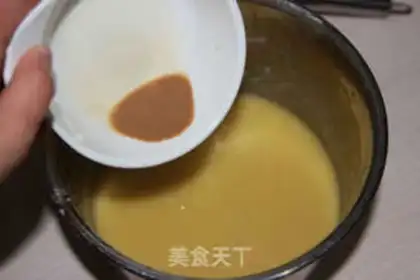
5
And then you add the coffee fluid, and you mix it with the egg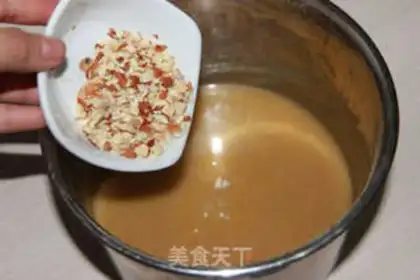
6
Join the cup of coffee and then the almonds are even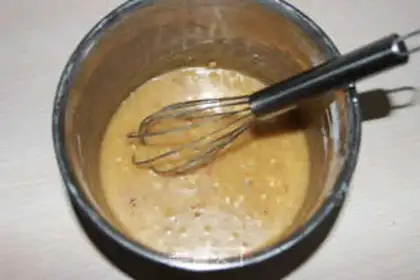
7
It's the end of it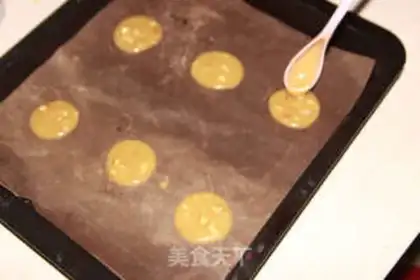
8
With a little spoon, about 3 grams of pasta in the oven. Internal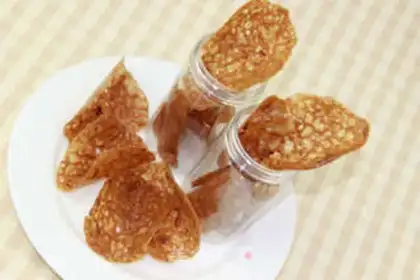
9
Put it in a pre-heated oven of 180 degrees, bake it for about eight minutes, lighten the bubbles, brown colour of the brilliance skin, so that you can smell it, so you can finish the arc with the toolsCoffee lace Make Tips
Notes:
1. The heavy cream, butter, and sugar must be boiled until they come to a full boil before turning off the heat. When adding the remaining ingredients, you must act quickly.
2. You can apply the batter directly onto the baking sheet, or use parchment paper and silicone mats. The size of the holes in the crisps will differ depending on the method used, and each has its own unique characteristics.
3. Scoop about 3 grams of batter and drop it onto the baking sheet to form a 2 cm diameter; it will expand to 5-6 cm after baking. Also, be sure to leave enough spacing between the batter drops, otherwise, they will stick together after baking.
4. The crisps will harden in a matter of moments after being removed, so you must work very quickly to bend them into an arc. If you do not have professional shaping tools, there is no need to strive for a perfect curve. If you wish to try, it is recommended to bend the parchment paper into an arc, remove it shortly after, or place it over a rolling pin to assist in shaping.