Olio cheesecake
By VicentaLakin
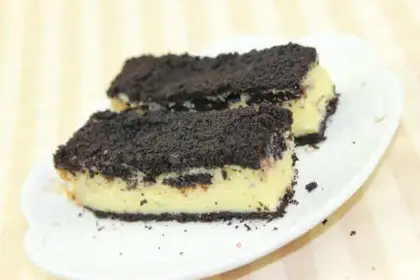
Have you ever had a whirlwind? Isn't that great for the Olio in there? Today the tomato is made of a cheese cake broken out of Olio, and the softest cheese cake in the middle just turned into a super-cheese-flavored pie. But this cobbler can no longer lick it and solve it... but needs to eat it with a sip... whether it's a dent
Recipe Recommendations
- butter 15g
- Oreo cookie crumbs 55g
- cream cheese 150g
- fine sugar 50g
- light cream 85g
- low-gluten flour 1 teaspoon
- egg yolk one
- Oreo cookie block 20g
- sweetening
- roast
- several hours
- simple
Steps for Olio cheesecake
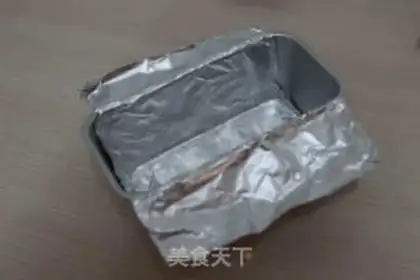
1
Take the tin paper longer than the mold and lay it directly inside the mold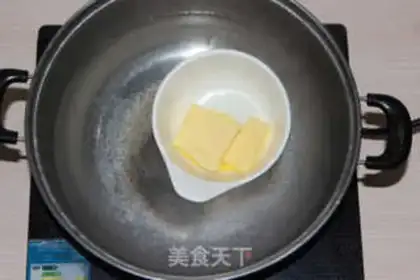
2
Butter melts into liquid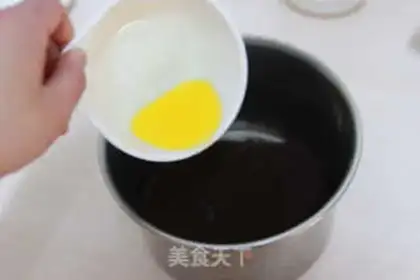
3
Put the olio crumbs in the egg basin and mix them with melted butter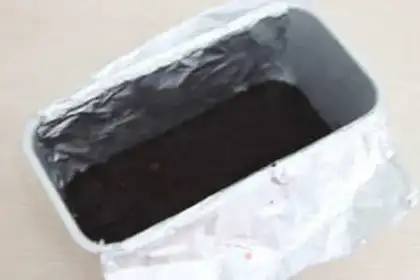
4
Take a 1/2 biscuit crumb and lay it on the bottom of the mold, and press it with a hand or a cane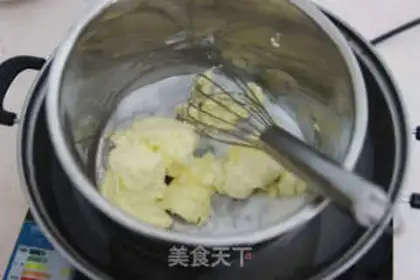
5
Cream cheese and sugar are insulated to heat, and they don't stop mixing it with an eggmaker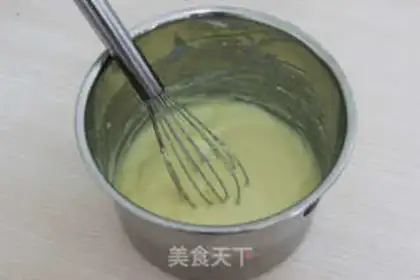
6
Add light cream and continue to mix the cheese with an egg-beater and leave the hot water in a smooth slide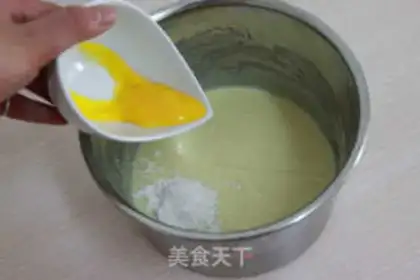
7
After cooling, we're gonna add low-banded flour and yolk, and we're gonna mix the smooth cheese with an eggbeater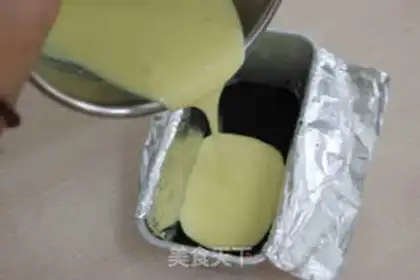
8
One out of two cheese-painted olio crumbs. Move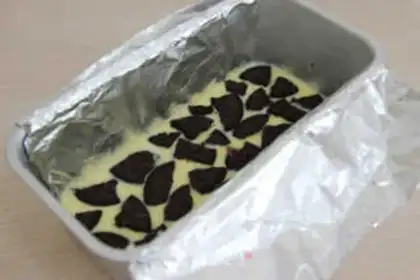
9
Plate the Olio cookies on the cheese paste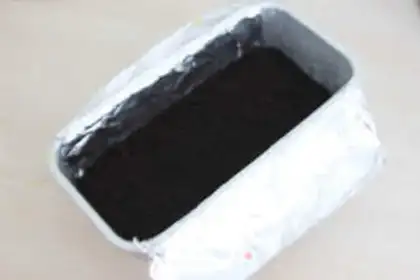
10
Put the rest of the cheese down, and then put the rest of the olio crumbs at the top and flatten them with your hands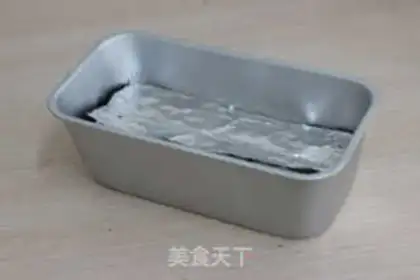
11
Cover the surface of Olio's crumbs with preheats of 180 degrees, fire up, middle, 30-35 minutesOlio cheesecake Make Tips
Important Notes:
1. Before taking the cake out of the oven, insert a toothpick into the center. If a few sticky crumbs appear, it is ready to come out.
2. Stir the cheese batter slowly with a hand mixer; the final product is less likely to crack.
3. Finally, cover the surface with aluminum foil to prevent the cookie crumbs from becoming too dry.