Homemade red bean sand
By VicentaLakin
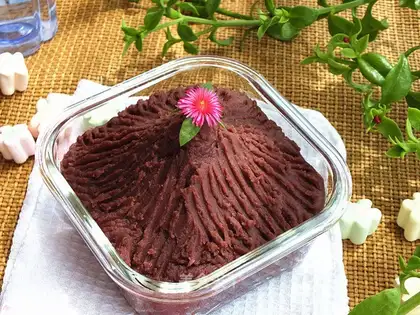
The first time I made red bean sand, and the first time I had to make red bean sand, I had been shouting for more than a few months, and this time it was finally put into action, and it was done in two days. Why? Because it took hours in the afternoon to make beans, it was already at night, to mix it up, to put sugar in the pot, to get out, to cover it, to put it in the fridge, and to finish cooking the next morning. I thought the first time I worked red bean sand was as easy as the jam. Who knows it's splattered and splattered everywhere on the stove, splattered on my arm with a spoon, burned me in pain, and made a little bit of the clothes. In the end, I couldn't do it, I had a lid on, I had to mix it up, and in the end, the lid was sore, all soy sand. The final product is good, it's good, it's real red bean sand, and today it's too much soy sauce. It's not so bad to take a picture of how to do it, to pull it with a fork, to make it look like it's a little twirling, like a volcanic eruption。
Recipe Recommendations
- adzuki bean 400 grams
- white granulated sugar 150 grams
- peanut oil appropriate amount
- sweetening
- cook
- several hours
- ordinary
Steps for Homemade red bean sand
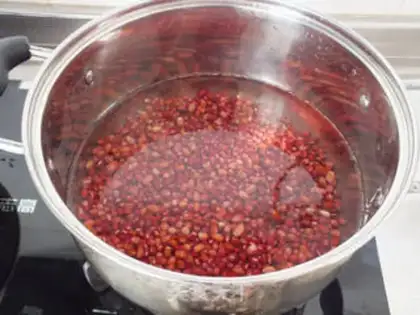
1
The red bean is washed, water is poured for four hours, water is poured out and water is refilled。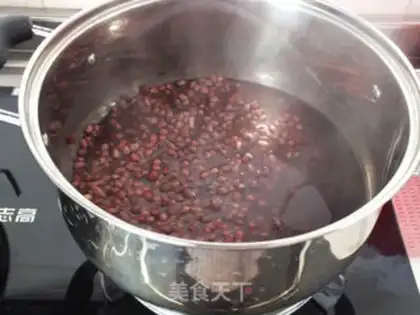
2
It's hot。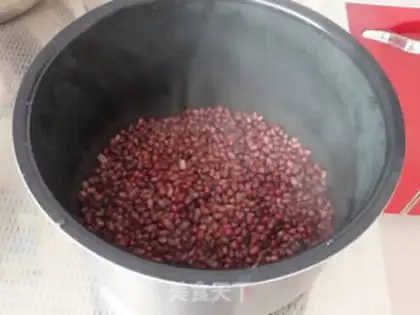
3
Put the beans in the electric pressure pan。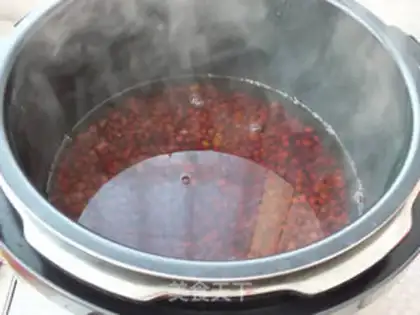
4
Water again, no bean fingers。
5
Select the porridge function and start working。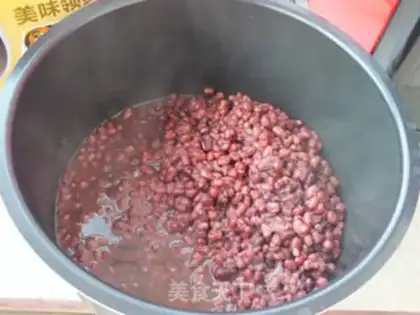
6
When the job is finished, let the boiler cover open。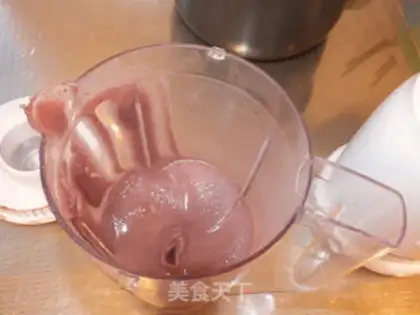
7
Put the beans out of your hands, and they'll be fine in the cup。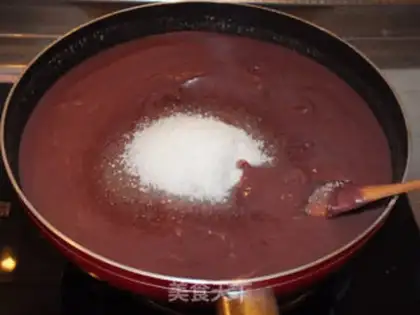
8
Put it in a non-stick pot, put it in a white sugar, and boil it with a little fire。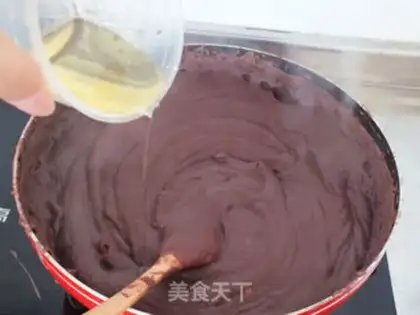
9
You have to keep mixing while you're cooking. Then a few vegetable oils were added。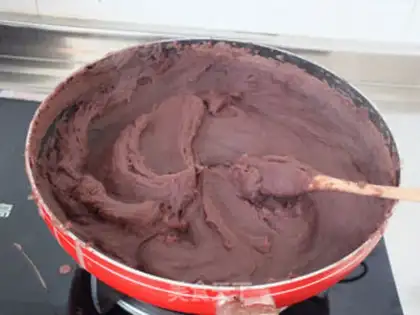
10
If you have resistance to mixing, you can have a visible tattoo。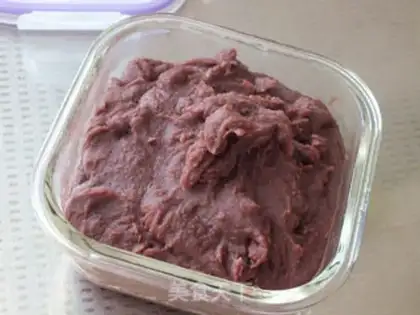
11
Seal it while it's hot inside the disinfected meat box. We need to eat as fast as we can to prevent deterioration