Paper toaster cake
By VicentaLakin
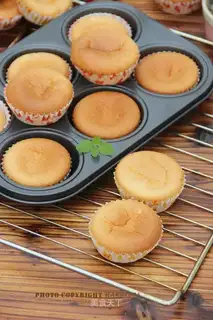
I don't know if I'm the one who started making the cake, but it's because it's the most basic, the most basic, not the other. After learning how to make the cake, there's a lot of thought, some theory, and making the other cake seems a lot easier. This piece of paper towing cake is just a change in appearance, a change in taste, a change in practice, easier to carry, healthier to eat, suitable to carry outside, without fear of washing hands. Home snacks are good, and I'm hungry after work。
Recipe Recommendations
- eggs of 5
- oil 40 grams
- milk 40 grams
- protein sugar 40 grams
- egg yolk sugar 20 grams
- low-gluten flour 85 grams
- sweetening
- roast
- an hour
- ordinary
Steps for Paper toaster cake
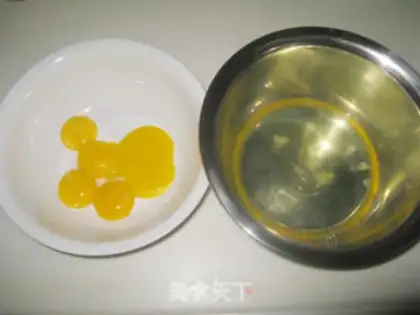
1
The yolk is separated from the egg purifier in two clean, oil-free containers。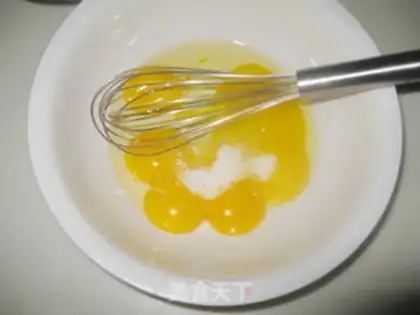
2
Sugar, oil in a container full of yolk。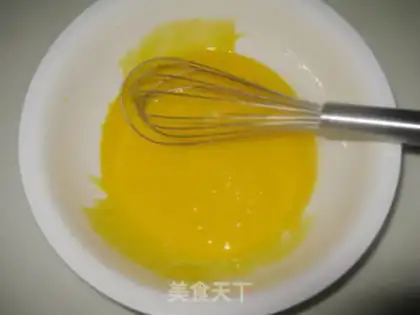
3
Smash even。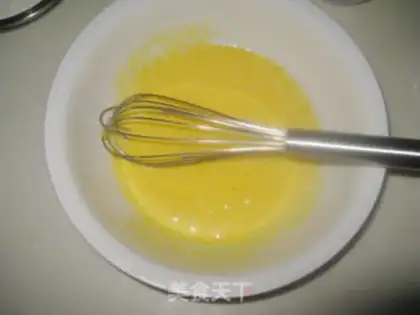
4
再加入牛奶Smash even。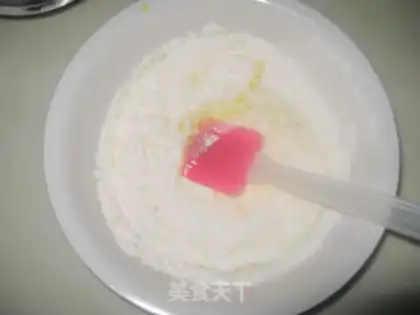
5
And then paste into flour。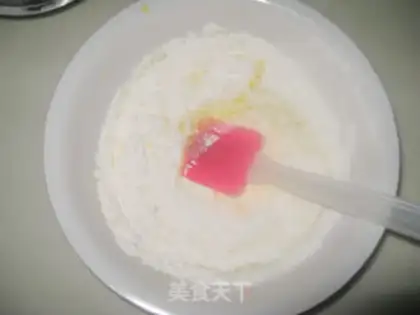
6
And then paste into flour。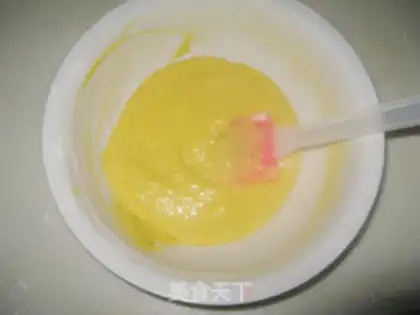
7
It's even, so you can put the egg paste aside。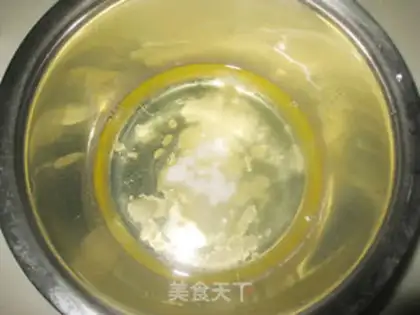
8
Add sugar three times in the egg-rich container。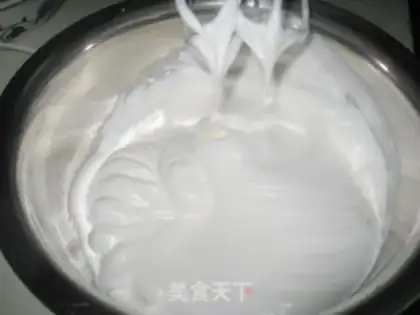
9
It's a quick hit to the point where there's an egg-cleaning triangle on the egg。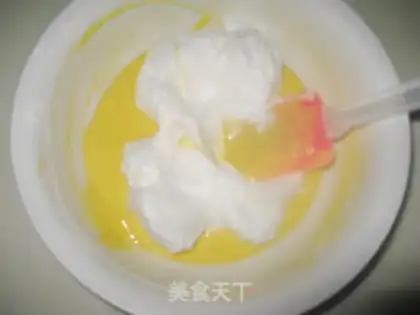
10
And three more scoring of the good eggs into the pan。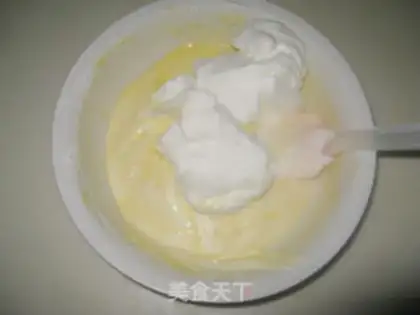
11
Up and down。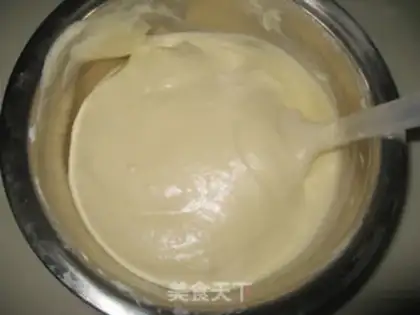
12
It'll be a flat mix with the egg paste。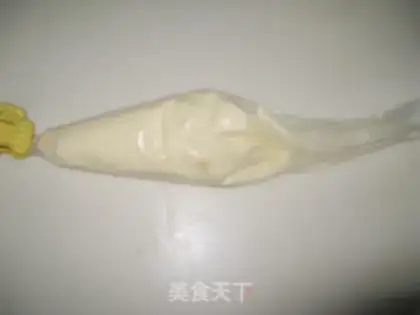
13
Into the mouth。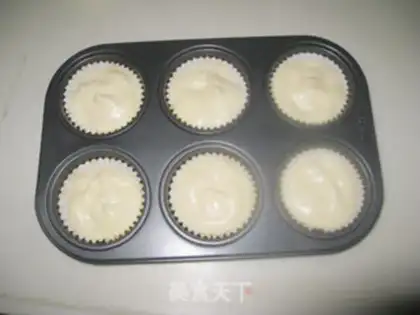
14
Squeeze into an oven with paper butts。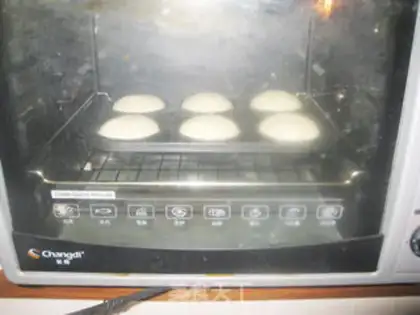
15
The temperature is 120 degrees above and below the middle level of 20 minutes in the oven。Paper toaster cake Make Tips
1. For the sugar added to the egg whites and yolks, I reduced the amounts by 20g and 10g respectively compared to the original recipe. I found the sweetness just right, but you can add more if you prefer it sweeter.
2. Adding sugar to the egg whites in three batches is just to make them easier to whip; you can also add it all at once.
3. Sifting flour into the batter in three batches is to make it easier to mix evenly; it is difficult to mix evenly if sifted in all at once.
4. For the whipped egg whites, when you insert the mixer and lift it up, there should be a small triangular peak. If not, it means you haven't whipped it enough, and the cake will turn out hard.
5. Whipping egg whites is actually not difficult at all; it took about 5-6 minutes here, though the time may vary depending on the mixer.
6. When mixing the whipped whites with the batter, fold with an up-and-down motion. Be careful not to deflate the mixture, but actually, if the egg whites are whipped well, they won't deflate easily.
7. Baking at 120°C for one hour was just right for me. Temperatures may vary by oven, but low-temperature slow baking is a safe bet.
8. When piping, squeeze in circles so that the entire paper liner is filled.
9. You don't necessarily need a piping bag; a disposable plastic bag works too.