Quickbread
By VicentaLakin
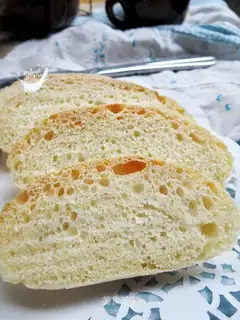
There are many names for this handbread, which are called free bread, some are called a bun, others are called a five-minute bread, and perhaps we wonder why it has so many names, apart from fermenting and baking time, from weighting, mixing, plasticization to being put in the oven for five minutes, and it does not have to rub its face in the face, and it also has the name free bread。
Recipe Recommendations
- high-gluten flour 270G
- qingshui 175g
- yeast 3g
- boiling water 300g
- salt 3g
Steps for Quickbread
1
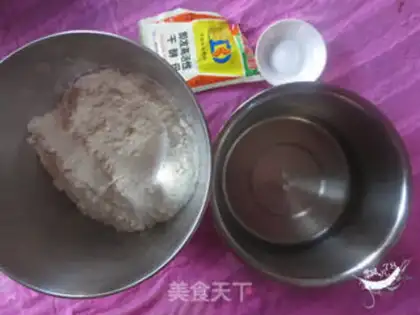
All preparatory materials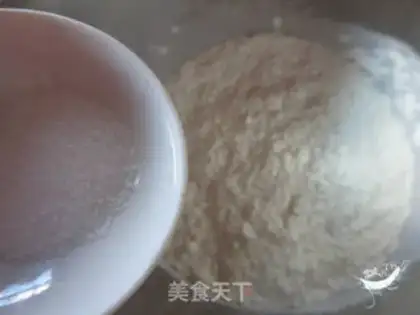
2
the salt fell into 250 g of high-strength flour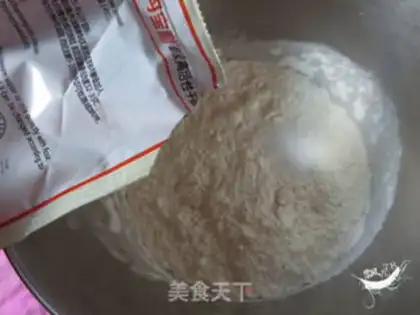
3
Put it in the yeast and mix it with a razor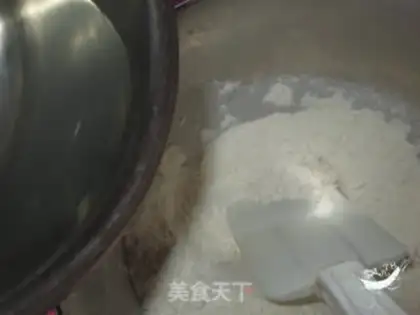
4
A little bit of fresh water to mix with a razor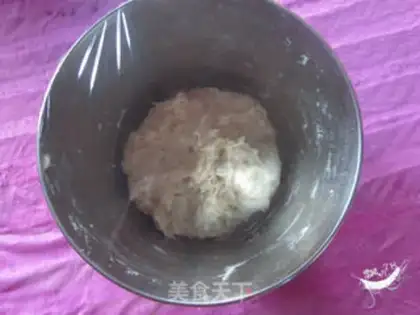
5
Cover the film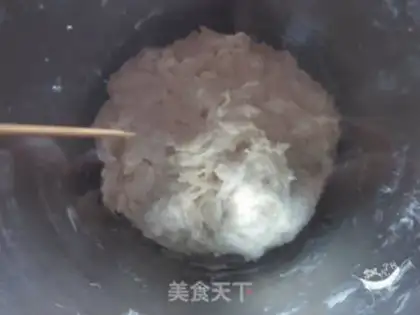
6
Put a dozen holes in the freezer with toothpicks for 10 hours or more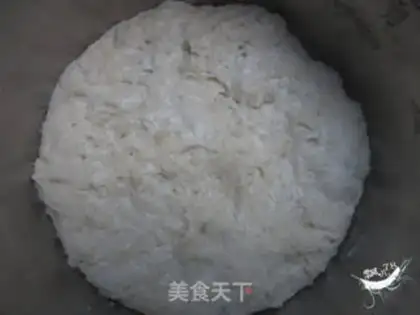
7
Get the noodles out of the fridge and take off the film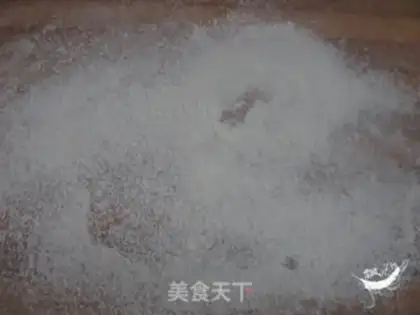
8
Sift the proper amount of flour on the panel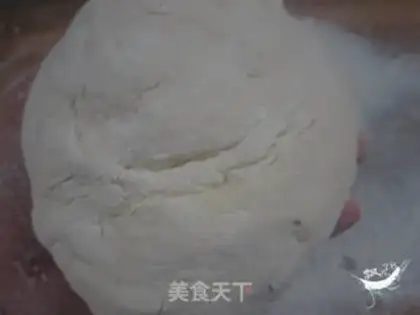
9
Get the noodles out of the box and spread them around. Pink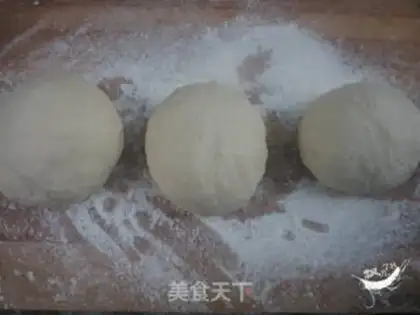
10
Quickly pull the surface to the bottom and put it on the board for 40 minutes
11
Sifting the right amount of flour on the grill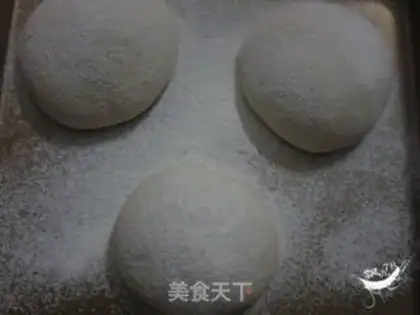
12
Put the noodles in the grill and sift the surface into the thick side. Pink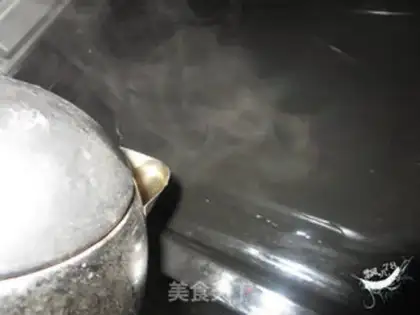
13
take a dish and put it in the oven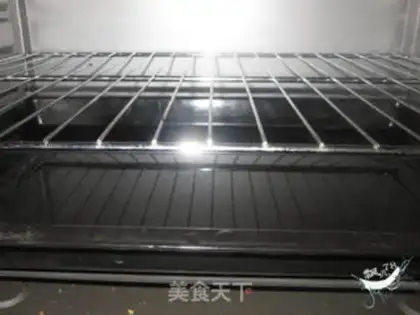
14
Put a grill on it and close the oven door at 220 degrees for 10 minutes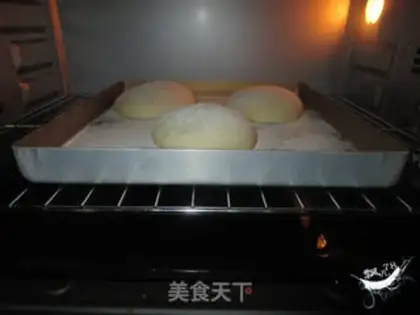
15
Put the grill on the grill, close the oven door, 220 degrees for 30 minutesQuickbread Make Tips
1. It is best to add the water little by little.
2. If the dough feels a little dry, add a suitable amount of water.
3. When mixing, just use a scraper to mix evenly; no kneading is necessary.
4. Remove the proofed dough without kneading. Dust the sides with flour, then quickly tighten the surface and gather it toward the bottom.
5. Slice and eat this bread immediately after it has cooled down. The crust is crispy, the inside is fragrant and moist with a chewy texture—it is a chewy, resilient bread.
6. Do not leave cut bread for the next day, as it becomes very hard once it dries out.