Mango frozen cheesecake
By JoanyStehr
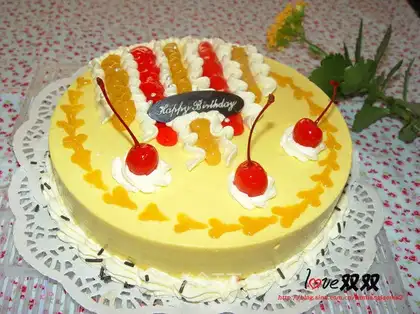
Cream cheese was added to the mousse filling. This was the first time I added this, and I found that it tasted really extraordinary! In addition to having higher calories, it's really enjoyable to eat! It's delicious! I highly recommend you to try it.
Recipe Recommendations
- milk 150 grams
- sugar 90 grams
- light cream 300 grams
- cream cheese 200 grams
- gelatin tablets 4 tablets
- white sugar appropriate amount
- sweetening
- other
- a day
- ordinary
Steps for Mango frozen cheesecake
1
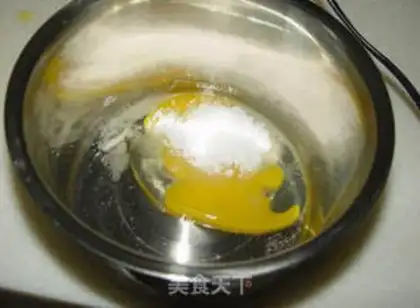
Beat the eggs into a bowl and add the white sugar.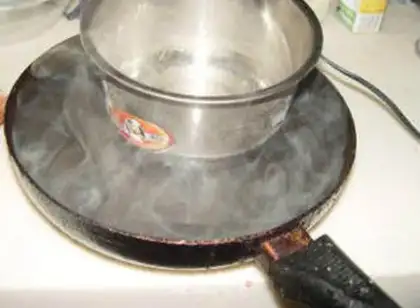
2
Take a pot and heat hot water to about 40-50 degrees C, and sit in the pot with the eggs.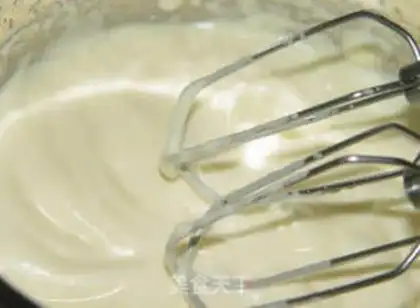
3
Beat eggs with an electric eggbeater. This is a strenuous job. You must be mentally prepared, hehe! With continuous beating, the egg liquid will gradually produce a dense foam and become thicker and thicker. Beat the eggs until the egg batter is lifted and the lowered egg batter will not disappear immediately. When clear lines can be drawn on the surface of the egg batter in the basin, it will be fine. It will take about 15-20 minutes to beat.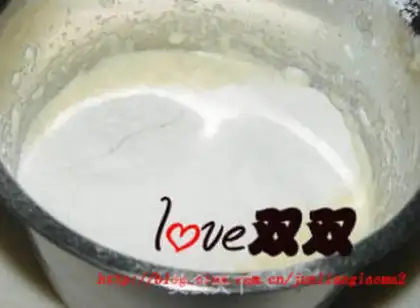
4
Pour in the low-gluten flour in three to four times, and use a rubber spatula to carefully stir from the bottom up to mix the egg batter and flour evenly. Don't stir in circles to avoid foaming the eggs. Pour the vegetable oil into the stirred cake paste, slowly pour along the edge of the basin, and continue to stir evenly.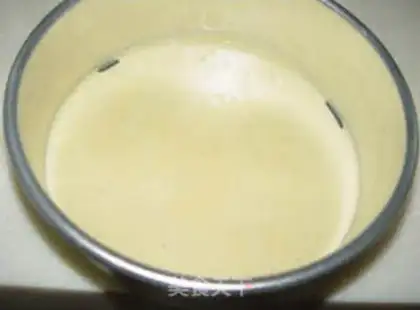
5
Just use the same mold you want to make mousse to directly fill the batter and make a mat.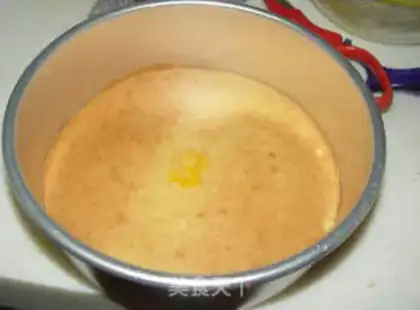
6
Look at mine, is it a little thin?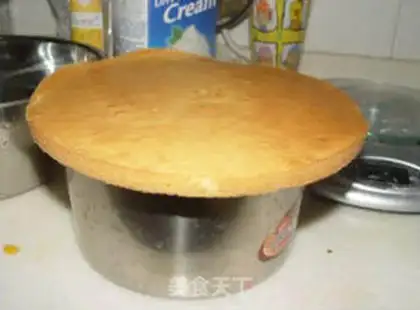
7
You have to use a knife to take it out first, otherwise it will be difficult to remove the mold after making the mousse. If you cut it later, it will become a mess.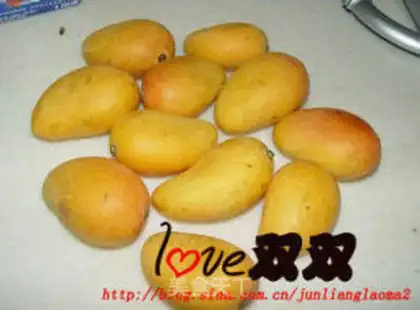
8
These mangoes are my mangoes. I wonder what they are? Hehe! These mangoes may be more than a pound, because I didn't want to make mangoes before, so I didn't prepare so many. Looking at Yihai's recipe, 300 grams are put in 6 inches, so 600 grams are put in 8 inches. My skin was peeled, and after making the puree, there was only about 450 grams, so I directly put in more milk. But I feel good about the appearance and taste of the finished product. You can also perform freely, but this is actually not so strict.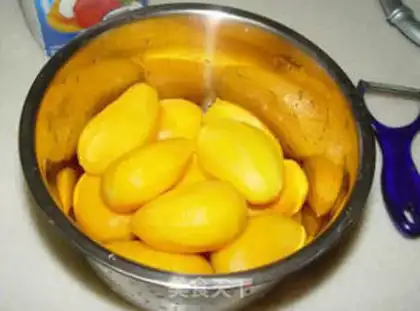
9
Peel the mango.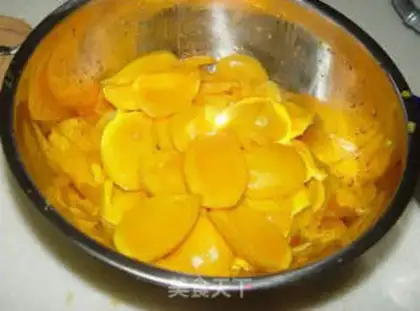
10
The mangoes are cored.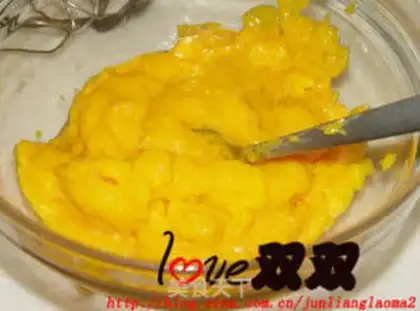
11
Use a blender to make a puree for later use. (Take out a little and keep it for decoration)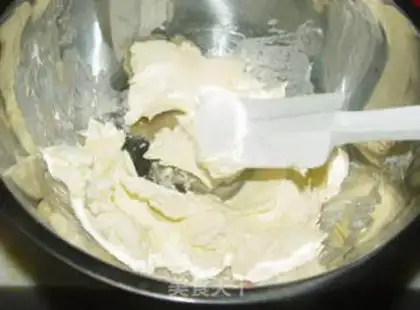
12
Cream cheese softens at room temperature.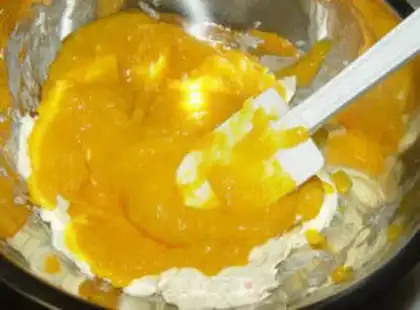
13
Add the puree and stir with an electric egg beater until smooth. Because it was not easy to hit, I hit through the water.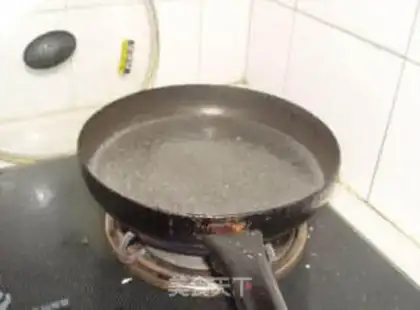
14
Soak gelidine tablets in cold water to soften (this can be done from the beginning).
15
Control the moisture, add milk, and heat under water until the gelatine slices melt. Add to the cream cheese batter and stir well.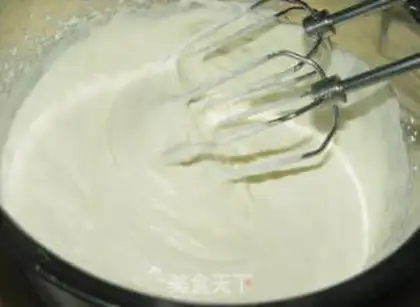
16
Beat the light cream until it reaches 60% until the patterns appear that will not easily disappear.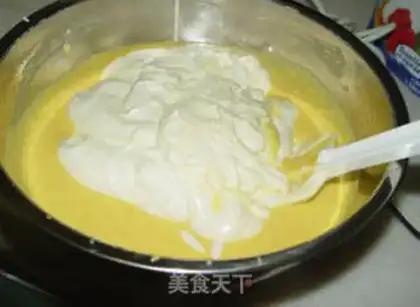
17
Add the light cream to the cream cheese batter.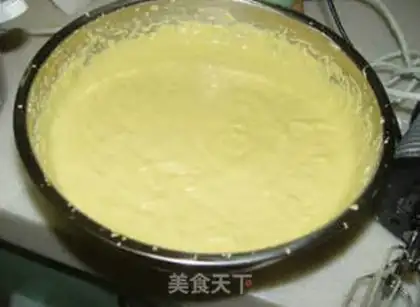
18
Stir evenly. I use an electric eggbeater for these steps, which saves trouble.
19
Place the shim cake in the mold, pour the mango cheese paste into the mold, and smooth the surface.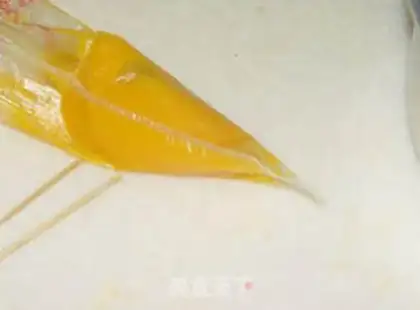
20
This is the mango puree left out. Put it into a decoration bag and cut a small incision.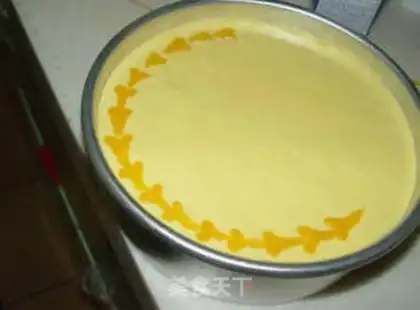
21
Squeeze two small dots on the edge and draw the tail with a toothpick.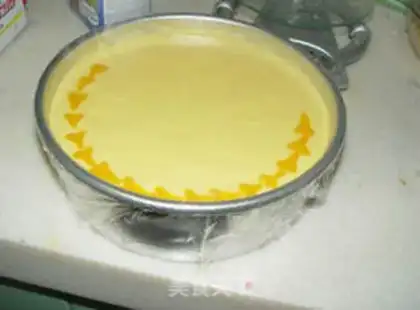
22
Form the appearance of the heart.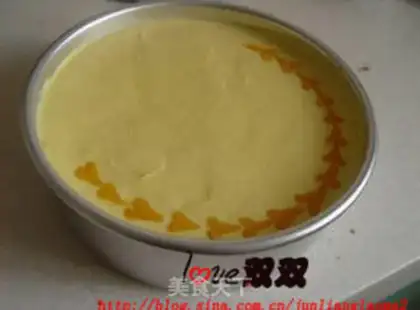
23
This is mango puree, so it's not easy to make. I made it very ugly! When done, cover it with plastic wrap and place it in the refrigerator freezer overnight.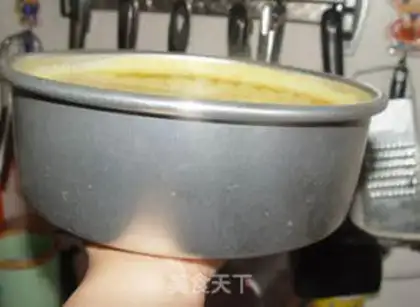
24
This step is demoulding, which I have mentioned many times before.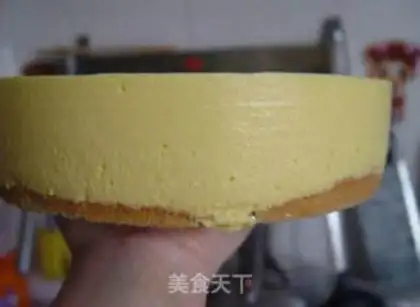
25
Just cover the edges with a hair dryer or a hot towel, slowly press the bottom with your hands, and you will come out. But there are still many friends who don't understand very well. So I took this photo and showed it to you. This step is after the hair dryer is finished blowing, use one hand to drag the edge of the false bottom, and then push it up, and it will come out as in the second picture. Do you wonder how that circle came out? The circle hasn't come out, it's hanging on your wrist! Change hands again, drag it with your right hand, and remove the circle above your left hand. But you must remember to roll up your sleeves, otherwise you will get cream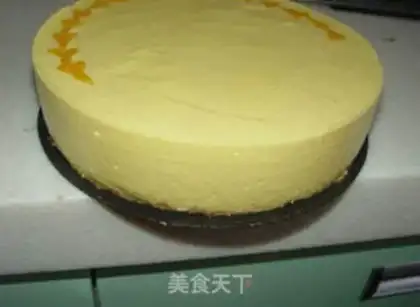
26
The next step is to take out the floating bottom, with the help of a spatula. Look at the original blog post. If you are not sure, you don't have to take it. You can just leave it like this.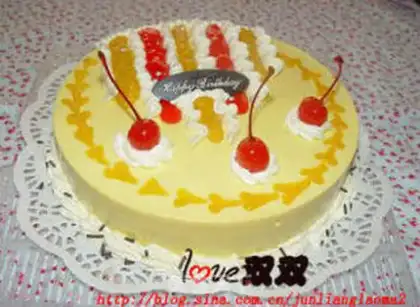
27
The rest is the surface decoration. The white one is cream, the yellow one in the middle is mango puree, and the red one is strawberry jam. The cream used is about 100 grams, and 20 grams of white sugar are added. A flower spout is a flat spout and a five-toothed flower spout with different thicknesses at both ends. That chocolate card was made by myself and needed a mold. The white one I made last time was a lot of extra and looked very ugly. This time I have experience. You first apply white chocolate, wait for the white one to solidify, gently scrape off the edges with a knife, and then pour in black chocolate. After it is completely solidified, you can knock it lightly and you will come out.