Plum jam bread
By VicentaLakin
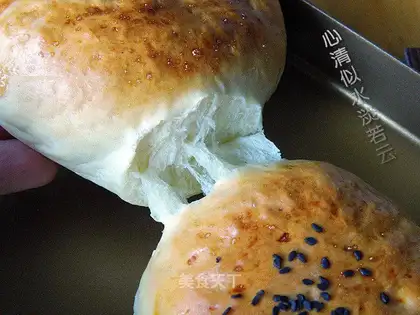
A lot of jam has been made these past few days, and a big can of it in the fridge can be eaten for a while! Looks at the sweet and fresh jam and wants to make bread. It's not so hard for plastics or for pies. It's good for new bakers and lazy people like me, and the bread is so soft and sour and sweet, and it's been out of the oven for a while, and the skin is already wrinkled. It's really soft. It's a non-required zero-added nutrition breakfast。
Recipe Recommendations
- high-gluten flour 310g
- sugar 35g
- butter 40g
- water 150g
- dry yeast 3g
- egg liquid 36g
- salt 3g
- black sesame appropriate amount
- plum jam appropriate amount
- sweetening
- baking
- half an hour
- simple
Steps for Plum jam bread
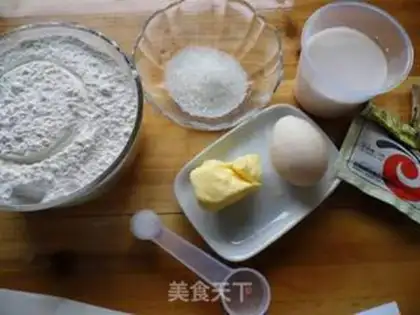
1
preparation materials: high-banded flour 310g, egg fluid 36g, dry yeast 3g, water 150g, butter 40g, sugar 35g, salt 3g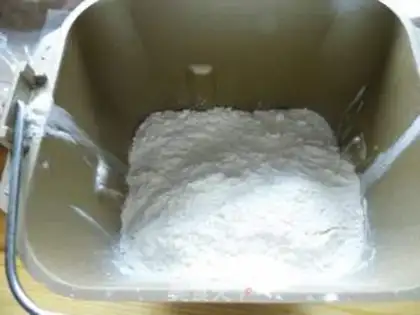
2
Noodles, other than butter, in bread drums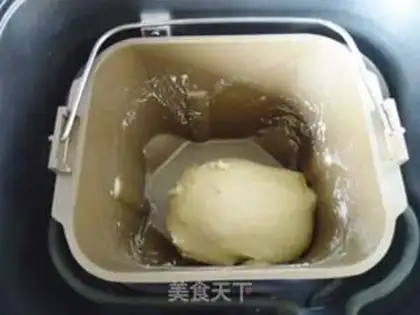
3
We'll have 20 minutes to check a section down, and we'll be able to expand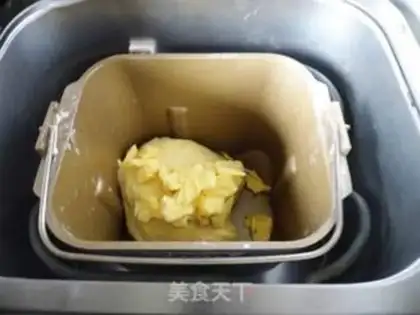
4
Add softened butter, 40 grams, again and face for 20 minutes, smooth and flexible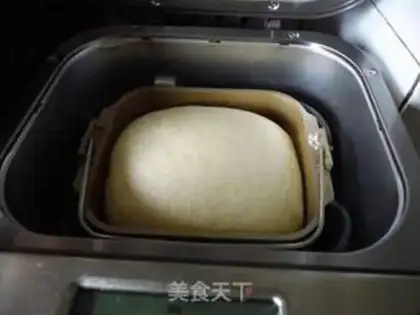
5
Choose a one-hour fermentation function for a baker, which is fermented to the full of eight points (which can also be fermented in a tub twice the size)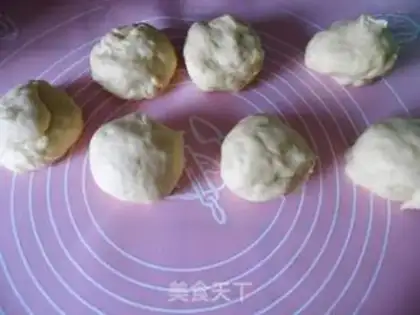
6
It is then removed, divided into six pieces, rolled round and covered with a lax film for 15 minutes。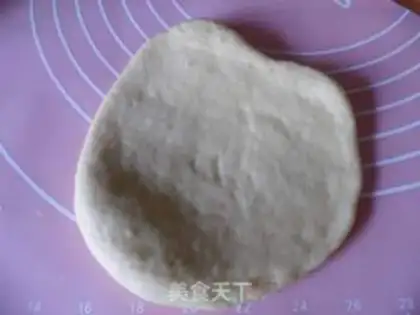
7
In 15 minutes, the tumbled pasta will be rounded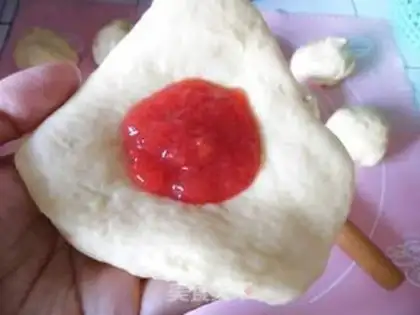
8
Pack up a proper amount of jam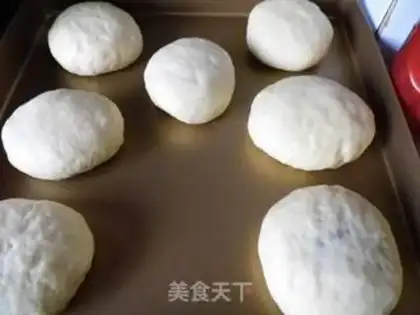
9
Wrap your mouth. Roll round again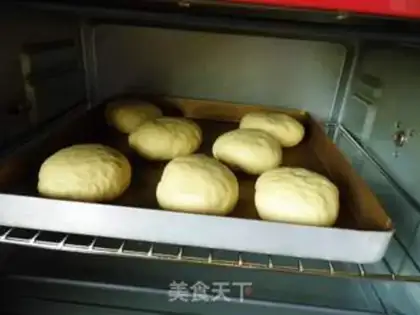
10
Put it in the oven and ferment twice as big again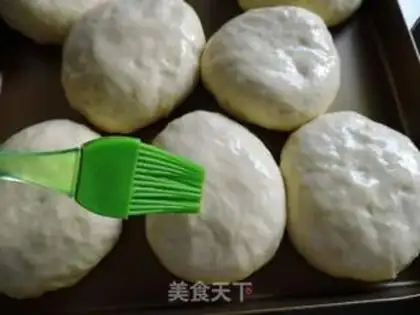
11
Sprinkled egg fluid on the surface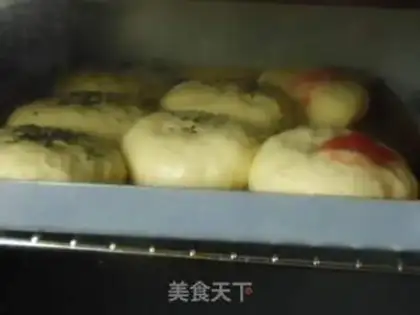
12
The oven is 180 degrees and the upper and lower layers are on fire for 18 minutes。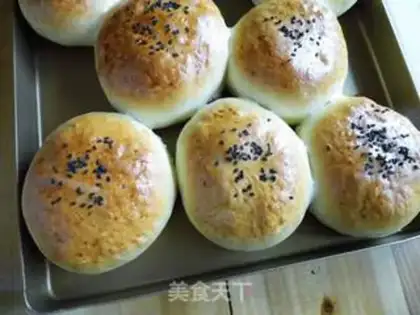
13
Well baked jambread. It's flatPlum jam bread Make Tips
1. The jam tends to leak out, so make sure to pinch the bottom tightly to seal it.
2. Arrange the rolled dough pieces inside; do not pack them too tightly, but leave space for the second proofing.
3. Different brands of flour absorb water differently, so do not add all the liquid at once; adjust according to the actual situation.
4. Once the bread has cooled to slightly warm, place it in a storage bag to keep it soft and fluffy.