Plumbnut
By VicentaLakin

The chick was hit by a virus flu two days ago and finally got rid of the disease yesterday. It's a lively day. I'll ask the girl after lunch, what do you want? For me who never tried bread again, Don time has a problem. And so, again, reading and learning from the experiences of our predecessors, it was only then that I achieved the present posh soybean bread! My efforts proved to be not in vain. Even the neighbors next door say it's good enough to sell in the bakery! When I hear it, I hear it, and I'm gonna do it with my heart, and I'm gonna do it
Recipe Recommendations
- high-gluten flour 300g
- Homemade bean paste filling appropriate amount
- salt 2.5ml
- milk powder 15g
- egg liquid 30g
- butter 25g
- white sugar 40g
- yeast 5g
- water 130g
- sweetening
- baking
- several hours
- senior
Steps for Plumbnut
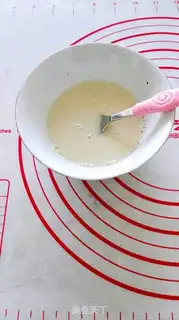
1
THE DRY YEAST IS DISSOLVED WITH HALF THE TEMPERATURE OF THE FORMULA IN ADVANCE AND FOR A STATIC MOMENT. {THIS FORMULATION USES 130G WATER AND 65G WATER DISSOLVES YEAST)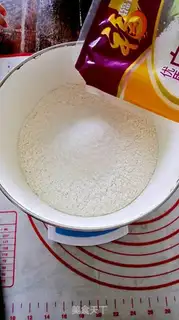
2
Quantification of dry materials such as flour, sugar, salt, milk powder。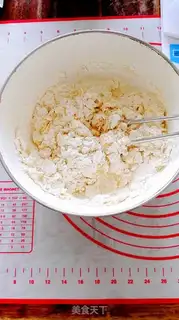
3
Add dissolved yeast water, another half of water, scattered eggs, etc., other than butter。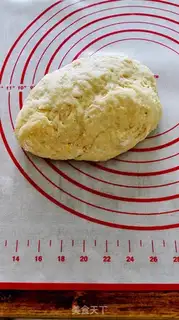
4
Powders and liquids are slowly mixed up until they form a noodle。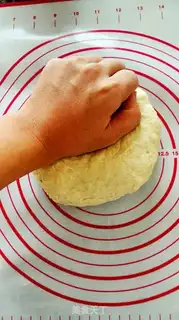
5
Scratch the dough. It'll be sticky at this time, and it's not smooth. But do not add flour easily. Squeeze, the noodles become flexible and the surface is smooth. And, as the noodles form, the noodles start to get less sticky。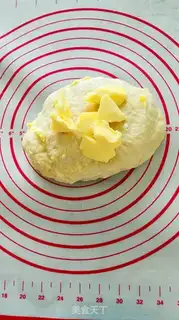
6
A certain amount of butter could be added to it, softened butter would be added to the noodle, and the butter would be poured into the noodle. At first, the noodles were a bit “gruesome”, but as they were rubbing, the butter was gradually absorbed. Keep rubbing and the noodles are smooth and flexible。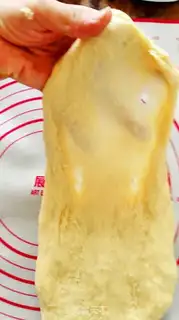
7
Test the strength of the faceband: spread it carefully to see if a thin film can be formed. The film at this time is not particularly resilient or more easily broken. The ruptured hole is in an irregular shape rather than a smooth circle. That's when the noodles were extended. If we make most of the sweet bread and fix it, then we can stop rubbing our faces。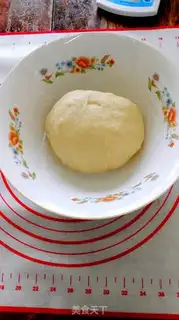
8
Put the rubbed noodles in the big bowl, with the skin covered, and put them in room temperature for the first fermentation。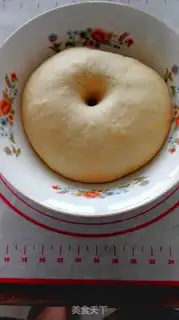
9
It fermented 2-2.5 times as big as it used to, with powder on its finger and a hole in the top of the face, and when the finger was pulled out, the fermented hole did not collapse or retreat, but instead remained as it was。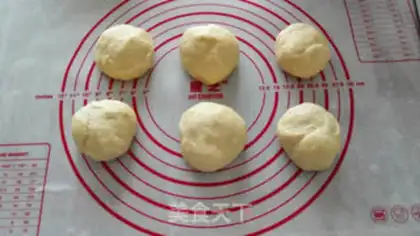
10
The fermented pasta excreted the air and split into six slightly less heavy ones, forming a circle. The plastic face is kept in the chamber temperature for about 15 minutes。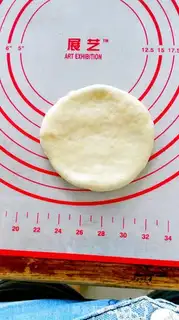
11
Take a fermented noodles, flatten。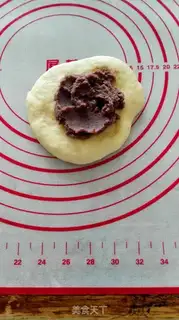
12
A red bean pie is wrapped in flat noodles。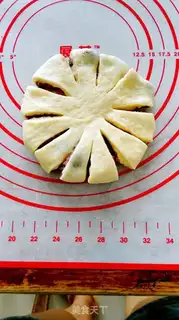
13
Put your red bean-covered noodles down and stomp them in a flat circle. As shown in the figure, 12 scissors were used on the flat-flank face。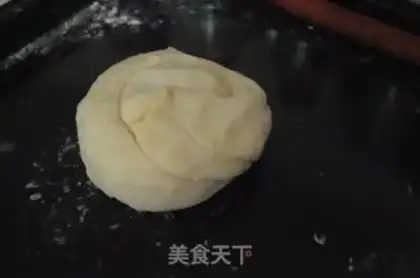
14
I'll put the cut noodles in a flower shape. (I)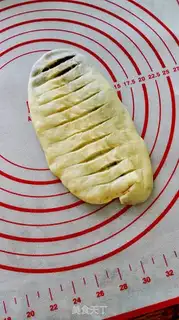
15
The second approach is to flatten a fermented pasta, wrap a red bean pie, and squeeze it in. The coating of the material is made into an elliptical form, and several lanes (only the surface level) are drawn with a sharp knife。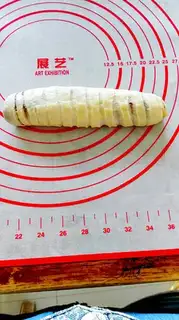
16
The face of the face is rolled up, the two of them bend into circles and squeeze the mouth。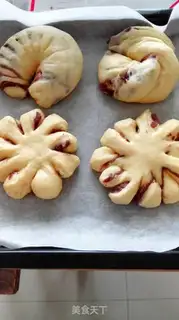
17
Release into the oven, where the final fermentation takes place at a temperature of 38 degrees and above 80 per cent humidity, until the pasta becomes twice as large。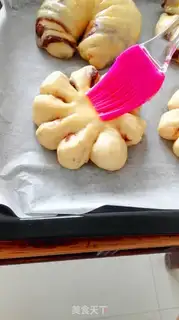
18
A full egg fluid is painted on the surface of the fermented surface。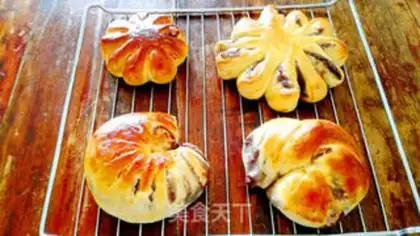
19
Put it in a pre-heated oven, in the middle of the oven, up and down, 180 degrees, 15 minutes, before the bakery is yellow。Plumbnut Make Tips
1. Different flours have different water absorption rates, so it is not recommended to add the water from the recipe all at once; instead, adjust the amount appropriately based on the actual condition of the dough.
2. The dough will be very sticky at the beginning. A plastic bench scraper is a very useful tool that can help us scrape the dough stuck to the workbench. Personally, I recommend Zhanyi's silicone dough mat; it works particularly well.
3. When making bread at home without a professional proofing box, it is hard to guarantee the fermentation temperature and humidity for the bread. Therefore, we have to settle for the next best thing and try to create a similar environment. Here is a method: after arranging the dough on the baking sheet, place it in the oven, put a tray of boiling water at the bottom of the oven, and close the oven door. Once the bread has finished proofing, remove it from the oven, take out the boiling water, preheat the oven according to the conditions shown in the recipe, and proceed with baking.
4. When baking, observe carefully to prevent the color from becoming too dark, which affects the appearance. If the bread surface browns well, you can cover the top layer with aluminum foil.
5. Bread storage: Bread can generally be stored at room temperature. If you want to keep it for a longer time, you can place it in the freezer; when you want to eat it, take it out and reheat it in the oven to restore softness. However, never put it in the refrigerator compartment, as the temperature there will accelerate the aging of the starch in the bread, greatly shortening its shelf life.