Pumpkin chestnut bag
By VicentaLakin
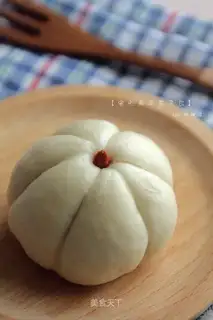
Chestnuts and pumpkins are the mouthpieces of the fall. So today these two small partners are made into a combination. Pumpkin's make-up, with chestnuts in it, and a red tumbler, and a raw pumpkin chestnut bag. Unfortunately, the preparatory work was inadequate. If you add some pumpkin mud to the leather, it'll be a golden color. The Chinese method was the same as the previous one, and the good thing is worth trying again
Recipe Recommendations
- ordinary flour
- qingshui 150g
- sugar
- yeast 3g
- Home-made granular chestnut stuffing 240g
- sweetening
- steamed
- an hour
- ordinary
Steps for Pumpkin chestnut bag
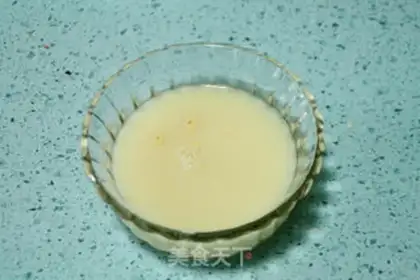
1
(b) early decomposition of yeast in 150 g clean water, with a few minutes of sequestering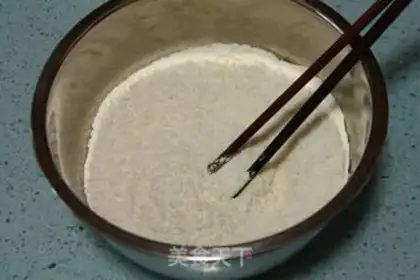
2
FLOUR (A) AND FINE SUGAR (A) ARE PLACED IN CONTAINERS, EVENLY MIXED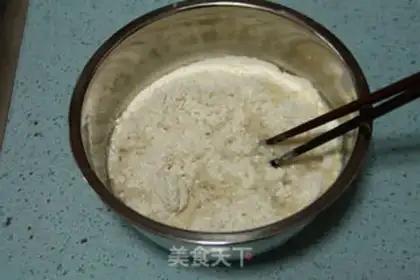
3
The yeast is slowly added to the mix of flour and sugar, and the mix is even to dry powder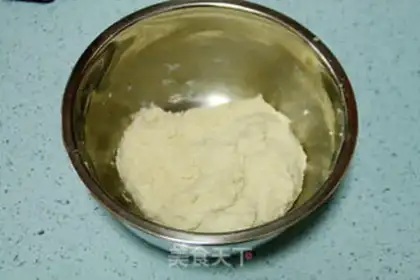
4
(b) Covering the lid or protective membranes in warm and wet areas and fermenting for 30 minutes (around 20 degrees of room temperature)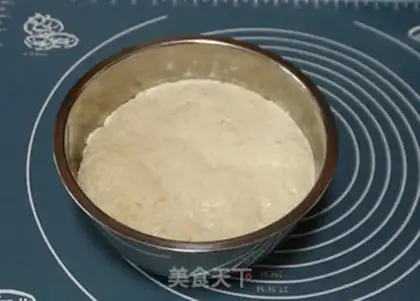
5
A fermented pasta that smells of acid and has many little bubbles on its surface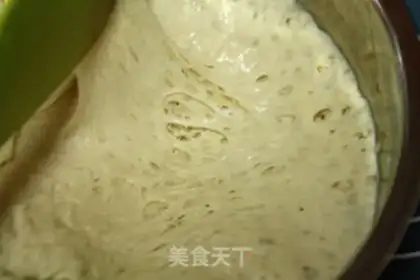
6
Torn off the surface and saw a fine and even beehive tissue, and fermented noodles were made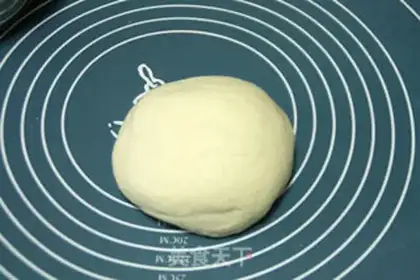
7
ADDING FLOUR (B) FROM THE MAIN NOODLE TO THE FERMENTED NOODLE, AND THEN RUBPING IT INTO A SMOOTH NOODLE WITH A RAZOR TO THE STATE OF ALMOST DRY POWDER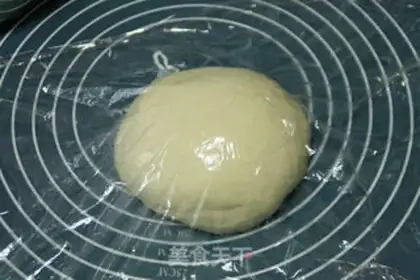
8
Covered with film protection, static 5-10 minutes (room temperature around 20 degrees)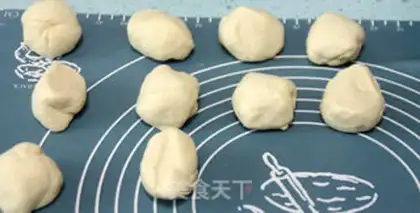
9
at the end of the period, the dough is split into a symmetrically large, each of which weighs about 40 g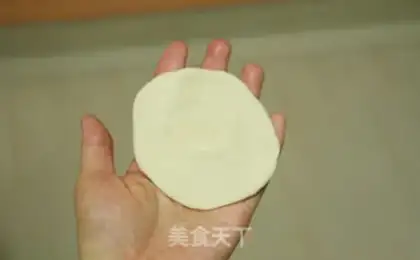
10
(a) Take a small noodle, flatten with the palm of its hand, and stomp it with a scrawny stick into a thin round skin in the middle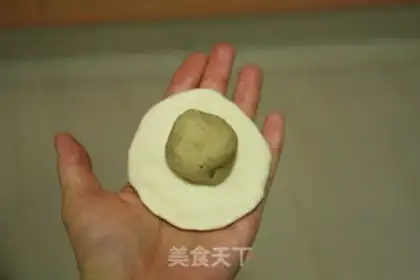
11
the paps were split into 20 g-groups in advance. (b) placing the material in the middle of the skin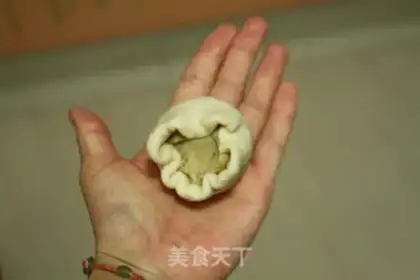
12
Skin wrapping the material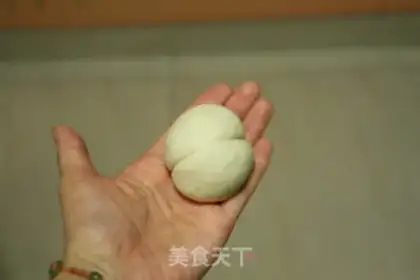
13
Squeeze your mouth, shut it down, put it on the table, and roll a little. (a) Crushing of two stripes on the bungee first, as shown in the figure, using the round arc of the scratchboard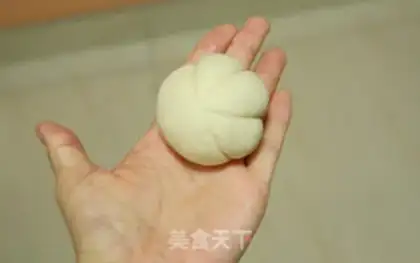
14
On one side, two more stripes continue to be pressed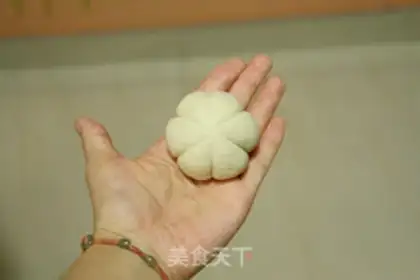
15
Keep pressing out the other side of the line. As shown in the figure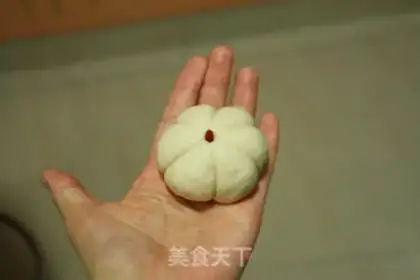
16
It's a little bit of a pickle, and it's basically a pumpkin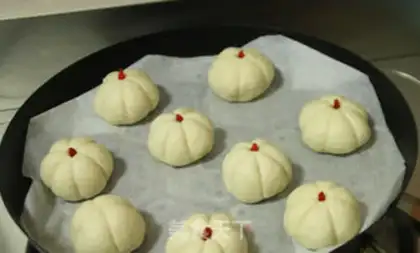
17
(b) Placing the embryos in the evaporation of the pre-coated gauze or oilpaper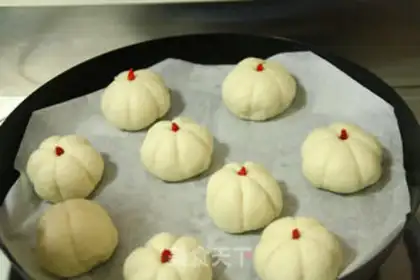
18
Cover the lid with 15 minutes of silence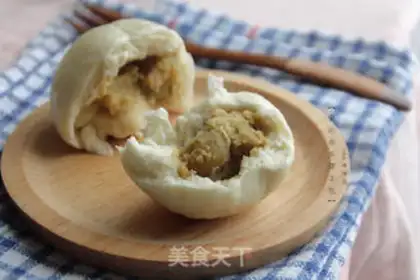
19
The fire, which continues to steam for 15 minutes, is closed, and the roof of the pot is suspended for 3 minutes. The buns are transferred to the dryer, so they can be eaten with a little cool。