The embroidery bun
By VicentaLakin
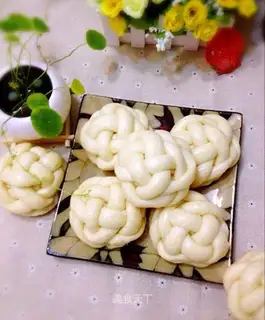
I'll reissue the recipe for the buns, and I'll be more detailed about flour, milk and waking hair, so that everyone can lose and make a delicious, nutritious, beautiful embroidery bun
Recipe Recommendations
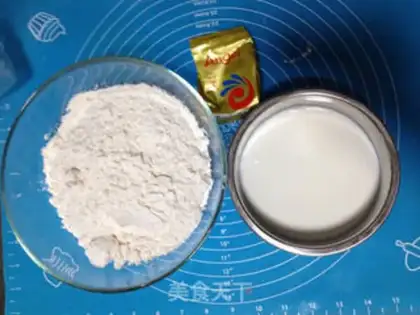
- flour 400 grams
- milk 240 grams
- dry yeast 3 grams
- milk fragrance
- steamed
- an hour
- simple
Steps for The embroidery bun
1
The choice of flour may be either common rich or high-strength flour. Milk or warm water, but if you use warm water, you don't need 240 grams or 200 grams. It's good with milk, it's resilient, it's white。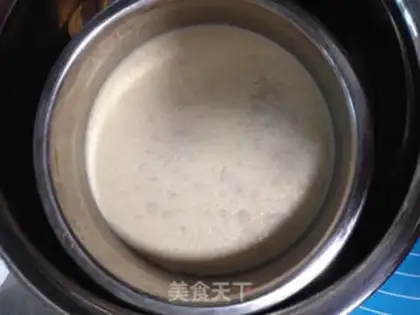
2
With regard to the temperature of milk, it is suggested that it be used in the heat of the day and in the cold of the day. Everything is so that the dry yeast can ferment in the best possible state, and the temperature can be put in the heat by hand。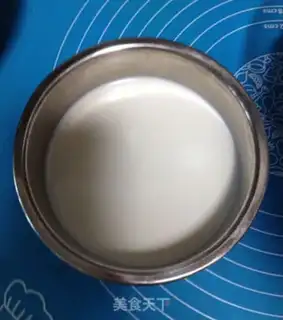
3
The dry yeast is spread over the milk for about 10 minutes. It's my silent milk state, and the dry yeast naturally defuses it。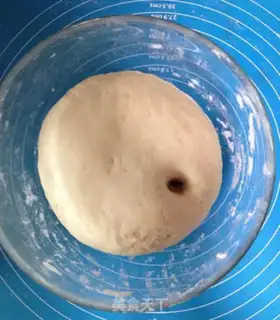
4
Mix milk with flour, rub it in smooth noodles, cover it with wet cloth, wake it up for about an hour, about 40 minutes this summer. Wake-up noodles with their fingers. They don't fall. They're fine。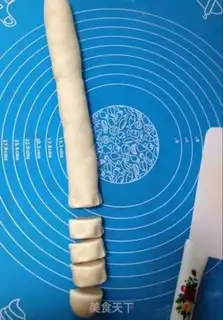
5
The pasta will continue for a while, and this will be two to three minutes, with a slight exhaust (with the scepter opened) and then the strips will grow and be cut into 20 to 25 grams of small agents, four in groups。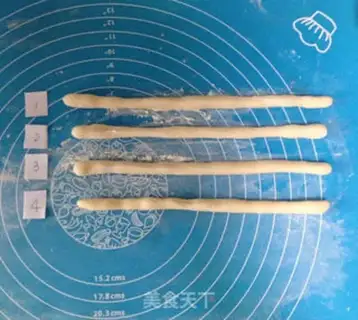
6
Four groups of long strips swung around 22 cm。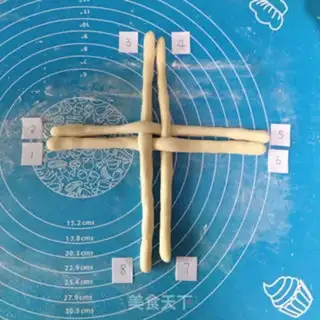
7
As shown in the figure, this is in a well font. We'll have to line it up a little bit。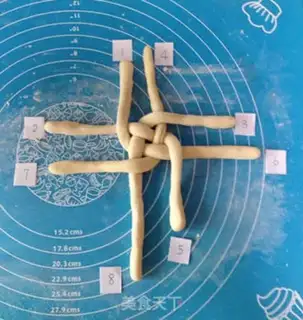
8
Let's start with the embroidery ball. First, the clockwise turns around and staggers, and the four-and-three-digit noodles are on even-numbered noodles。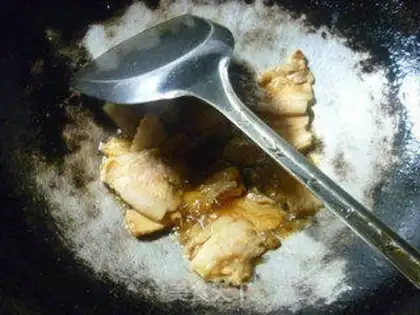
9
Then we're going in the opposite direction. The counterclockwise turns to the pressure and also staggers, pressing even-numbered noodles on odd-numbered noodles。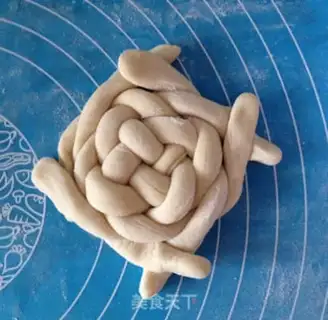
10
The first two steps are repeated and the tails of the noodles are pressed on each other after completion。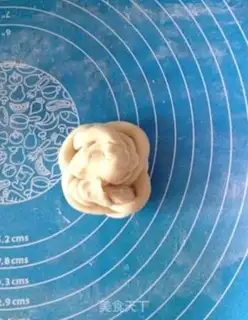
11
You have to squeeze your back, you have to stab it in the center a little bit, so the embroidery ball is more full。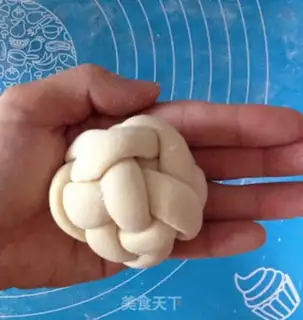
12
Turn it over, scratch it on the panel, a little plastic, that's all。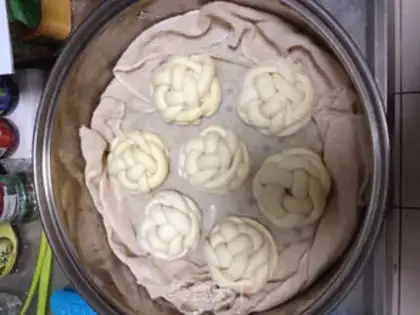
13
The buns are placed in cold-water cupboards, with a 15-20-minute wake-up cap。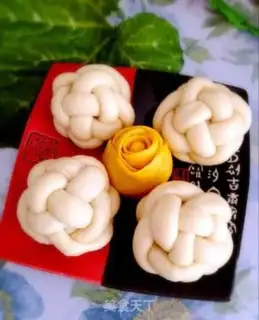
14
Here's the difference between cold water and open water. If your face is awaken, it's over again, then it's steaming, so it doesn't smell sour. It takes 15 minutes. The other is a normal awakening, and cold water evaporation is recommended, which takes 25 minutes. Five minutes after steaming, the pot will be ready。