Sour dates
By VicentaLakin
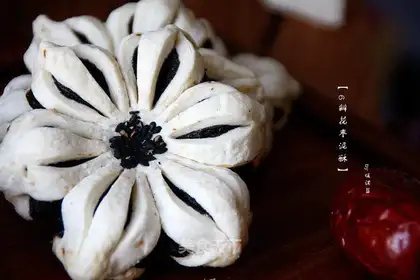
Mom's New Year's Accompanying with the last wave of the medium dot. It's been amazing for me when I first saw it. But I always thought it was so beautiful, it must be a problem, so I couldn't try. This time, I've given up to give Mom a face. It's not as simple as I thought it would be. First of all, the shape. Before that, I looked for a pattern of purple flowers on the Internet, and I saw pictures of five petals, one of them large, the other four responding. But what I see is a six petals. So, at the time, I was secretly reminded to look at the petals when they were made. But the saying is good: "Good memory is not as bad as a pen." When you do it, you completely forget the petals. When the petals were cut and the shape was squeezed, it suddenly came back. Unfortunately, it's too late, but it's good to look at six petals, but it can't be called a purple souffle, so call it a "six petal souffle," simple and intuitive. Next is the soothing. After the roll, the soothing was put in the air for a longer time (about three hours) because of delays in the home. Although the surface is covered with protective film, an extra layer of dry towels has been built. But when it was finally shaped, it was clear that the soothing was dry. This, although it does not affect the whole rise, leads to a slight difficulty when the petals are finally squeezed. But after a little watering on my petals, the problem was solved, so it was nothing. This time it's dates. It's more traditional, and it's a bit more acceptable and more enjoyable for uncles and aunts. These are some of the things that made the snacks this time, which are recorded for later on, as well as some of the txs that wanted to make this shape for use. In addition, in the course of doing so, several “chrysanthemums” were cut. The baked product, and Mom loved it. So it's recorded together. Soothing formulas still come from "Women Samson." Thank you! (The amount used is only for reference purposes, and the following amounts can be used to produce around 50 g sox 24. Of these, A is oily material. B for tarcrete. C for dates. D for surface decoration material
Recipe Recommendations
- fine sugar 45G
- qingshui 90g
- ordinary flour 225G
- lard
- low-gluten flour 180G
- Big dried red dates 500G
- salt handful
- cooked black sesame seeds appropriate amount
Steps for Sour dates
1
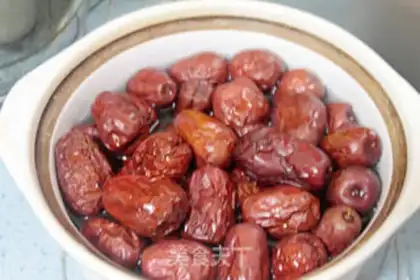
FIRST WE'LL MAKE DATES. BIG RED DATE (C) WAS WASHED ONE NIGHT EARLIER, IMMERSED IN WATER, BUBBLED INTO BIG DATE SKIN, ALMOST WITHOUT WRINKLES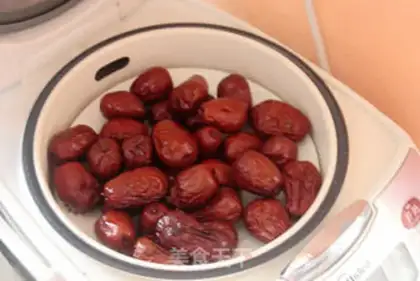
2
(b) 15-20 minutes of leachate, steam in the pot, steam in the fire3
And when the dates are fertilized, they are brought out a little cool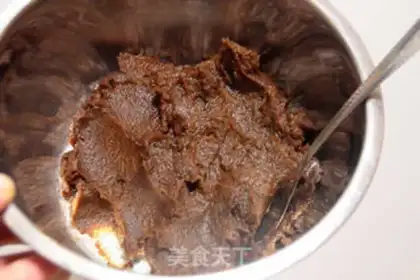
4
filtration and nuclei, with delicate dates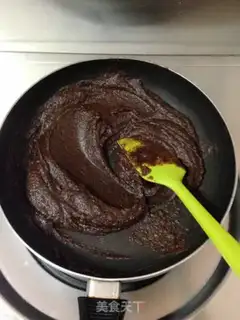
5
AND PUT THE DATE-PALM INTO THE POT, AND ADD SALT AND PIG OIL, AND TURN IT INTO LUMPS OF DATE-PALM, AND NOT STICK IT IN THE STATE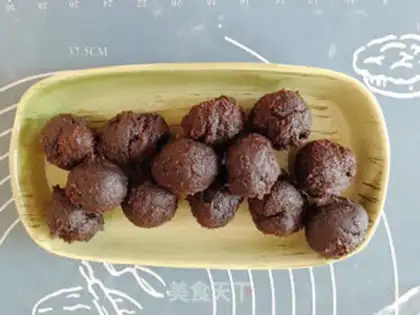
6
(b) the date mud is split into small fractions, each of which is about 22 g or so, and frozen back up after rolling round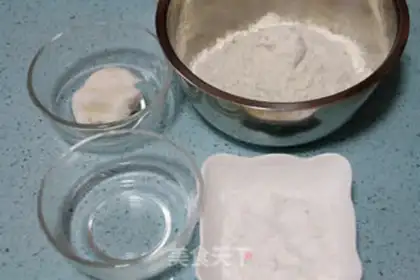
7
THEN WE'LL MAKE OIL PEELS AND SOY SAUCE. PREPARATION OF OIL COATING MATERIALS (A)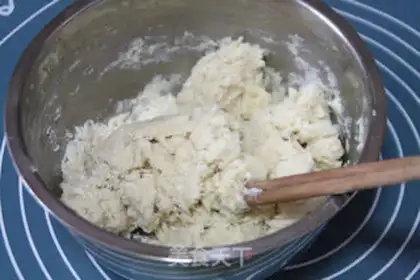
8
(b) Combination of oil-coated materials in large basins, mixing them with chopsticks to virtually dry powder-free conditions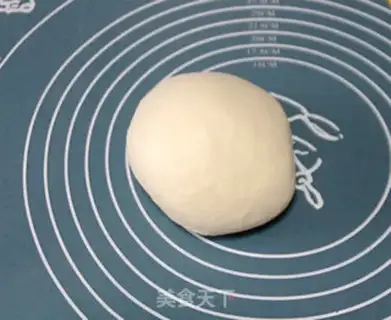
9
It's on the silica pad, and it's smooth on the surface, and it's not sticky. (b) Collapse the noodles with a protective film and relax the spares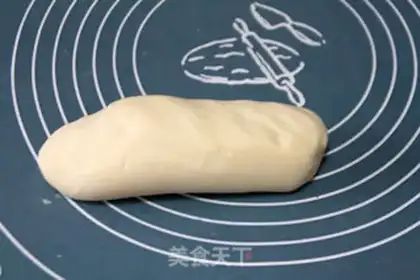
10
PREPARE ALL THE MATERIAL (B) FOR THE TARP. COMBINATION OF LOW-BANDED FLOUR AND PIG OIL INTO SOY SAUCE. IN THE BEGINNING, IT MAY FEEL DRY, SLOW, SLOW, AND EVENTUALLY BECOME A SMOOTH TROUPE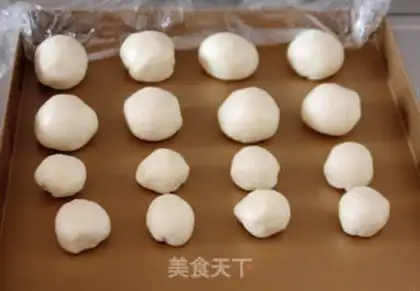
11
the oil coats and the soccer are warm for about 20 minutes. the loosely fertilized oil coats and the sodium are divided into 25 small pieces, each about 18 g, and the sodium is about 13 g in weight. (b) covering the film after the roll, with spare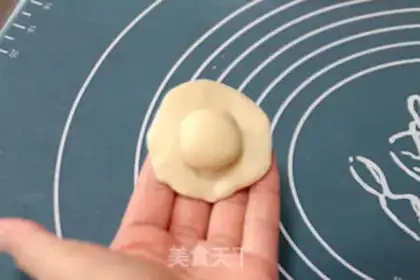
12
(b) Pick up a small oil-coated noodle, flatten it with his palm and put a little noodle in the middle of the noodle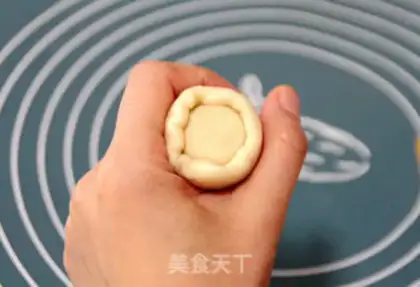
13
(b) The power of the mouth of the tiger, as in the case of the soup round, so that the oil-coated noodles are evenly wrapped in the sofa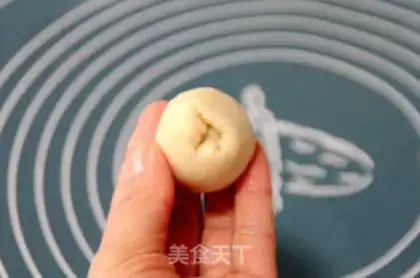
14
Tighten the mouth so that the little tip of the top can be picked off or flattened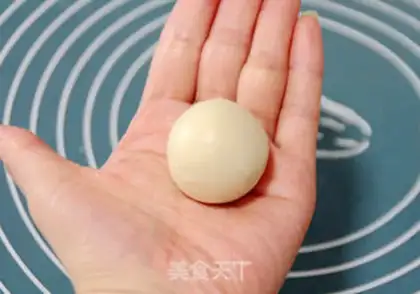
15
Put it down, put it on the silica pad a little bit, and a soccer noodle is ready. (a) To continue to make the next film after covering it
16
- Make all the soccer noodles, cover the membranes and relax for 5-10 minutes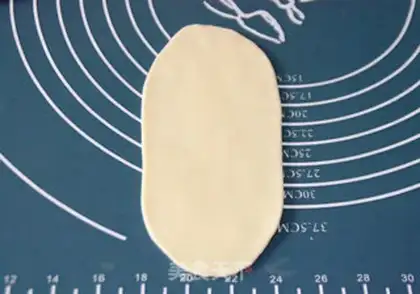
17
At the end of the laxity, take a small noodle, close the mouth down, flatten it with the palm of its hand, then turn the flatted noodle over the face, with a cane from the middle to the two ends, and turn it into a long strip of an elliptical shape. Keep your hands together, keep your hands steady and soft, and don't push your stick. Also, do not roll back and forth the scepter from the middle to the end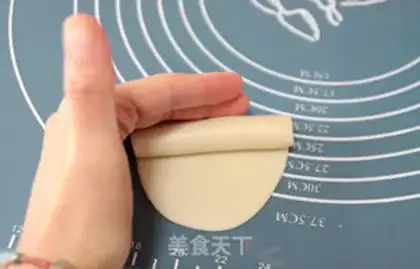
18
A good elliptical stripe, from the top down, rolls with a light abdomen. Keep your fingernails out of here. Just roll up the noodles with your fingertips or palms, and don't pull the noodles when you roll them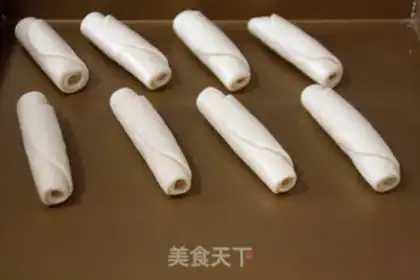
19
Scroll all the dough, close the mouth, and put it on a silica pad for 10-15 minutes. (b) For each done, the covering of the surface is timely to prevent wind drying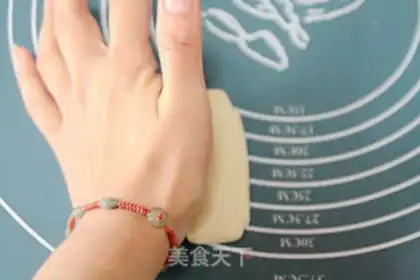
20
Take a loose little noodle and flatten it with your palm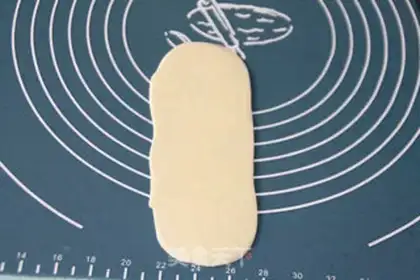
21
With a crutches, it turns into a rectangular face. Care is to be taken, as is the case for the first pasta, softly and evenly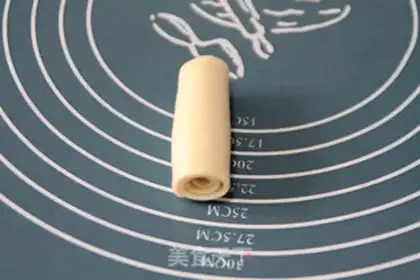
22
Also from the top to the bottom, roll up the noodle, not pull the noodle, not too tight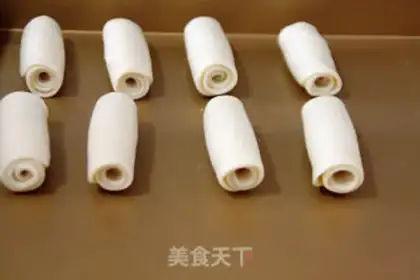
23
(b) Round up all the dough, close the mouth, cover the film and relax for 10-15 minutes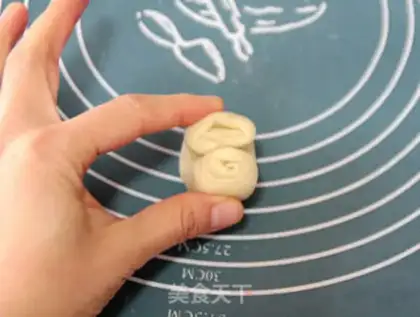
24
After the laxity, take a small noodle and fold it between the ends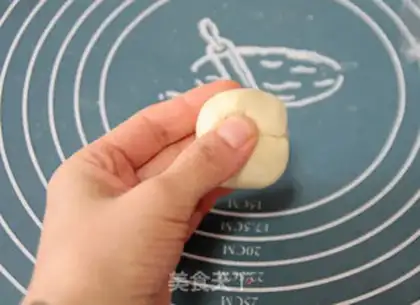
25
The four corners will then be collected in the middle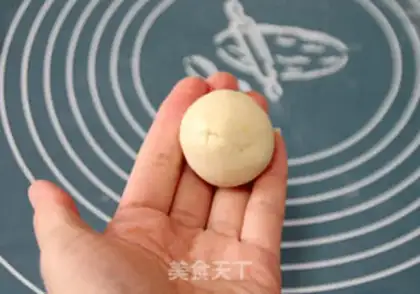
26
Finally, a circle is formed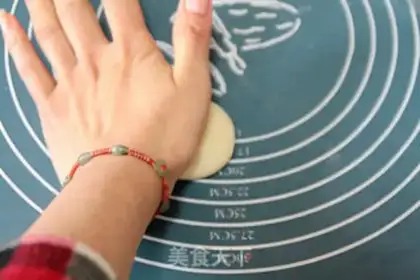
27
(b) Balancing the noodles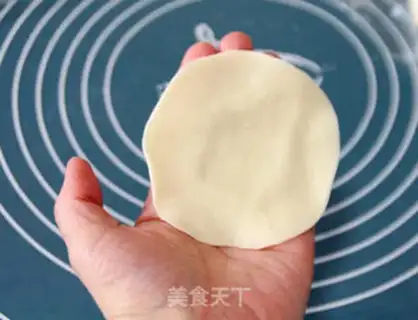
28
Turn around and turn it into a slightly thin mid-heavy skin. Be careful not to be too thin or affect layers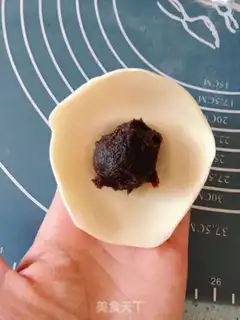
29
(a) In the middle of the skin, a material (can be removed from the fridge five minutes in advance)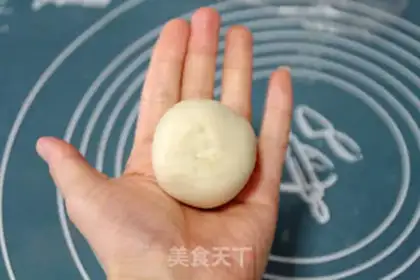
30
Packing the pie with the skin and squeezing the mouth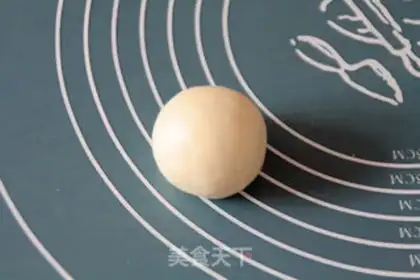
31
(a) Downward and slightly round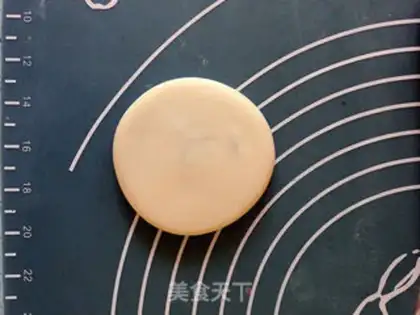
32
squeeze the cake with your hands and make it a flat tusk. (b) the cane is then used to move from the centre to the surrounding area, and it is condensed into a circle approximately 7-8 cm in diameter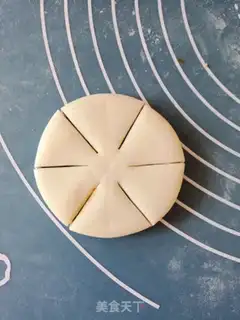
33
With a sharp knife, even six equals, and the middle part is not cut. (I put a flower mouth in the middle and cut it with a small knife.) Here, if you want to make a purple souffle, you can split it into five, one of which is slightly larger, leaving four of them of the same size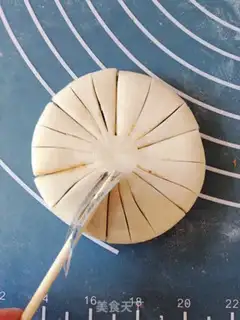
34
Each petal is then cut with a blade or a craft knife (which is sharp in sum) with two small cuts. If you can cut the surface, don't cut the bottom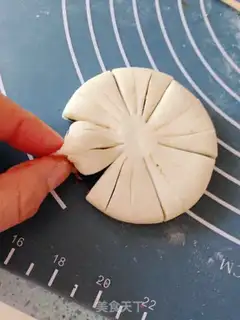
35
So, when each petal has its tip, it's like it's a petal. When you share a little experience, you can squeeze the petals with a little bit of your hand in the middle of the cake, then you can squeeze the petals away, and you can squeeze them in the middle direction, and the petals will turn up a little bit, and the middle will become dim. It's good snacks, and it's more stylish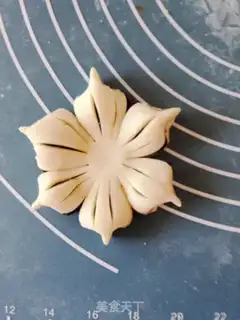
36
When the petals have been quenched, a little fresh water or a thin layer of egg fluid is sprayed in the middle of the cake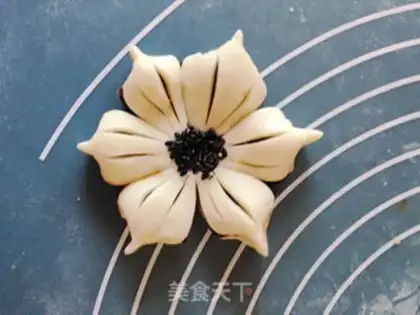
37
(a) Obediated sesame or white sesame, and the cake is made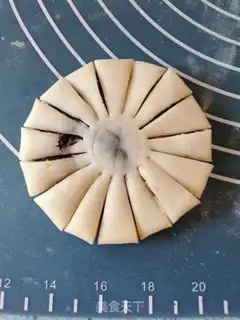
38
If you're going to be a chrysanthemum, start with step 33 and do the following. With a sharp knife and 12 or 16 blades on the cake embryo. Keep your eyes open. A circular object may also be placed in the middle to help smooth the knife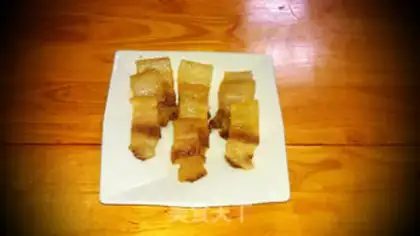
39
(a) Turn the cut-off of the knife, with a pyrotechnic face up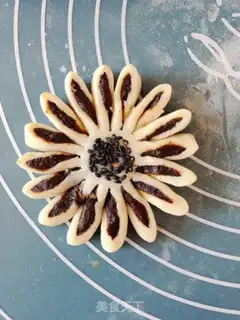
40
(b) Brush water or egg fluid in the middle and dotted with ripe sesame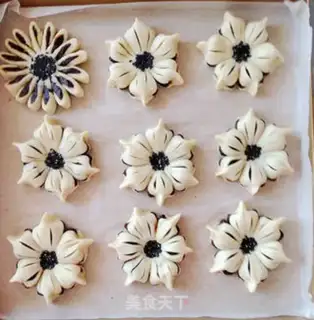
41
Put the cake on the grill and cover the skin. The oven preheating to 190 degrees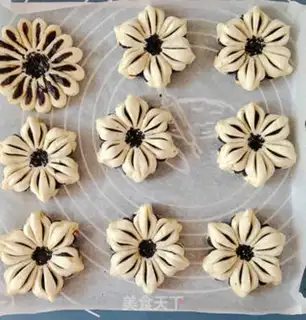
42
After the preheater, the oven is put in the oven, on fire, in the middle, 180 degrees, and baked for about 20 minutes, soothing up to the soothing level. The mid-to-three minutes, watch. If the surface is coloured too quickly, the upper tube temperature can be lowered or the surface coated with tin paper to prevent over-coloring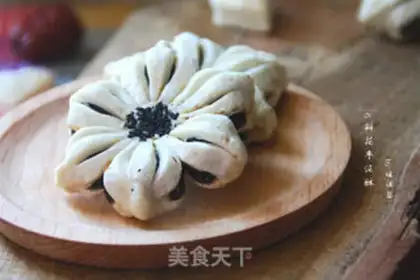
43
After the bake, get out of the oven. When the waffles are cold enough to hold their hands, they are moved to the dry web with a shovel, which can be eaten or stored in seals。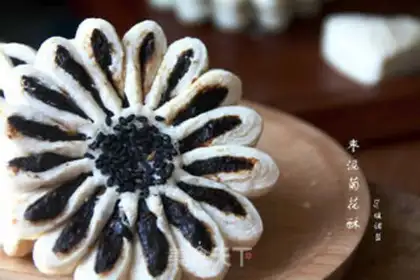
44
It is suggested that it can be kept in seals for a period of two to three days, so that the soothing is slowly refuelling, and the food tastes better。Sour dates Make Tips
1. For these pastries, the small packet lamination method is used. I have already explained the key points and precautions for making the pastry crust in detail in previous articles. Those with questions can refer to these previous articles: Ring Pastry: http://blog.sina.com.cn/s/blog_ec08dcae0102v35y.html, Open Pastry: http://blog.sina.com.cn/s/blog_ec08dcae0102v35z.html. I will not copy and paste that content here. If you still have doubts after reading, please leave me a message;
2. One point I must emphasize here is to keep the pastry crust moist. Once the crust dries out, it will easily crack, the layers will blend, and it will leak oil;
3. After making the date paste filling, you can place it in the freezer first. Wait until it becomes slightly firm, then take it out to portion; this makes it less sticky. After portioning, continue to freeze it, and just take it out a few minutes before using it;
4. Be sure to pinch the seal tight; otherwise, it will crack and the filling will leak during baking;
5. When cutting the petals, there is actually no need to be so precise, as long as the sizes of the petals are roughly the same. There are no two completely identical leaves in this world, let alone flower petals. Additionally, you can place a small round object in the center of the pastry before cutting. This makes the center of the finished pastry look better;
6. When shaping the petals, if the pastry crust is dry, you can spray a little water or dip your finger in some water before pinching them together;
7. Since the pastry crust expands during baking, you can make the petals curve slightly upwards and leave the center slightly indented when shaping the raw pastry. This makes the shape of the baked pastry more three-dimensional and attractive;
8. The specific baking time and temperature should be adjusted according to the actual performance of your own oven. If it browns too quickly halfway through baking, cover it with aluminum foil to prevent the surface from getting too dark, which would affect the appearance;
9. Remove them from the oven immediately after baking, but do not move the pastries right away. Since the pastries are very soft at this time, their shape can be easily damaged. Wait until they are basically cool to the touch, then use a spatula to transfer them to a cooling rack. After the pastries have completely cooled, store them in a sealed container. It is recommended to let them sit for a few days to allow the oil to return and the flavor to improve before eating;
10. I have tried both methods of cutting the Chrysanthemum Pastries. Personally, I feel that when cutting into 12 portions, there is more space, allowing the pastry crust to expand better. When cutting into 16 smaller portions, the finished pastry is flatter and looks more intricate and rich overall. You can decide which method to use based on your own preference when making them.