Chinese coconut mouth
By VicentaLakin
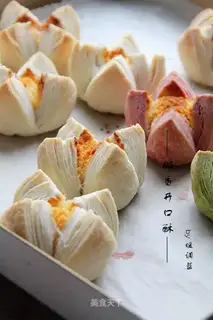
The Chinese dots are an indispensable view of the festival. This time, with my favorite little souffle, I'd like to make it look like a mouthful
Recipe Recommendations
- ordinary flour 150g
- low-gluten flour 120g
- coconut 67g
- milk powder 20g
- egg liquid 36g
- dried cranberries
- powdered sugar 30g
- qingshui 60g
- lard 54g
- butter 34g
- rum a little
Steps for Chinese coconut mouth
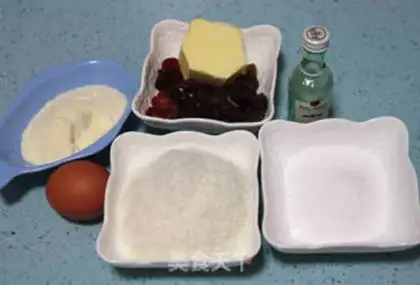
1
1. PRE-PRODUCTION OF MATERIALS: PREPARATION OF ALL C MATERIALS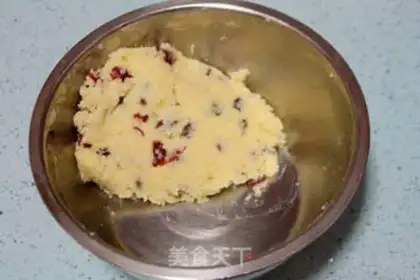
2
THE BUTTER (C) IS SEQUESTERED OR HEATED TO MELT WITH A MICROWAVE OVEN, WHICH THEN MIXS ALL THE OTHER C FEEDSTOCKS. (B) COMBINING INTO GROUPS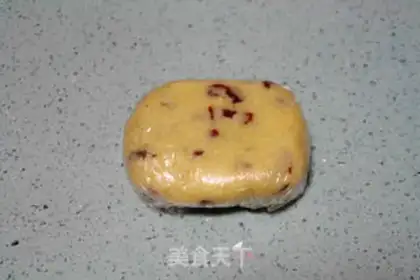
3
The finished material will be packed with a membrane and stored in a freezer. I made the pie the night before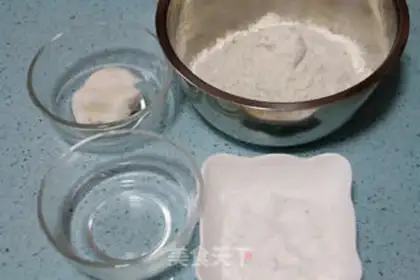
4
AND THEN WE'RE GONNA MAKE A TARP NOODLE. PREPARATION OF MATERIALS FOR OIL COATING (A)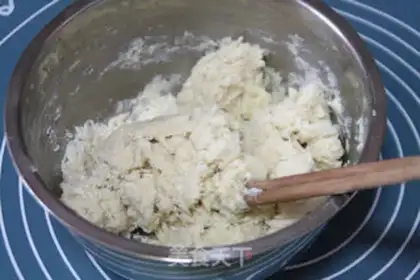
5
(b) Combination of oil-coated materials in large basins, mixing them with chopsticks to virtually dry powder-free conditions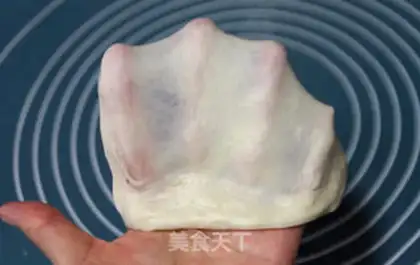
6
Transferred to a silica pad, rubbing it into an extended state capable of pulling out large thin film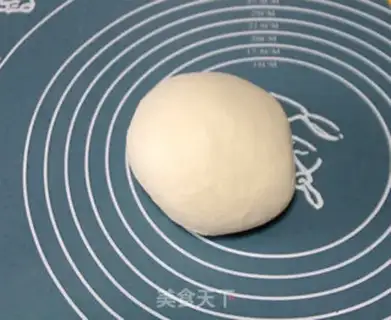
7
The face should be smooth and not sticky. (b) Collapse the noodles with a protective film and relax the spares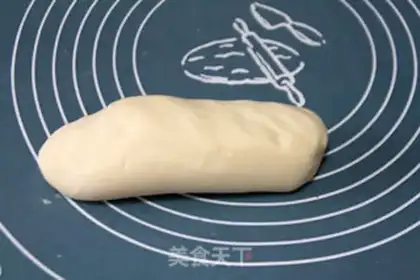
8
AND THEN MAKE THE SOFA. COMBINATION OF LOW-BANDED FLOUR AND PIG OIL IN MATERIAL (B) INTO CLUSTERS. IN THE BEGINNING, IT MAY FEEL DRY, SLOW, SLOW, AND EVENTUALLY BECOME A SMOOTH TROUPE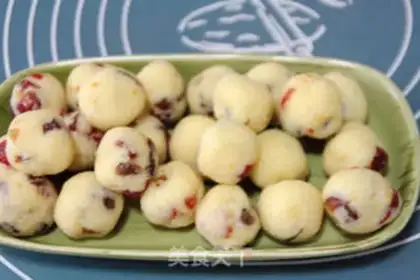
9
the oil coats and the soccer are warm for about 20 minutes. at this point, frozen hard-tonted materials in the refrigerator can be removed and split into small elements, around 15 g each, and then rolled into groups to keep the freezer back up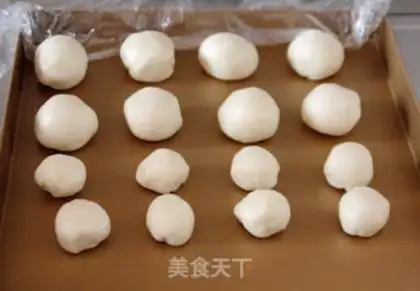
10
the loosely turpentines and the soufflés are divided into 16 small pieces, each of which is about 18 g, and the soufflés weigh about 13 g. put a red film on the back of the roll. i'm halfway there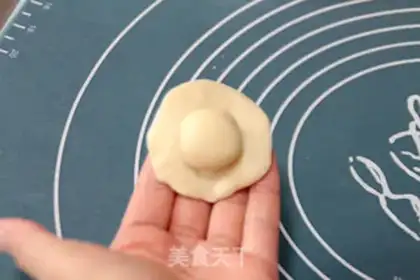
11
(b) Pick up a small oil-coated noodle, flatten it with his palm and put a little noodle in the middle of the noodle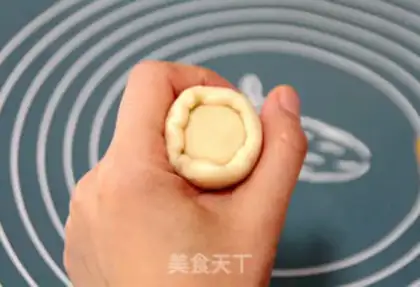
12
(b) The power of the mouth of the tiger, as in the case of the soup round, so that the oil-coated noodles are evenly wrapped in the sofa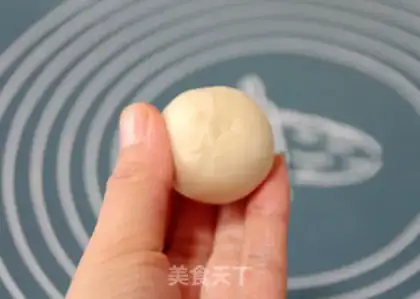
13
Tightening the mouth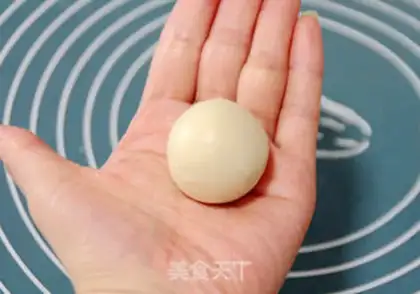
14
Put it down, put it on the silica pad a little bit, and a soccer noodle is ready. (a) To continue to make the next film after covering it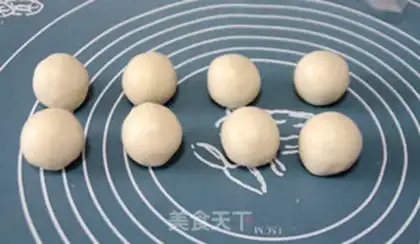
15
Make all the cinnamon noodles, shut down, cover the film, and relax for 5-10 minutes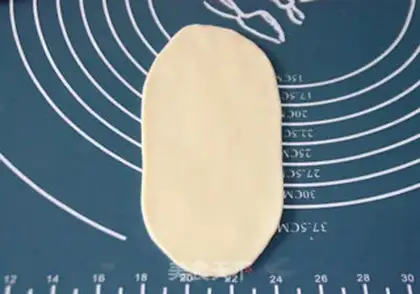
16
At the end of the laxity, take a small noodle, close the mouth down, flatten it with the palm of its hand, then turn the flatted noodle over the face, with a cane from the middle to the two ends, and turn it into a long strip of an elliptical shape. Keep your hands together, keep your hands steady and soft, and don't push your stick. Also, do not roll back and forth the scepter from the middle to the end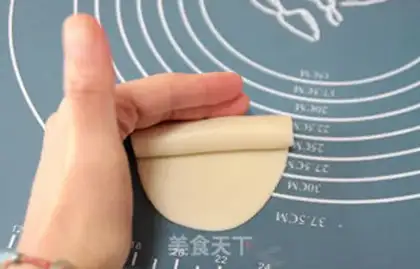
17
A good elliptical stripe, from the top down, rolls with a light abdomen. Keep your fingernails out of here. Just roll up the noodles with your fingertips or palms, and don't pull the noodles when you roll them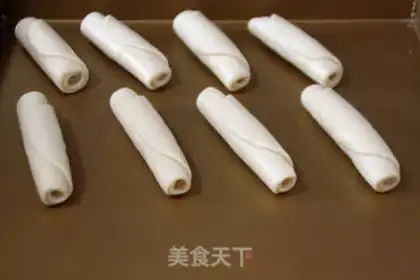
18
Scroll all the dough, close the mouth, and put it on a silica pad for 10-15 minutes. (b) For each done, the covering of the surface is timely to prevent wind drying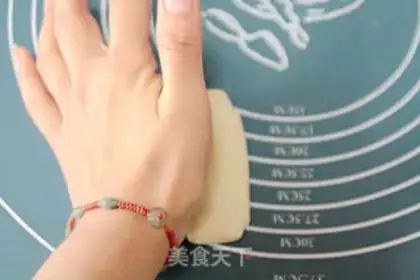
19
Take a loose little noodle and flatten it with your palm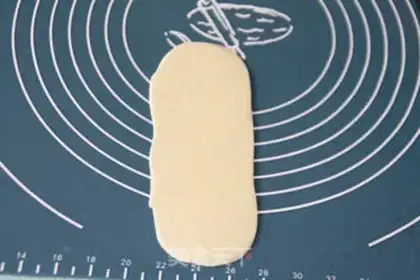
20
With a crutches, it turns into a rectangular face. Care is to be taken, as is the case for the first pasta, softly and evenly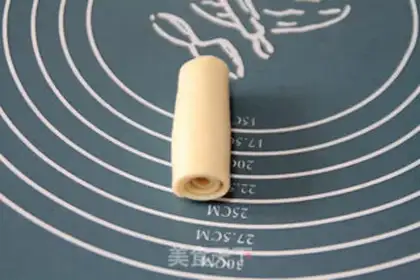
21
Also from the top to the bottom, roll up the noodle, not pull the noodle, not too tight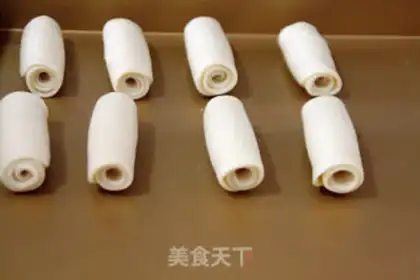
22
(b) Round up all the dough, close the mouth, cover the film and relax for 10-15 minutes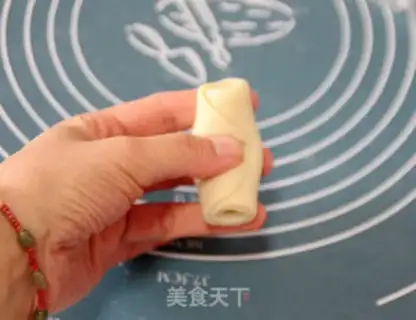
23
After the laxity, take a small noodle and fold it between the ends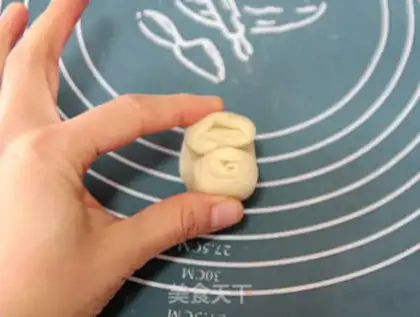
24
to be folded into a picture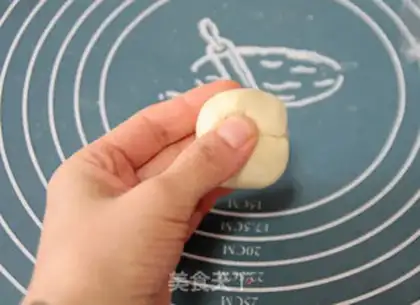
25
Then four corners will be collected in the middle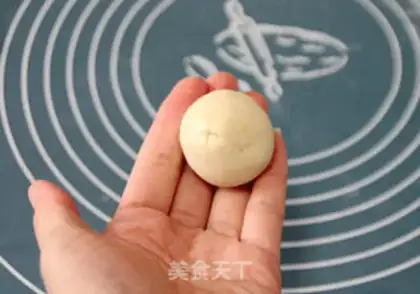
26
Finally, a circle is formed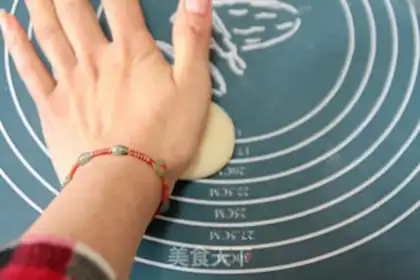
27
(b) Balancing the noodles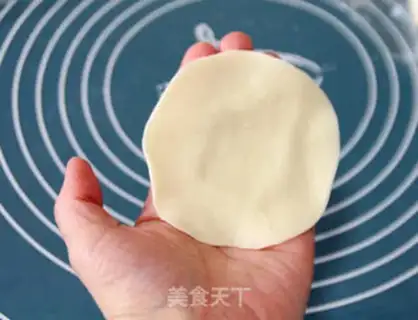
28
Turn around and turn it into a slightly thin mid-heavy skin. Be careful not to be too thin or affect layers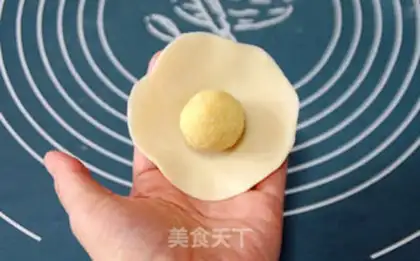
29
(a) in the middle of the skin, an i-container (can be removed from the refrigerator five minutes in advance)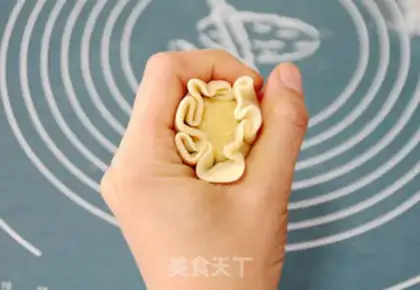
30
Full wrapping of the material with skin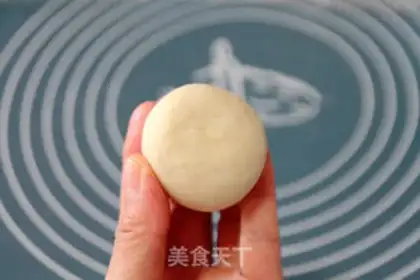
31
Tightening the mouth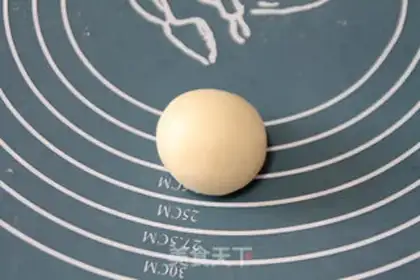
32
Put it down and put it on a grill with pre-painted paper. A preheated oven, 185 degrees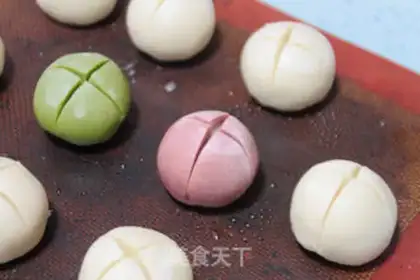
33
(b) Draw an egg fluid or honey water on the face of the cake, and, when dry, cut the crosses with a sharp knife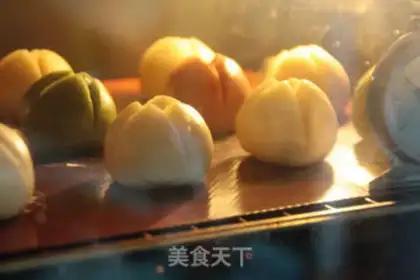
34
After preheating, the cake is sent to the oven, mid-level, upper and lower fire, 180 degrees, baked 25-30 minutes, yellow and yellow, and laminate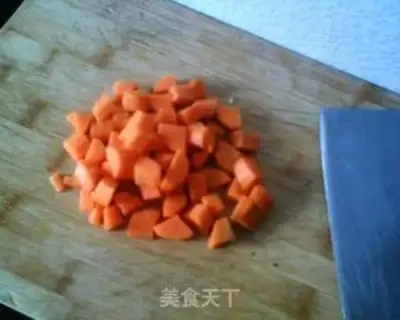
35
Once baked, the oven is released and the shovel is transferred to the drying site, which can be stored in seal once cooled. It's better to put the spicy snacks in a few days and eat them when they returnChinese coconut mouth Make Tips
This attention is essentially the same as that of the previous "circle" and is no longer repeated. You can refer to my previous logs or recipes. Thank you. 2. When a package is packaged, you can have a dry side down, if you like me, so that when you bake, the blade will not dry and bake. The dot looks and tastes better; 3. If the bagel is soft, it can be put in a freezer or freeze for a while before cutting the cross, which is cleaner and easier to operate。