Meat pine cheese
By VicentaLakin

Cheese is one of my favorites. Whether it be a pizza, or a meal, or a pie or bread, it is a place on which to spread, and it greatly stimulates my appetite. It is not a good thing that appetite is too high, but I am happy. Meat pine, though not the favorite, is indeed a good partner for bread. So there's this pine cheese. Amount of reference: 8。
Recipe Recommendations
- high-gluten flour 240g
- low-gluten flour 40g
- meat floss
- yeast 3g
- eggs
- water 120g
- fine sugar 30g
- salt 3g
- butter 25g
- milk powder 10g
- egg liquid
- mozzarella cheese
- salad dressing
- Dried chives
- salty and sweet
- roast
- several hours
- ordinary
Steps for Meat pine cheese
1
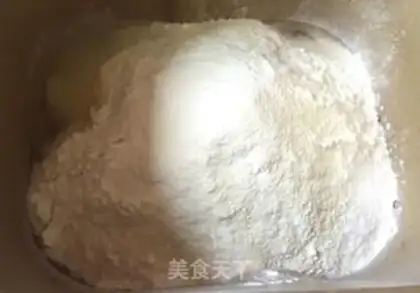
Butter cut, room temperature softened. Take 50 grams of water soluble yeast and hold it for five minutes. The yeast water and other pasta raw materials (except butter) were then mixed together。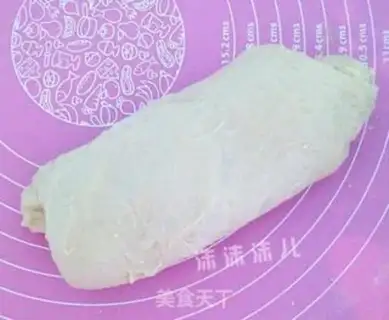
2
Go ahead. It's not hard to rub the face by hand, and it doesn't have to be strong, and it needs to be smooth。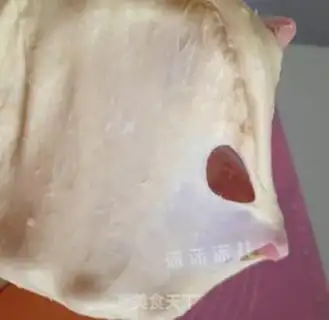
3
Scratch out the rough membranes and break the edge of the hole。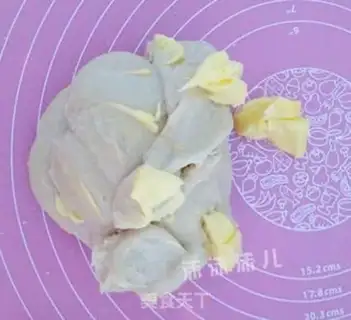
4
It's time to add butter。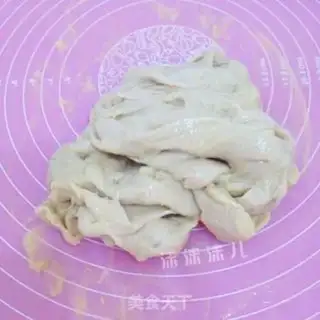
5
I've just joined the butter noodles, and I've always felt that there's an excellent word for it -- muddy. It's a little something, but it is. All the time, all the butter is absorbed by the noodles, and they turn into smooth ones。
6
Feels like it's rubbing. Cut a piece open to see how it's coming out. You can pull out a membrane film of medium size, it's not easy to break, it's smooth to pierce the edge. I don't have to look for membranes, but I have to focus on membranes, so I can take one-hand photographs and put them on my hands..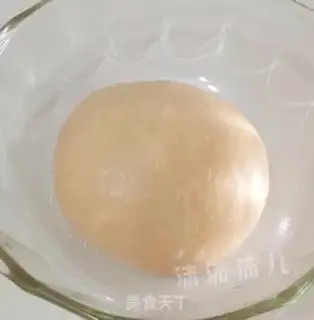
7
Put it in the basin and cover it with a protective film for room temperature fermentation, which is the one, also called basic fermentation. In winter, non-heating areas need external support。
8
When the noodle fermented to 2.5 times the size, the finger sticky flour, the fingerprints do not return immediately, and the noodles do not leak, the fermentation happens。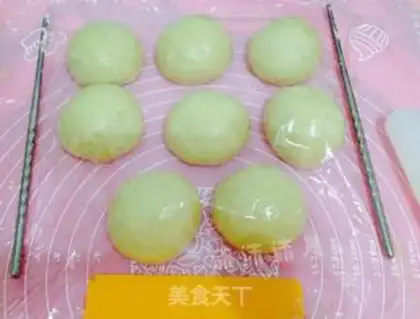
9
Take the fermented noodles out of the fermented pasta, and squirt them into eight points and rub them in groups. It's two rounds, and it's a wake-up call。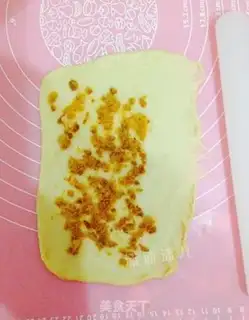
10
And then start the plastic. The loosely turpentine is retrenched again, the stubble cane is used to grow the square and the finger is pressed thinly. Put on a proper meat pine pie。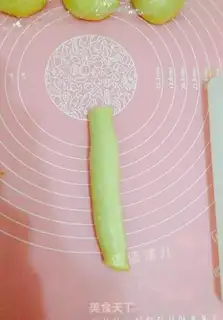
11
Roll up. Push that thin side on the outside。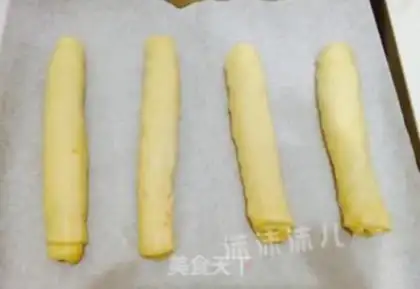
12
After all the plastics are finished, put them in the oven。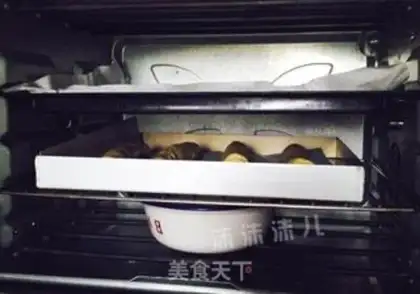
13
Put it in the oven and put a bowl of warm water at a temperature not exceeding 50 degrees at the bottom, with three rounds, which is also the final fermentation。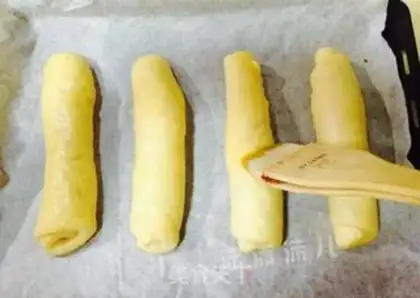
14
The bread with the casserole will end up fermenting to 1.5 times the size. After removal, paint the egg fluid on the surface. 180 degrees preheat oven at this time。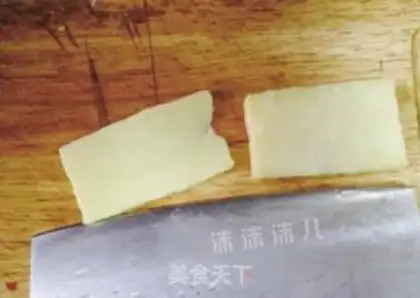
15
Cut the Masurira cheese into silk, put it on the bread, then squeeze back and forth with salad sauce, and then throw dry onion onions, or celery (also known as Basili)。
16
Once all surface decorations have been completed, they will be placed in a preheated oven, with 180 degrees of fire and 15 minutes of roasting。Meat pine cheese Make Tips
1. When kneading any flour into dough, the amount of water added depends on the condition of the dough and is related to factors such as region, humidity, type of flour, and the flour's water absorption. If there is too little water, you can add more; if there is too much, it is not suitable to add flour. Therefore, the water quantity is for reference only and is not fixed. It is recommended to reserve 20% of the water when adding it.
2. The dough will lose moisture during the kneading process. Since water was reserved initially, pay attention to supplementing moisture while kneading. The method is to place a small bowl of water by the work surface and dip your fingers in it to pat onto the dough as needed.
3. Since this is not for making toast, it is not necessary to reach the full development stage, nor is it necessary to blindly pursue a "glove film" (gluten window). Observing the state of the film is the most important thing.
4. The ideal temperature for the first fermentation is 27°C, and the ideal temperature for the third fermentation is 35°C, with an ideal humidity of 80~85%. In winter in areas without heating, external aids are needed. You can use the oven's fermentation function or an electric blanket, etc. However, the oven's fermentation function usually results in a higher temperature, basically reaching 40°C, so you can turn it on for a while and then turn it off.
5. For the third fermentation, be sure to use warm water, not hot water. If the temperature exceeds 40°C, the fermentation pores will be too large, the dough texture will be rough, and the bread will become sour. This is because the optimal reproduction temperature for lactic acid bacteria is 40~45°C. If proofed at this temperature, lactic acid bacteria will multiply rapidly and make the bread sour.
6. The specific time for all fermentations must be judged based on the specific temperature and the state of the bread.
7. The degree of final fermentation, specifically how much it has risen, is also related to the shaping of the bread being made. If it is mountain-shaped toast, it needs to ferment a bit longer. If it is a decorative bread that requires clear surface patterns, the fermentation time must be controlled well; otherwise, the patterns will all be lost during baking.
8. If the quantity is divided into two trays, they can be fermented at the same time, but they cannot be baked at the same time.
9. The cheese strips can be cut thinner and arranged more densely, which looks better. Otherwise, the baked shape will look more like caterpillar bread.
10. Dried scallion powder can be made at home. Wash the scallions, mince them finely, place in an oven at 150°C for about 10 minutes, or microwave on high for 3~5 minutes until the scallions are dry. Be careful not to burn them.
11. Any baking temperature and time are closely related to the temperament of your own oven; temperatures and times are not fixed. Please adjust according to the specific conditions of your oven.