Souffle bread
By VicentaLakin
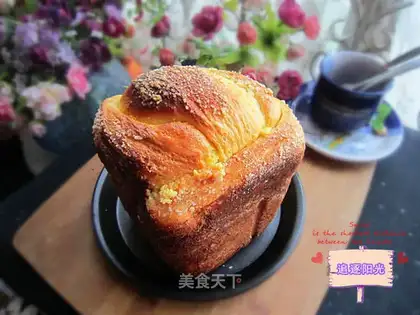
From flour to flour, then bread, it's a harvesting process, and as the dough rises, every air hole is filled with baking joy, and happiness swells in this warm kitchen. In it are soufflés, fragrances of the skin, sweet bread, sweet bread, sweet bread, sweet and sweet, which not only enriches taste, but also makes bread more beautiful。
Recipe Recommendations
- high powder 300 grams
- milk powder 20 grams
- milk 160 grams
- sugar 48 grams
- egg liquid 40 grams
- yeast 4 grams
- salt 4 grams
- butter 30 grams
- sweetening
- roast
- several hours
- simple
Steps for Souffle bread
1
TO POUR ALL RAW MATERIALS EXCEPT BUTTER INTO BREAD-CRUMBS IN NOODLE A. START A FACE-TO-FACE PROGRAM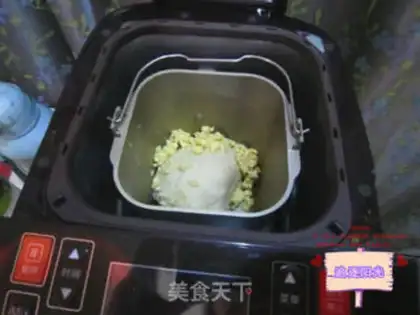
2
Add shredded butter after the completion of the one-sided program; start the bread machine and the windbread program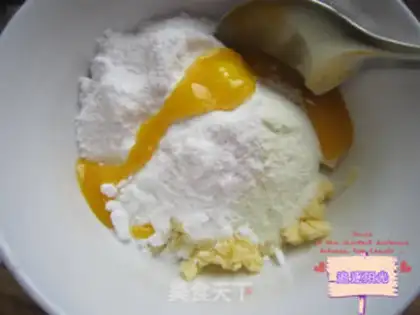
3
MAKE A SOUFFLÉ: ALL THE SOUFFLÉ B INGREDIENTS CAN BE MIXED WITH BUTTER SOFTENING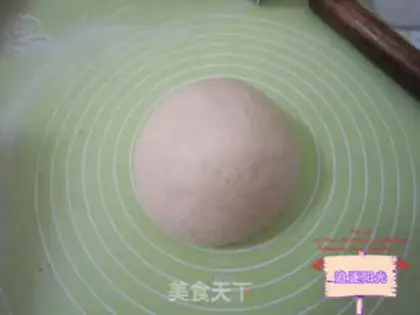
4
When the fermentation 2 is over, stop the bakery and take out the pasta for 20 minutes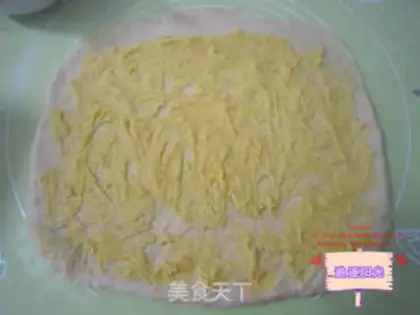
5
Open with a cane, try to grow the square, press one side down, spread the souffle, roll it from thick to thin and squeeze it down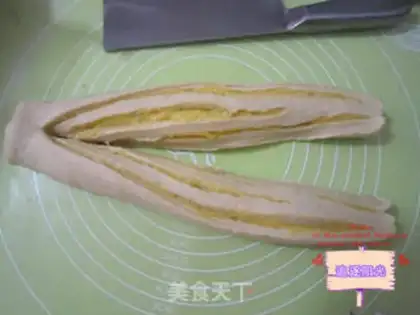
6
Cutting through the middle with a knife and not cutting the top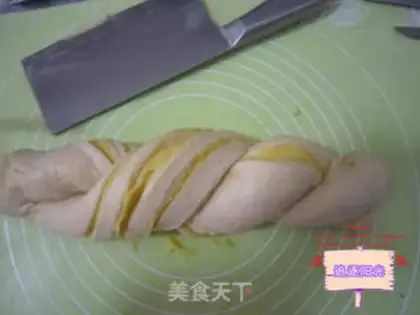
7
Scramble it up like mahjong。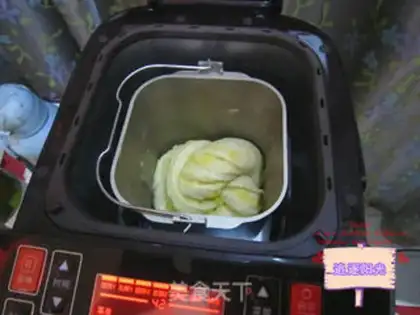
8
(b) fermentation at both ends into the bread drums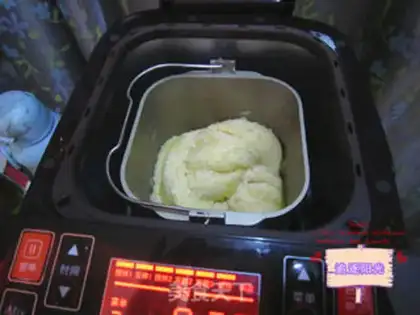
9
Before the baking process begins, the bread machine is suspended, egg fluid is painted on the surface, and soufflés are sprayed. Go to the bakery, then take out the bread and hang it on the hanger, cool it and bag itSouffle bread Make Tips
**Ingredients:**
**Dough A:** High-gluten flour 300g, milk powder 20g, milk 160g, egg liquid 40g, sugar 48g, salt 4g, yeast 4g, butter 30g
**Filling B:** Butter 30g, powdered sugar 25g, egg 10g, milk powder 30g
**Topping C:** A little egg wash; Crunchy Crumbs (Low-gluten flour 10g, butter 5g, sugar 5g. Mix the ingredients into small granules; do not melt the butter, just rub it directly with the other ingredients)
**Practice and Learn:** The biggest feature of this bread machine is its super quiet operation. When the bread machine is working in the kitchen, you simply cannot hear it from the bedroom. This perfectly solves the problem of being woken up by the noise when setting a bread schedule in the morning. The design of the automatic ingredient dispenser and yeast port is very user-friendly and thoughtful!
**Bread Machine Usage Tips:**
**Tip 1:** Use chopsticks to mix the dry ingredients with the liquids evenly. It should form a snowflake-like texture, with no dry flour in the corners. This step saves the bread machine a lot of effort.
**Tip 2:** Add a kneading cycle on its own. To achieve a more ideal dough state, we usually add a kneading cycle separately before starting the one-click program.
**Tip 3:** Moisture retention. After the fermentation stage, to keep the dough moist, it is best to cover the top of the bread bucket with a damp cloth that isn't dripping. Remember to remove it promptly before baking.
**Tip 4:** Control the degree of final fermentation. When the preset fermentation time ends, the dough might not have risen to the ideal level. Most bread machines have a pause function to help the dough continue to "rise".
**Tip 5:** If you have a single-tube bread machine, before the baking stage begins, remove the bread bucket and wrap it in aluminum foil. This effectively reduces the problem of a thick crust, and you can also remove the bread early depending on the situation. This is a double-tube bread machine; the crust is thinner, the browning is more even, and the texture is fluffier.
**Tip 6:** When baking is finished, pour the bread onto a cooling rack. Let it cool to the temperature of your hand, then put it in a bag. If you plan to slice it, it is best to wait until it is completely cool.