Hard bread shaped with flowers
By ElveraBins
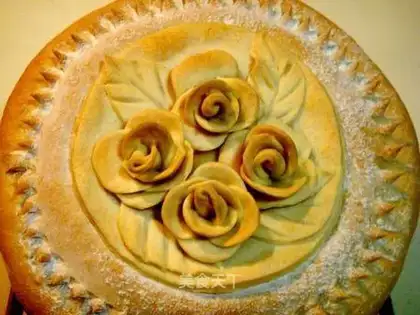
Today, this bread I make belongs to the window display type of bread in European bakeries. The big one can weigh more than ten kilograms, and the small one can weigh two to three kilograms. The one I make only weighs one kilogram, which is compared to others. It's a mini bread. It's not difficult to make, but it can be easily done at a glance. It's just that the appearance is better, the production is a little more cumbersome, the fermentation requires a longer period of time at low temperatures, and the aroma of wheat is stronger. It belongs to the category of hard salty bread.
Recipe Recommendations
- high-gluten flour 300 grams
- medium-gluten flour 200 grams
- dry yeast 5 grams
- butter 40 grams
- qingshui appropriate amount
- rye flour appropriate amount
- salt appropriate amount
- maltose 10 grams
Steps for Hard bread shaped with flowers
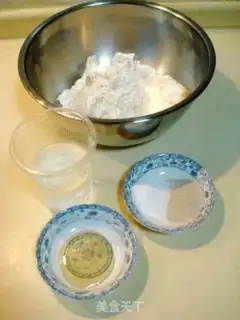
1
Bread dough; high-gluten flour, dry yeast, salt, maltose, water.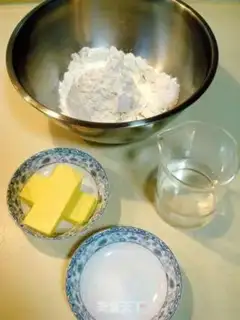
2
Decorate the dough; medium gluten flour, butter, water, salt, rye flour.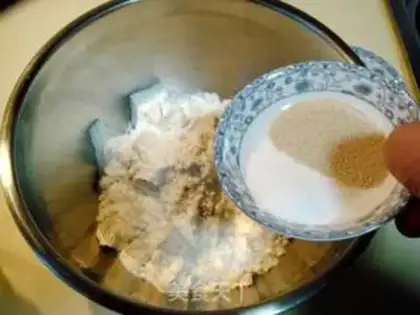
3
To make bread dough, first pour salt and dry yeast into dry flour and mix well.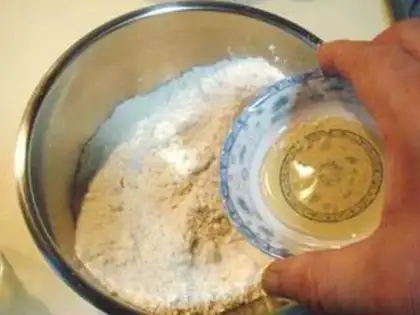
4
Pour in the maltose and mix well.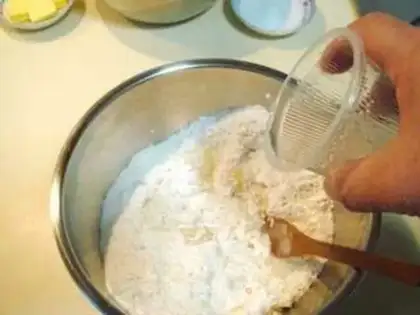
5
Use water to synthesize dough.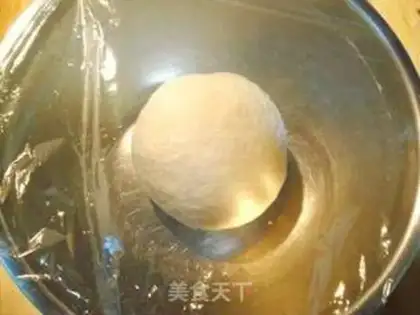
6
Knead the dough until smooth, delicate and moist, cover it with plastic wrap, and carry out basic fermentation at room temperature. The temperature is between about 24-28 degrees C, and ferment for 4-6 hours.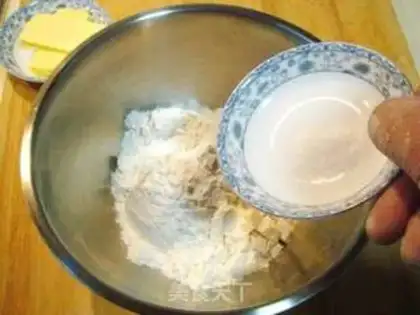
7
To decorate the dough, first add salt to the flour and mix well.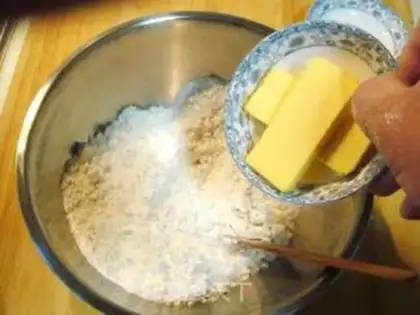
8
Add the butter cubes.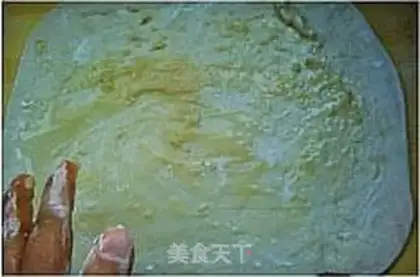
9
Use your hands to rub the butter cubes into dry flour until they become loose particles.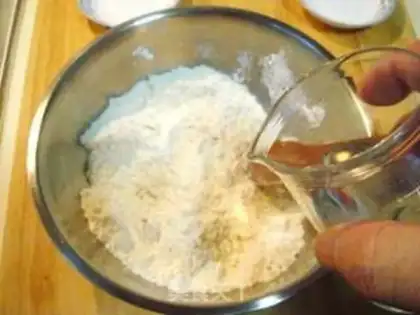
10
Then use water to form the dough.
11
Wrap the dough in plastic wrap, and finally put the dough in the refrigerator to chill and relax for 6 hours.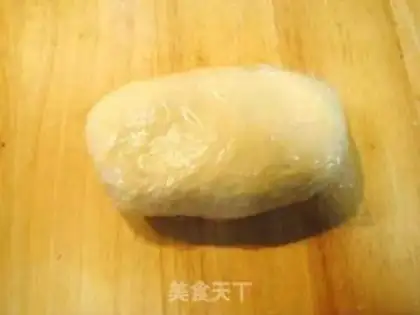
12
After 6 hours, first take out the fermented bread dough, press it flat and exhaust it, then re-dough it into a dough, round it, cover it with plastic wrap and let it grow for 30 minutes.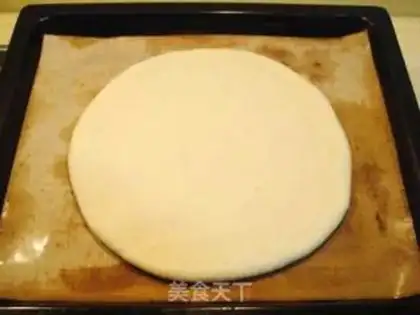
13
When the dough is finished, press the dough flat on the chopping board and put it into the baking pan.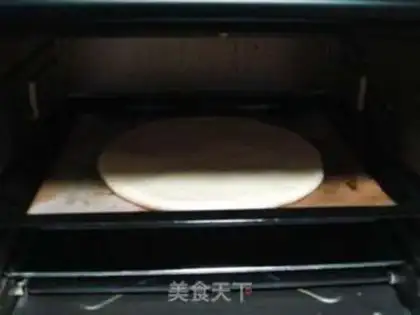
14
Place the baking sheet into the oven and allow the dough to ferment naturally for another hour.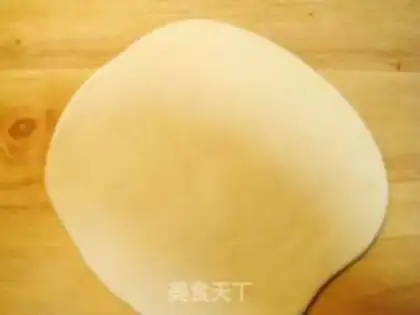
15
Take out the decorative dough that has been refrigerated and relaxed for 6 hours, cut it together with a knife, and roll it into a 0.3 cm thick dough sheet with a rolling pin.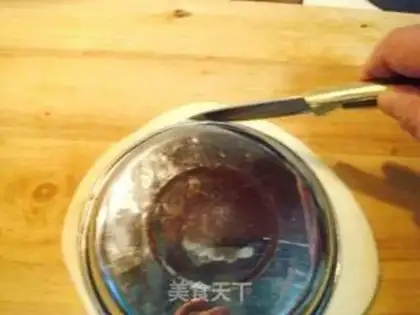
16
Buckle a 16-cm disk on the rolled dough sheet and use a knife to cut it into a round dough sheet along the surroundings.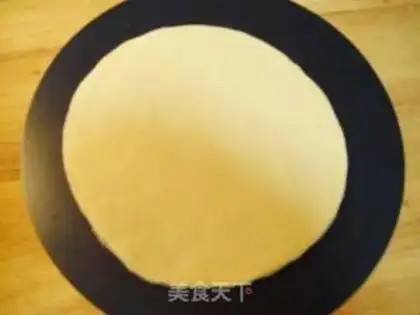
17
Place the round dough sheet on a flat metal plate and set aside.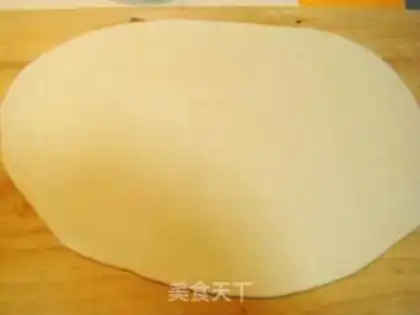
18
Roll the remaining decorative dough into large slices with a rolling pin, and the thickness of the dough sheet will be about 0.2 cm.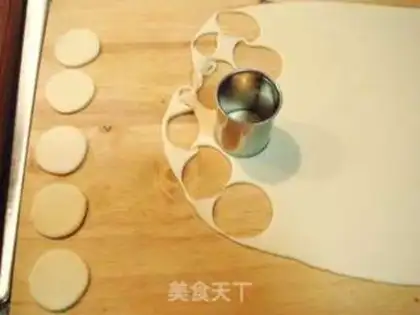
19
Then use a circular engraving die with a diameter of 4 centimeters to carve 28 round cakes.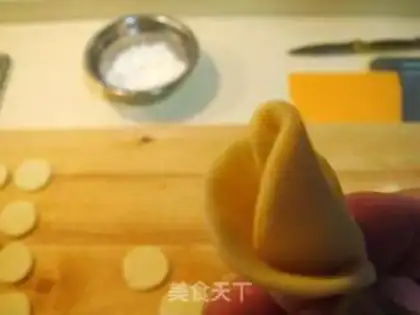
20
Take a small cake and roll it into a stamen shape, then wrap it one by one with 6 small cakes at a good distance until it is in the shape of a rose.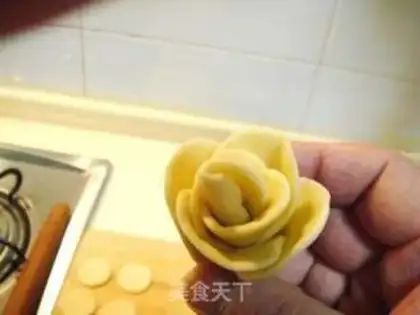
21
Make each rose with 7-8 small dough cakes.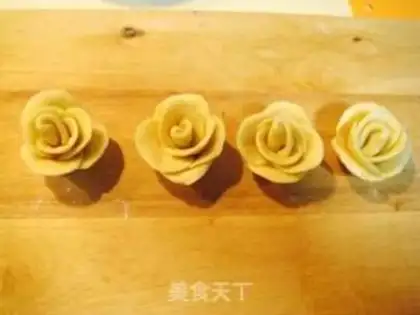
22
Make a total of 4 roses. After the flowers are prepared, cut off the roots with scissors and place them flat on the chopping board for later use.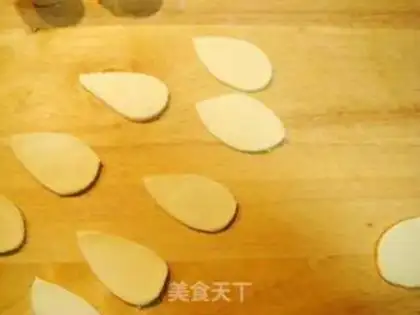
23
Use the extra dough sheet to make several pieces of mosaic and leaves.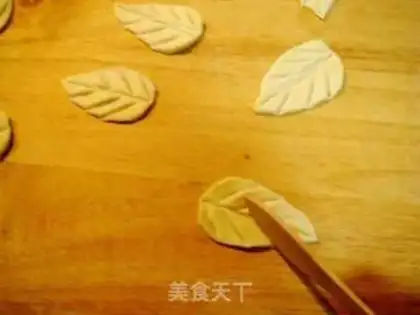
24
After cutting the leaves and leaves with the tip of the knife, use a small bamboo board that meets the surface to press out the patterns on the leaves.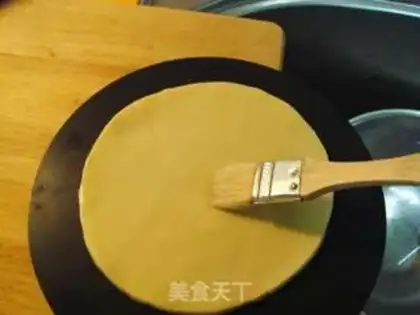
25
Use a brush to evenly apply a layer of clear water on the pre-cut round dough sheet.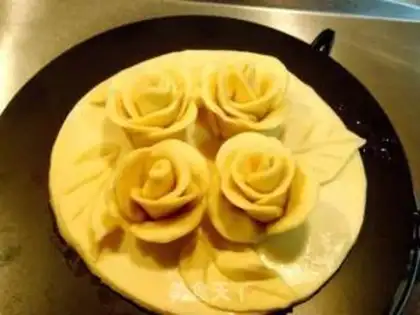
26
Then place the flowers and leaves. After placing them, place them in the freezer together with the metal plate and freeze them for an hour.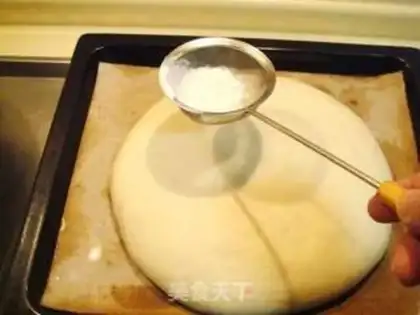
27
After the final fermentation of the bread blank is completed, use a flour sieve to evenly sprinkle a thin layer of rye flour around the blank.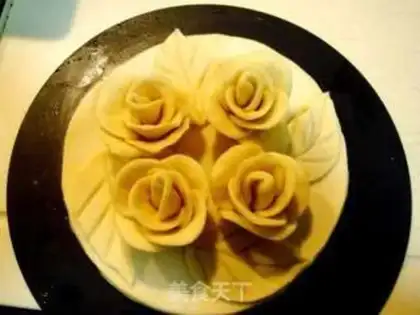
28
Then remove the frozen flowers.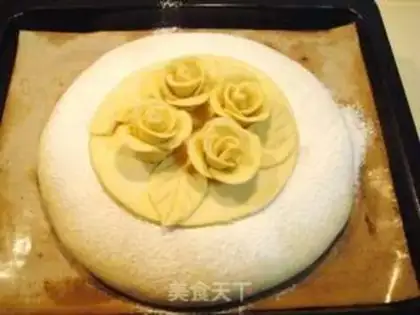
29
Gently shovel up with a die lifting shovel and place it in the middle of the blank.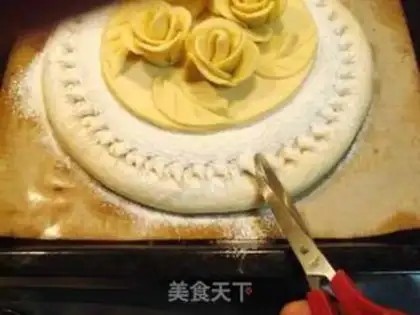
30
Use scissors to cut even tooth lace at a distance of 2 centimeters around the bread blank, at a 30-degree bevel, with a depth of 1 cm at the tip of the scissors, and a distance of 1 cm.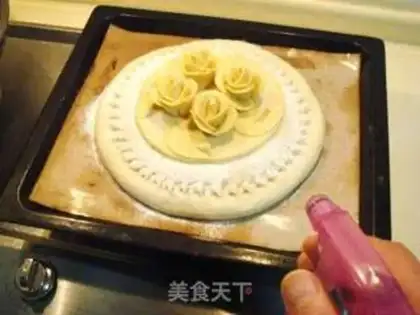
31
After the blank is made, use a spray can to spray a thin layer of fog water before entering the furnace, and then send it to the oven for baking.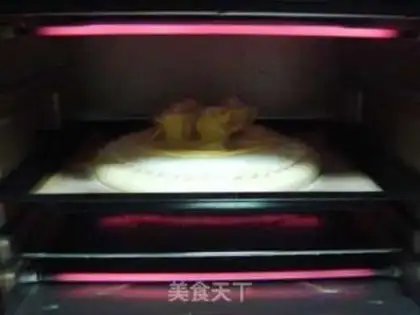
32
Preheat the oven, use the upper and lower furnace temperature to 190 degrees, place the baking sheet into the inner rack of the oven, and bake for about 40-45 minutes.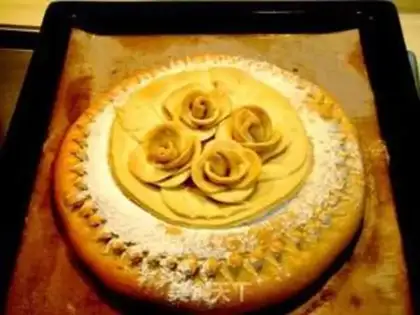
33
Bake the cake until it is golden on the periphery and can be baked. At this point, all operations are completed.Hard bread shaped with flowers Make Tips
Characteristics of this bread: golden color, beautiful shape, rich wheat aroma, burnt taste, slightly salty taste, very chewy, sliced and served with caviar, very delicious! Warm tips: 1. Don't rush to ferment when making this bread. It's best to ferment slowly at a low temperature. The ideal fermentation should be 24 hours. The longer the fermentation is, the better the taste, and the more delicious it tastes. 2. You can also use the fermentation method of mixing flour seeds and combining some new noodles to make it, and the taste will be even better! The dough is grown by using a small amount of yeast, adding a dough composed of 3 grams of yeast and 10 grams of maltose per kilogram of flour, and fermenting it for more than 48 hours. Using this kind of dough is called the dough making method. 3. When making decorative dough, pay attention to the refrigeration process in the process. If the dough is not in a hurry to make, it will be easier to use if it is refrigerated for a longer time. It can be reused after 24-48 hours. After making the flowers, it is best to freeze them for more than 1 hour before using them. It is no problem to freeze them for a long time. You can also freeze them for a day or two before using them.