Sunbeam sand bread
By VicentaLakin

Recipe Recommendations
- high-gluten flour 250 grams
- fine sugar 30 grams
- salt 1.5 grams
- light cream 25 grams
- eggs 30 grams
- milk 105 grams
- yeast 3 grams
- butter 15 grams
- Red bean paste stuffing appropriate amount
- whole egg liquid appropriate amount
- sesame appropriate amount
- sweetening
- roast
- several hours
- ordinary
Steps for Sunbeam sand bread
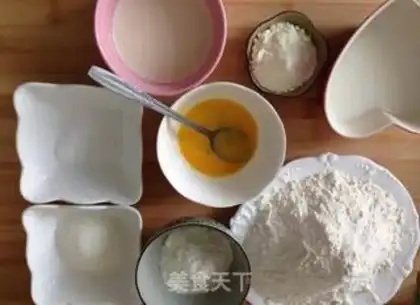
1
Count all the materials。2
All materials except butter, surface decorated egg fluid and sesame are put into a bread-crumb and a face-and-face program is initiated to rub the face into smooth noodles。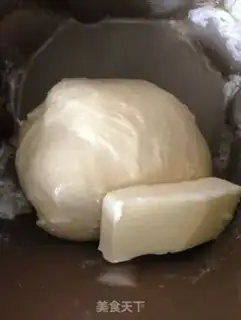
3
Subsequently, room temperature softened butter was added to the extension phase。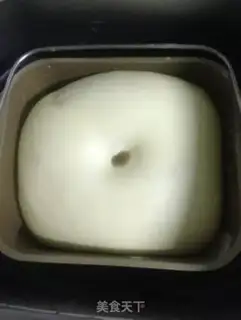
4
The basic fermentation is twice as large。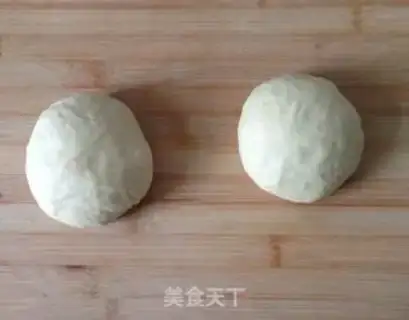
5
When fully ventilated, the noodles are split in two. Covering the membranes for 15 minutes。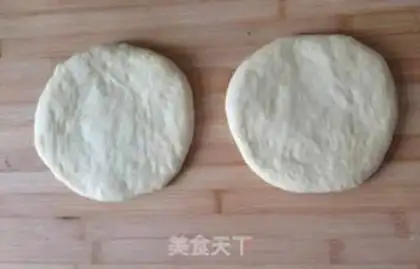
6
(b) The two noodles are tumbled into 20-25 cm circles。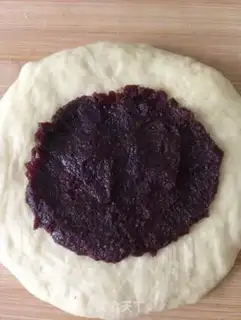
7
Take one of those noodles and put on the soy sauce。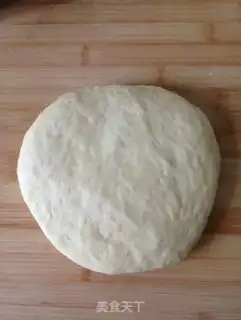
8
Cover it with another face. Squeeze the edge。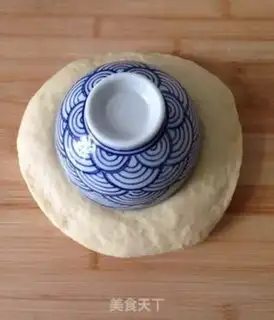
9
Take a little bowl and button it in the middle of the dough。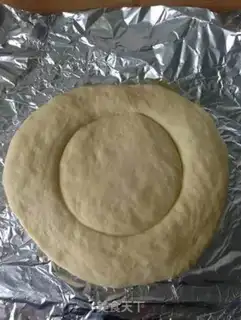
10
Press visible prints。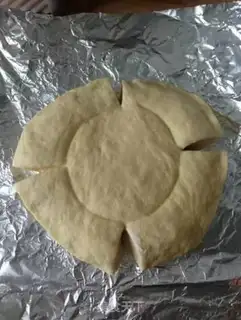
11
Split the noodles into four pieces, for example, kitchen scissors。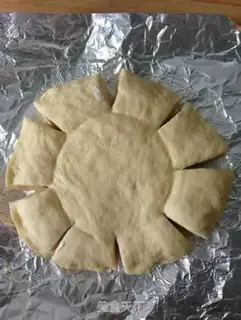
12
One cut in the middle of every knife。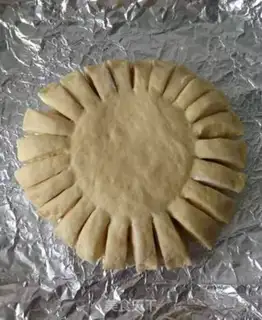
13
Two cuts in the middle of each knife。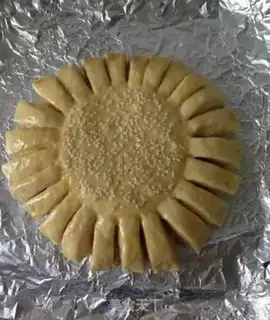
14
It ferments at the end of the warmth, ferments it and then brushs it with egg fluids and soeses (in black and white). The oven is 170 degrees preheat and the mid-level roast is about 18-20 minutes。
15
The finished chart。
16
The finished chart。Sunbeam sand bread Make Tips
1. Brush the bread immediately with a layer of honey water after taking it out of the oven.
2. Adjust the baking time and temperature appropriately according to your own oven.
3. During baking, cover the bread with a layer of aluminum foil once the surface starts to brown.
4. When placing the bowl on top, control the pressure properly; using too much force will cause the dough to tear, while using too little will make the imprint unclear.
5. During the final shaping stage, it is best to work directly on the baking tray, or finish shaping on a piece of aluminum foil and then gently transfer it to the tray. If you shape it on the countertop first and then transfer it to the tray, the shape is easily ruined, wasting all previous efforts.