It is said that 700 years ago, the Italian traveler "Marco Polo" came to live in China for more than 10 years, and later brought back many traditional China skills. In particular, he admired the cooking skills of delicacies from all over China! However, after returning to China, in order to adapt to the eating habits of Western people, he inspired his creativity and improved many popular delicious foods based on China cooking skills, which are passed down to this day. The famous Italian (pizza) is one of them. No matter whether the legend is true or false, there is no way to obtain historical records or textual research. However, this thing is indeed very attractive to this day. It is loved by food enthusiasts in most countries in the world, and is also popular among young people and children in modern China!
I often cook, and after constant honing, I have concocted many things that I like that can wrap my belly and satisfy the enjoyment of my taste nerves. I am thinking about the improved "pizza" below, even if I use a stir-fried spoon to make a little contribution to the majority of netizens! Regardless of whether it is authentic or not, many of my foreign friends give a thumbs up and praise my "pizza"; very good, hehe! What I did, I couldn't go wrong! You will know after eating it.
Italian pizza

Recipe Recommendations
- milk fragrance
- roast
- half an hour
- ordinary
Steps for Italian pizza

1
All raw materials.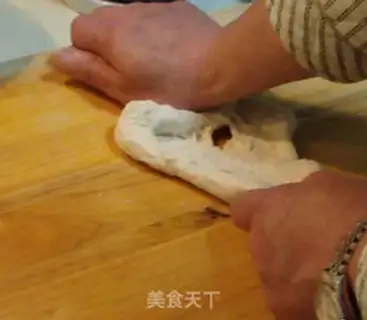
2
The so-called post-oil method is a method of first combining leather materials other than butter olive oil, and pushing and rubbing the surface forward with your hands on the console or panel.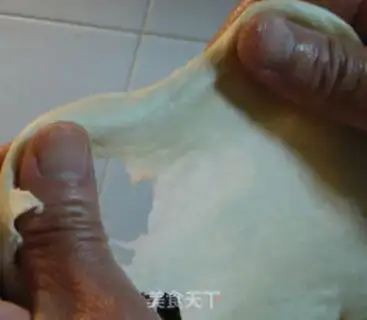
3
Knead the dough into the muscles, then add oil and continue kneading, so that the gluten is full and the film can be pulled out with both hands like chewing gum to complete the first process.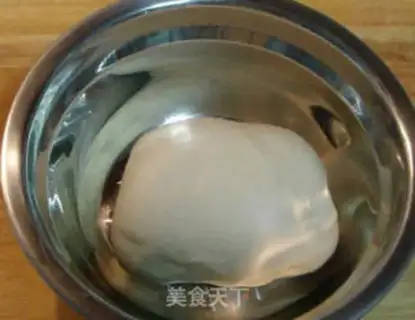
4
Then use folding method to knead dough into dough and start basic fermentation. The temperature is around 30 degrees to 40 degrees. In winter, warm water can be boiled in a steamer.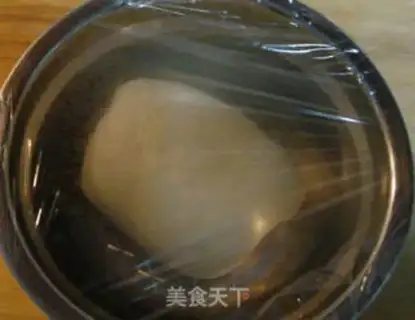
5
Cover the basin with plastic wrap and place it on the drawer and cover the lid for fermentation.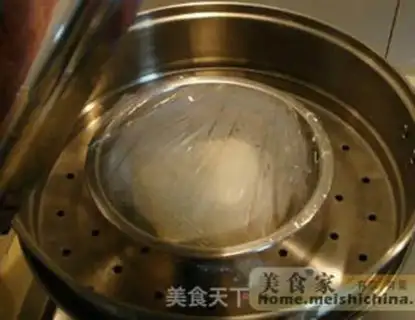
6
Remember, don't keep the water temperature too high, otherwise the yeast will be steamed to death and cannot grow. The temperature must be right. Just feel it with your hands. It's just right to put your hands in it if you feel it slightly hot. Basic fermentation is 40 minutes shorter than making bread.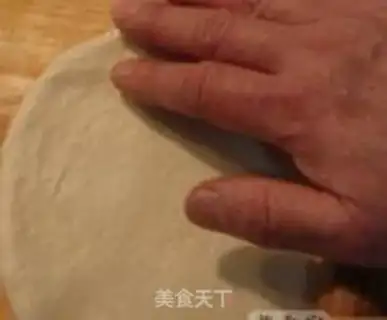
7
Then apply some oil on your hands and start kneading the dough again, deflate the dough slightly and knead it into a round shape, and then use a rolling pin to roll it into a slightly larger shape than the mold. It's OK. Professional chefs throw the dough with their hands, which requires some skills. We can't do it, so we can only use a rolling pin to roll it, haha! It's easy.
8
Then put it into the mold and it will be an eight-inch round small baking sheet. It is sold in ordinary kitchen stores. Don't forget to apply a thin layer of oil before putting it in.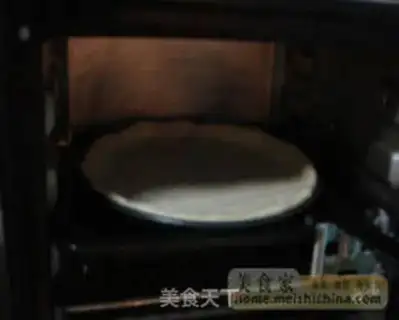
9
Preheat the oven at 150 degrees for one minute in advance and then turn off the power. The temperature is just about 40 degrees. Put it into a baking sheet and soak it. It will take about 10 minutes to see if the dough expands slightly.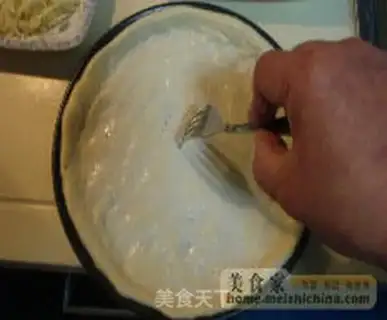
10
Remove the baking sheet and poke a few eyes on the dough with a fork or bamboo stick.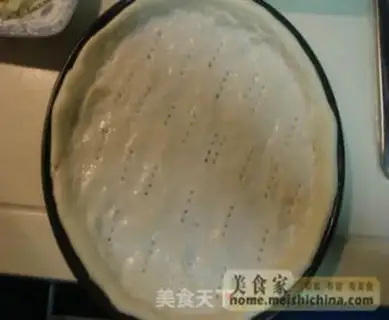
11
Eye-piercing dough.
12
Put the filling on the dough, and remember to leave a 1 cm wide edge around the dough. Slice the mushrooms and sausage in the filling, cut the vegetables into square or diamond-shaped slices about one centimeter, separate the meat and vegetables to season, drop a drop of olive oil, sprinkle with pepper and salt, and mix well.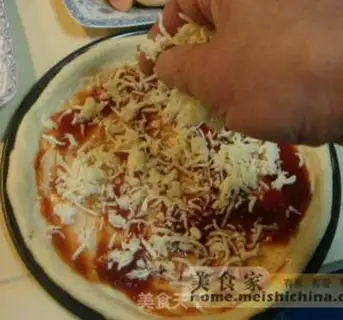
13
Spread with a layer of ketchup and sprinkle evenly with a thin layer of shredded mozzarella cheese.
14
Add mushroom slices, sausage slices and garnish with shrimp.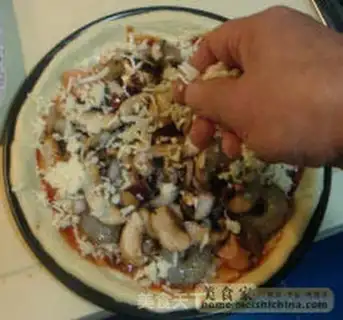
15
Sprinkle with another layer of mozzarella and coat the 1 cm edge of the pizza with egg liquid.
16
Preheat the furnace temperature at 200 degrees and place it on the middle rack and bake for 10 minutes.
17
Remove the baking sheet.
18
Then sprinkle the vegetables on top.
19
Sprinkle the remaining mozzarella cheese on top.
20
Place in the middle of the oven and bake for 5 minutes.
21
The beautiful golden color around the cake will be OK. You can enjoy it after it is baked. It will definitely beat Pizza Hut, haha! Although it's a bit troublesome to make, the more you eat it with the sense of accomplishment you make it yourself, the more delicious it will be. Try it as I say. It's not difficult. You may even become addicted to baking, hehe.