Four-colour cold skin
By VicentaLakin
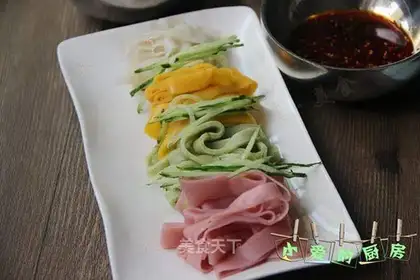
Today's cold skin uses fresh vegetables as natural colours, and vegetable juice is the main source of vitamins, minerals, dietary fibres and plant chemicals. The addition of different vegetable juices is therefore important in maintaining health, maintaining proper intestinal functioning, improving immunity, supplementing water, and reducing the risk of chronic diseases such as obesity, diabetes, hypertension and haemoglobin. Isn't the four-coloured skins of the hot summer looking a little appetite。
Recipe Recommendations
- salty and fresh
- steamed
- several hours
- senior
Steps for Four-colour cold skin
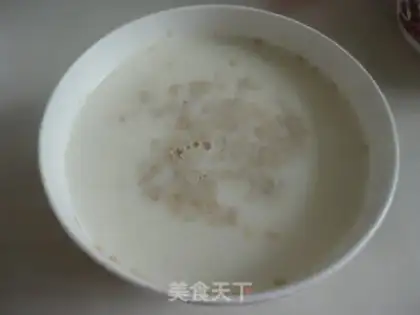
1
Prepare a variety of dishes。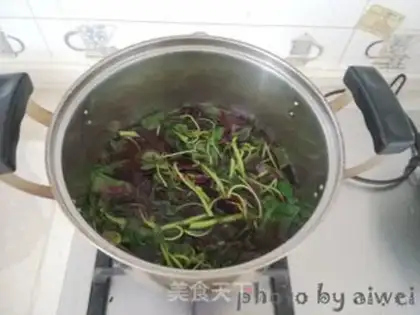
2
Clean up the sauerkraut。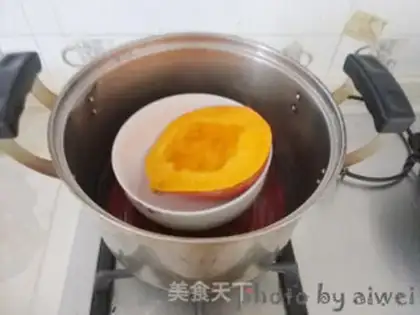
3
Put pumpkins in the steam pot and fertilize them。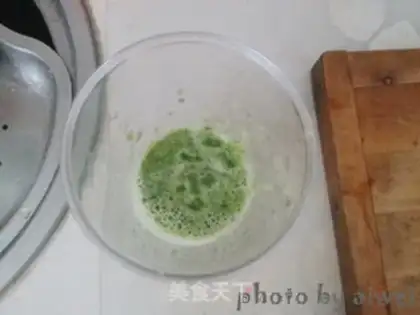
4
A cucumber is replaced with a multi-purpose cooker。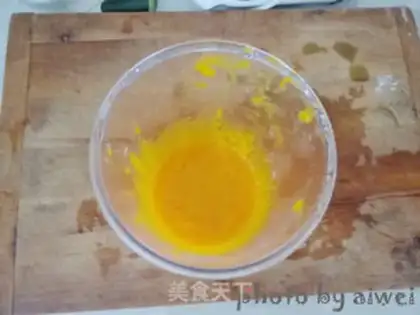
5
Pumpkin steamed into juice。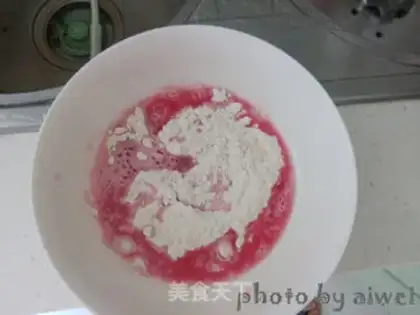
6
Scrambling of the aqueous aqueducts is extracted with the hand and the flour is evenly mixed with 1 grams of salt. First, we add some cuisine juice to our face, so that it can be condensed into a thick face without particles for an hour. We can't do that again. One by one。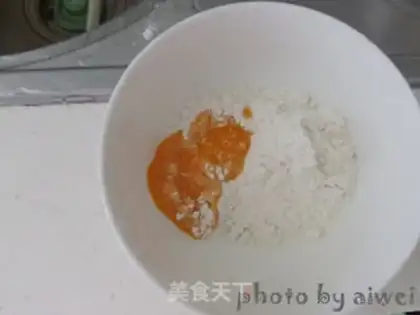
7
One gram of salt added to the flour to mix the pumpkin juice into the flour with a thick-faced, non-particleed, one hour of awakening. Add pumpkin juice in a row, while you mix it up。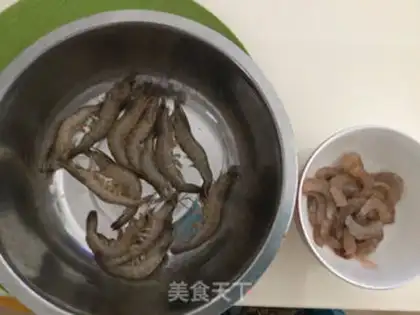
8
cucumber juice as above。
9
Four different faces。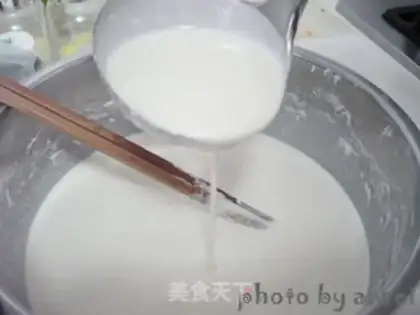
10
The thinness of pasta is shown。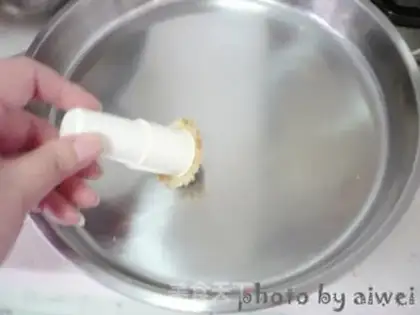
11
And a thin oil coated in a tarp。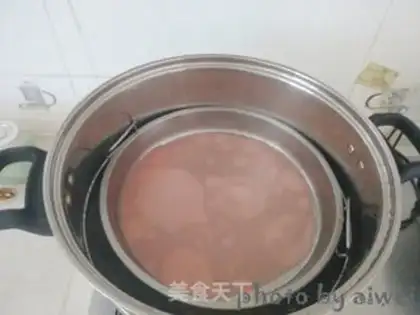
12
It's a puddle to the right and the right. A pot of water is burned in the pot early, and when the water is released, the skin is placed in it, without the lid, and a few seconds later the lid is swayed again, so that the face is evenly laid in it and covered with the lid. The cold skin began to bubble, and it was ripe。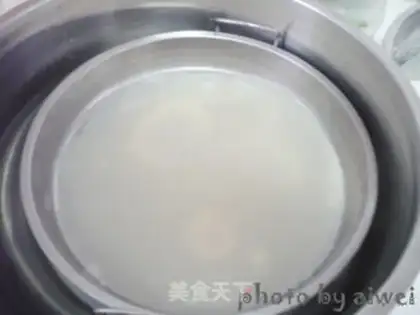
13
A cold bowl of water prepared in advance to cool down the steamed skin. The skin is slowly removed from the edge, and the process of polishing and evaporation is repeated until the face is covered。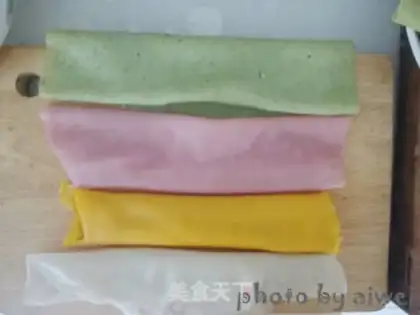
14
Steam the four colours。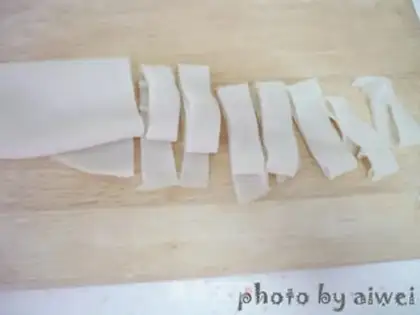
15
Cut the steamed cold skin into strips。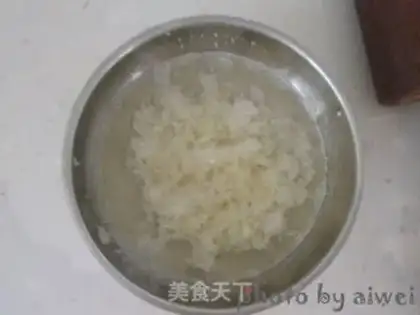
16
Pick up the garlic mud, put a little salt on it, pour a little fresh water, get ready for the cold garlic。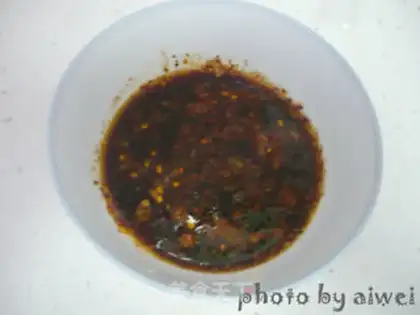
17
Scrambles of water, vinegar, soy sauce, chalk, big stuff. The boiled water is sifted, the slag is filtered, and the cooler sauce is ready。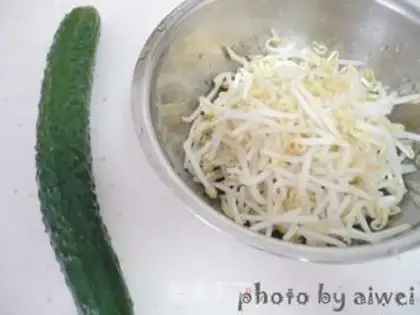
18
Prepare cucumbers, bean sprouts。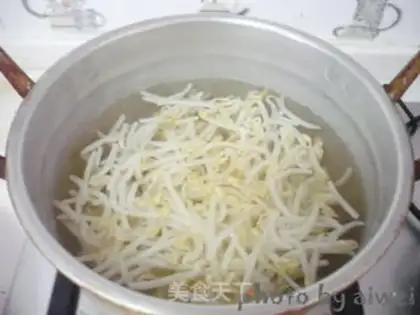
19
Bean sprouts clean, good water。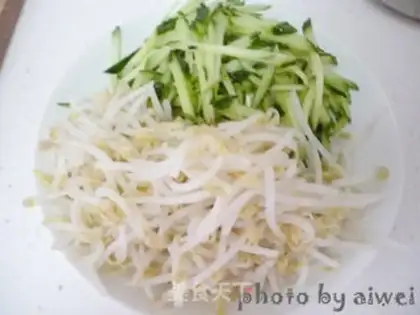
20
cucumber-cheese backup。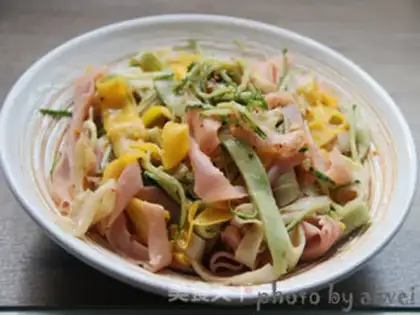
21
Bean sprouts, cucumber silks, cut-up cold-skin-drinking bowls, with heavy garlic water, saucer water and oily spicy, can be ploughed。Four-colour cold skin Make Tips
1. When stirring the batter for the first time, be sure to add the liquid slowly while stirring; this ensures the resulting skins are more chewy.
2. Let the batter rest for 1 hour, then add water a second time and stir. This step cannot be omitted. If all the water is added the first time, the skins will not be chewy.
3. When steaming the skins, watch for bubbles; once they appear, cover and steam for half a minute to finish cooking. Make sure to keep the lid on and use high heat during the steaming process. Immediately place the skins in a basin of cold water to cool after steaming.
4. Do not pour vinegar or soy sauce directly onto the Liangpi. The authentic seasoning water is very important and must be boiled.
5. There are no strict rules regarding the thickness of the skins; it depends on personal preference.