And the wind and the fruit
By VicentaLakin

Nuts are oilless and sugarless and are fully used as adhesives, so they are very sticky at the time of manufacture and require a period of time to freeze their face so that they can be harded, with a small amount of thin-faced adhesive to facilitate subsequent plasticization. One-time gloves were recommended, which would be effective in avoiding hand touching. The roasted fruit can be made from its own point of view into a small, sturdy little thing, and when it's baked, it's made of chocolate sauce, and a few of the little elves are alive, but my hands are so clumsy as not to be a painter, but it's a bit embarrassing。
Recipe Recommendations
- low-gluten flour 100 grams
- egg yolk 17 grams
- baking powder
- condensed milk 96 grams
- Homemade bean paste filling 132 grams
- sweetening
- roast
- an hour
- ordinary
Steps for And the wind and the fruit
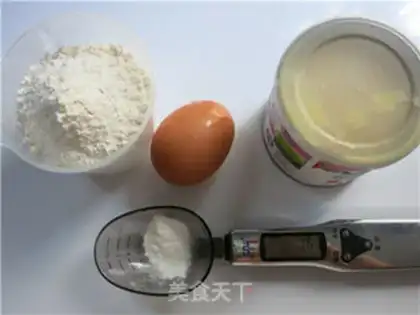
1
Food: 100 grams of low-banded flour, 96 grams of yolk (17 grams) powdered with 1.6 grams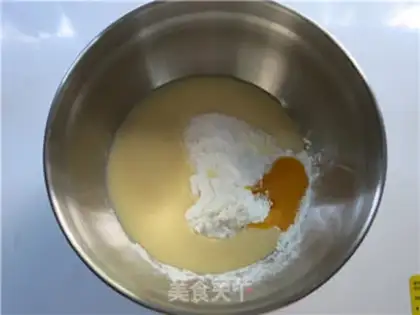
2
Placing milk in containers with yolk, powdered powder and low-banded flour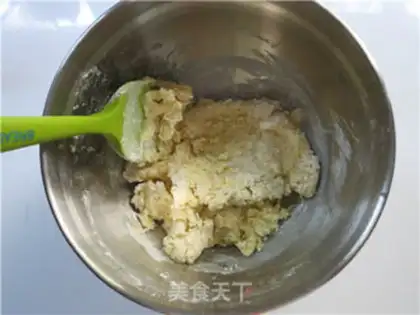
3
Scratch and even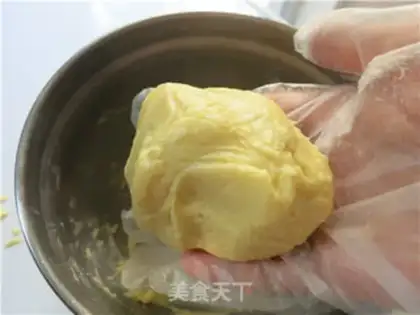
4
Hand-held gloves, round and round and round, then placed in freezer for more than 30 minutes。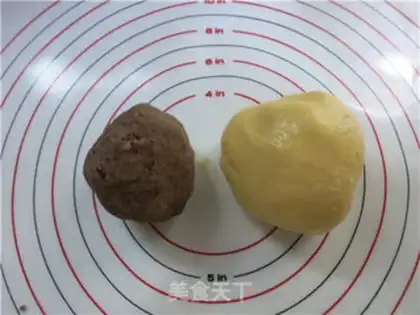
5
Take out the frozen noodles and get ready for the soy sauce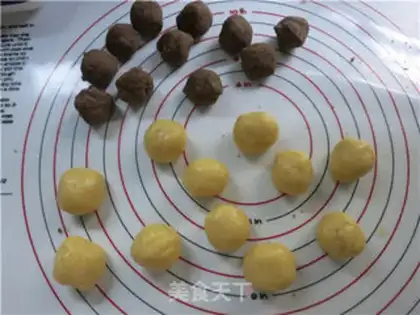
6
They split the noodles and the soybeans into 11 pieces, 20 grams each and 12 grams each。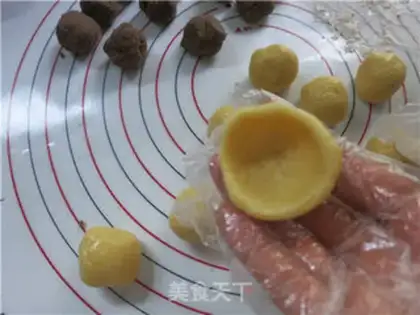
7
I'll tell you all about it. Take a noodle, press a nest with a thumb, squeeze around, sort out the edge and even the edge。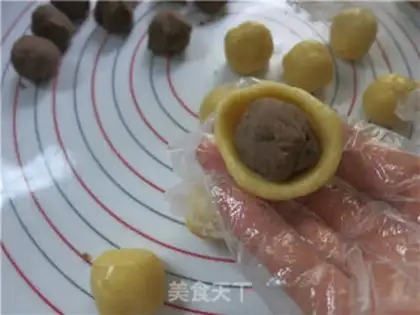
8
Put on a soy sauce。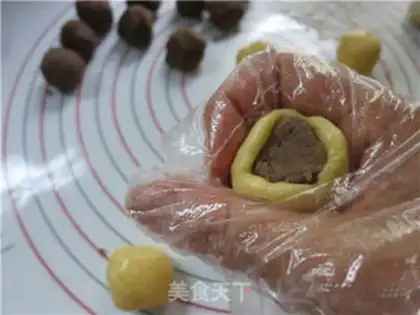
9
With the tiger's mouth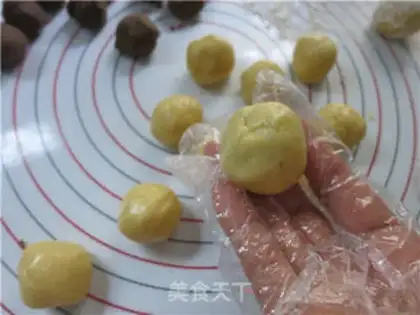
10
Scroll in a sphere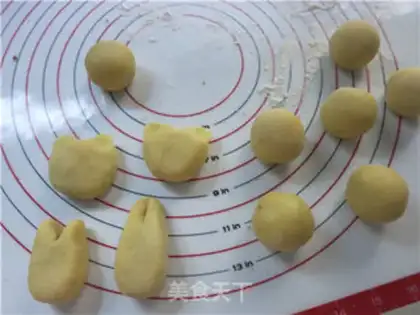
11
Squeeze a cat's ear, or press a rabbit's ear。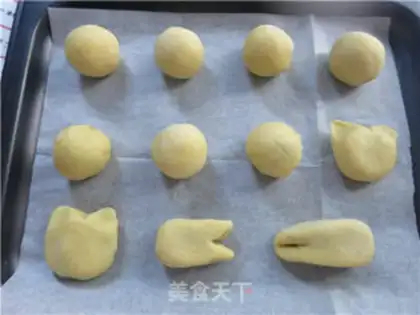
12
Put it in a grill with oilpaper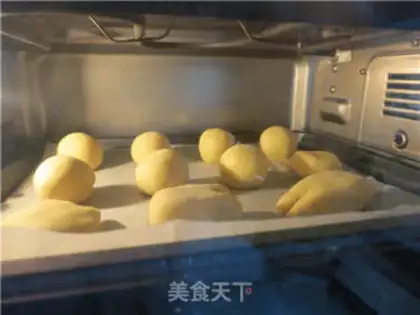
13
Pre-heat ovens, 170 degrees for 18 minutes, with colour on the surface。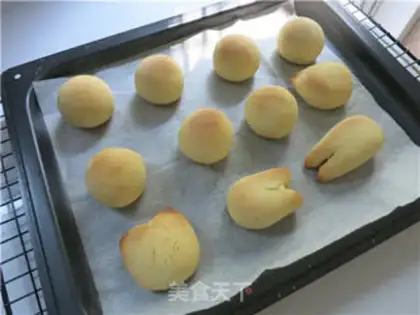
14
It's cold out there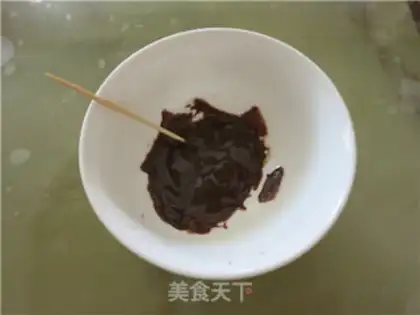
15
Melting point chocolate
16
You want to paint something with a toothpick on it and a fruit
17
It's better to develop your imagination。
18
The cuter the betterAnd the wind and the fruit Make Tips
1. The dough is quite sticky, so it must be chilled before handling. Remember to dust with some dry flour, wear disposable gloves, and use a silicone mat.
2. You should adjust the oven temperature according to your own oven's quirks, as every oven behaves differently.
3. Let it cool naturally and store in a sealed container; it tastes better after it has softened.
4. It is best to choose dark chocolate for melting; the darker color looks more natural.