Most of the yeasts commonly used in making steamed buns and buns are dried yeasts bought in supermarkets, such as Angel yeast. This yeast provides a lot of convenience for home making steamed buns and steamed buns. But we also have a traditional natural yeast, which is easy to cultivate and has a more unique taste. It has always been a must-have in my kitchen. Today, apple yeast is made, and the raw material can also be raisins.
6 - 8 tablespoons of water (bring water to a boil and then cool). Honey can also be used instead of sugar
Natural yeast culture
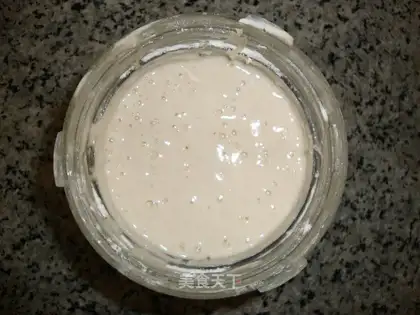
Recipe Recommendations
- Apple one
- sugar 3 tablespoons
- water 6 - 8 tablespoons
Steps for Natural yeast culture
1
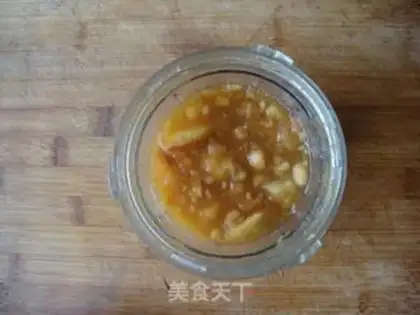
The first stage: Cultivating yeast seeds: Rinse the apples with cold boiling water, cut them, remove the hearts, and retain the skins. Chop them in a conditioner. Place in a clean transparent jar, add water and sugar, and stir slightly. Cover tightly (I put a layer of plastic preservation mold on before putting the lid on. Open the cover once a day to let air in during this period).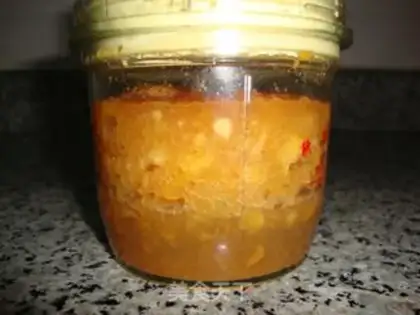
2
Leave it for more than 3-7 days (the number of days varies depending on the ambient temperature). I cultivated it this time and used it for 10 days. On the first day, it was still the original flavor of apple. After the third day, it began to smell alcohol accompanied by bubbles.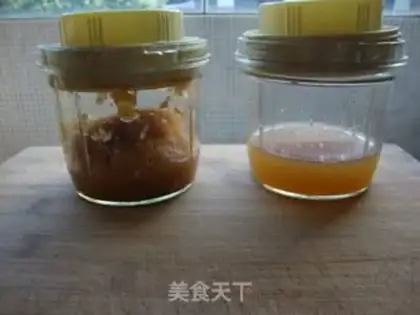
3
The second stage: Make the starter and prepare a large transparent jar. I am lazy and use the juice bottle directly. The apple pomace is then separated from the juice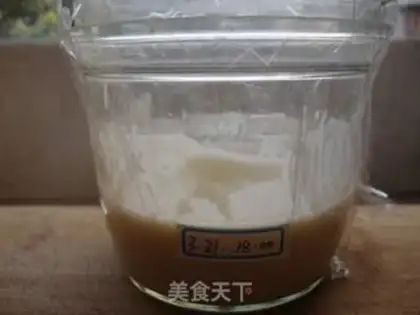
4
Feeding the starter: On the first day, take 160g of the above apple juice liquid and 80g of flour. Mix the apple juice liquid and the high-gluten flour until roughly uniform. Cover with plastic wrap and poke holes for ventilation. Stir once or twice during the 24-hour period.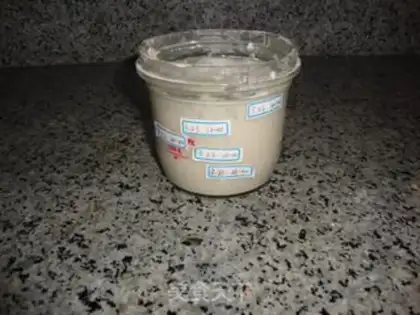
5
The next day, stir the yeast starter solution, add 80g of high-gluten flour and 40g of tap water, and stir well. On the third day, stir the yeast and add 70g of high-gluten flour and 100g of water. At this time, the yeast will be filled with bubbles. If not, you can nourish it for a few more days. The flour and water used each time are based on the consistency. If you do not use it immediately, you can store the yeast in the refrigerator 12 hours after feeding, remove and dump half every week, and then re-feed it. I fed it 5 times this time due to the low temperature and few strains.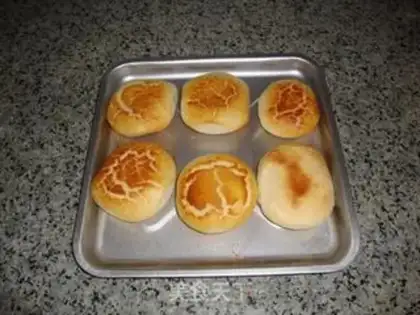
6
Check out the finished product: the first baked bread. The aroma of wheat flour is very pure.