The date-measure mooncake
By VicentaLakin
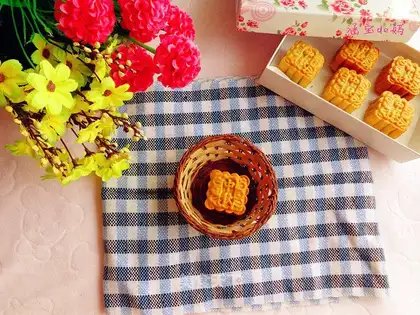
Recipe Recommendations
- medium-gluten flour 100g
- invert syrup 70g
- Jianshui 2g
- peanut oil 15g
- Date paste and bean paste filling appropriate amount
Steps for The date-measure mooncake
1
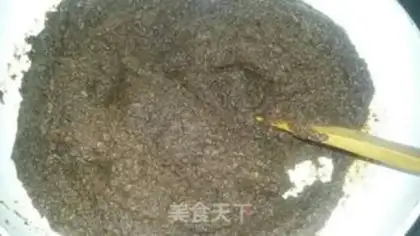
The red beans are cooked, the dates are evaporated to the core, and the feed machine is added to the appropriate amount of water to break. Falling in the pot, falling out. Add a proper amount of oil and sugar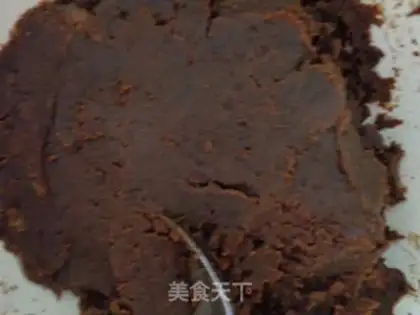
2
When you're cooled, you'll have the same amount of spare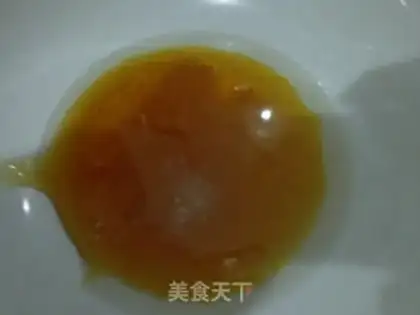
3
Pour transformation syrup, peanut oil, and water into a container. Medium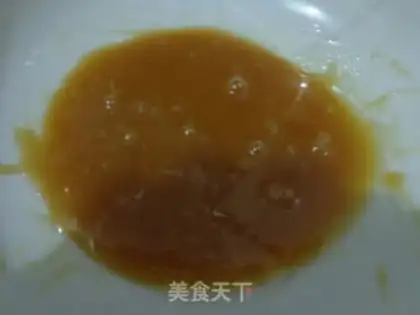
4
Smuggle evenly。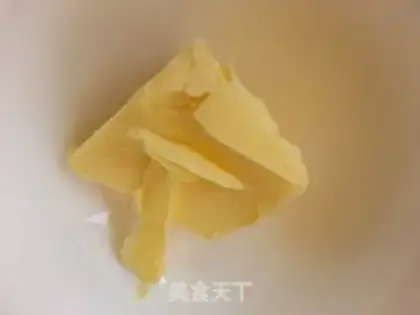
5
Sifted flour mix evenly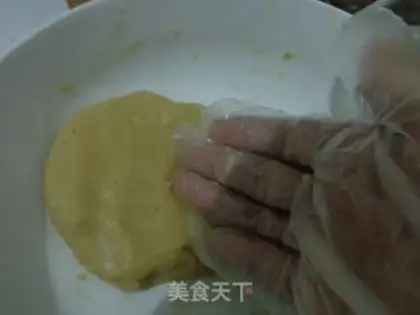
6
It's fine enough to mix it up with a sticky glove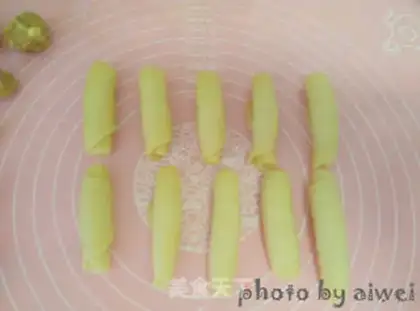
7
Two hours or so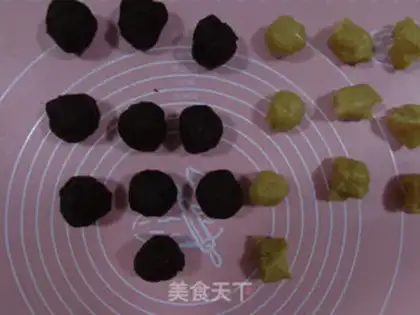
8
The waking noodles split into small pieces as needed, and the dates and bean bean beaks were rubbed as needed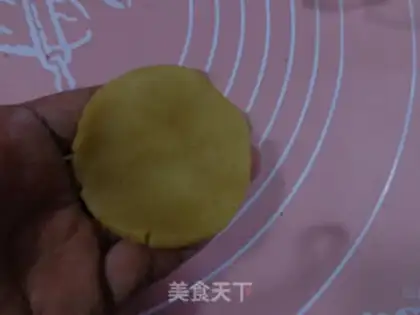
9
Get a pie skin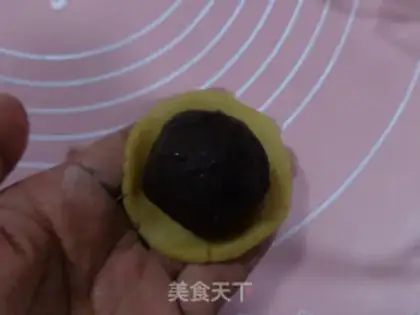
10
Wrap it in the dates, soybeans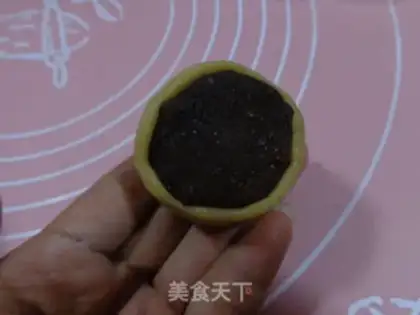
11
Push the skin up with the tiger's mouth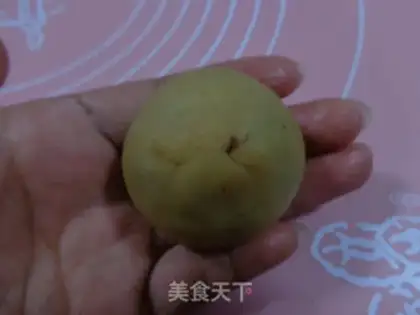
12
Shut the door down, round。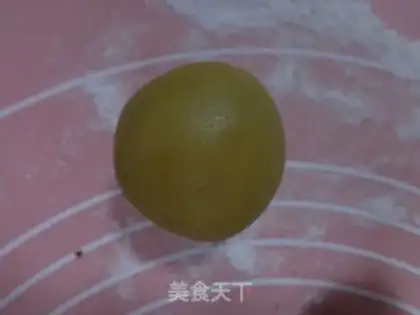
13
Roll the right amount of starch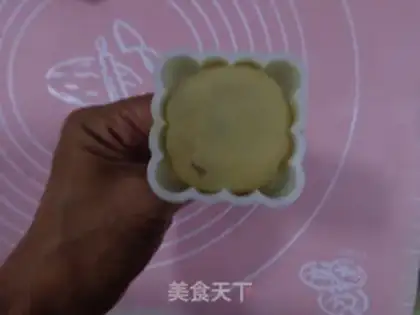
14
Take the extra starch and put it in the moon cake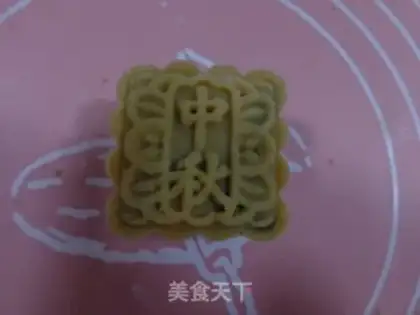
15
Pump out the shape you like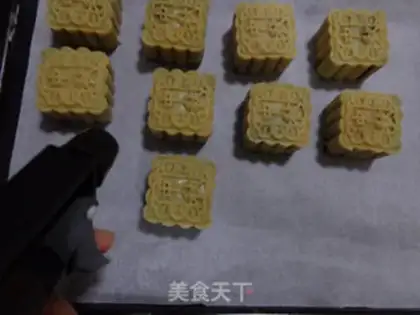
16
The oven is 200 degrees hot, the moon cake is sprayed in front of the oven in case the moon cake breaks, not in front of the mooncake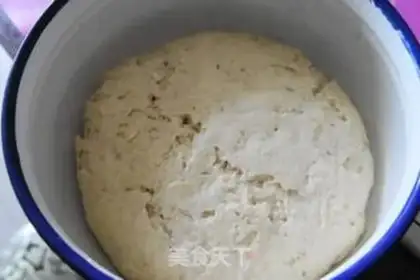
17
Seven minutes to take out, the mooncake surface is dry, it cools to the point where it is not hot, and an egg yolk is painted, and then the first layer is dried. It'll be 10 minutes till the moon cakes are evenly colouredThe date-measure mooncake Make Tips
1. I let the dough rest for quite a long time; I kneaded the dough in the morning, put it in the refrigerator, and wrapped the filling in the evening.
2. Egg wash: one egg yolk plus one spoonful of water, about 10g.
3. Use a bristle brush; silicone brushes do not work well. When brushing, dip the brush in the egg wash and wipe it against the rim of the bowl to remove excess liquid.
4. With this dough, I used a 50g mooncake mold, with 18g for the skin and 32g for the filling, to make 10 pieces.
5. My dad helped with the earlier preparation steps for the date paste and red bean paste filling. I took over after the crushing and frying stages, so the step-by-step photos are incomplete. I will definitely take more photos next time I make it myself.