Polish toast
By VicentaLakin

Toast bread is the first time I've ever done it because I'm afraid of trouble and I have to rub it out. The other day, when I saw my mom's toast, I tried to make it. I didn't know it worked. Why is this bread called Polish? In French, Polish means “Polish”. This Polish toast, which is relatively well-functioning, and it's more swollen, likes the friends of toast
Recipe Recommendations
- high-gluten flour 250 grams
- milk powder 15 grams
- butter 15 grams
- salt 2 grams
- yeast 1 gram
- eggs 48 grams
- milk 70 grams
- sugar 40 grams
- water 50 grams
- sweetening
- roast
- a day
- ordinary
Steps for Polish toast
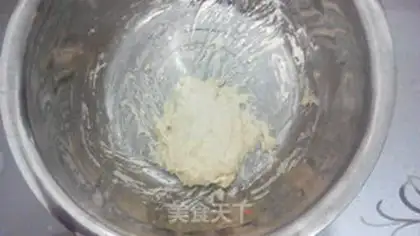
1
polish yeast: 50g high-weather flour, 50g water, 1g yeast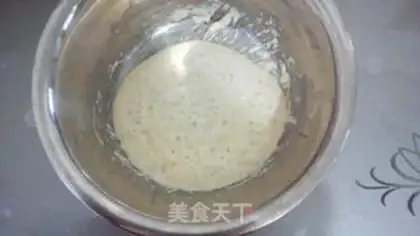
2
All yeast materials are mixed together for about 10 hours of room temperature fermentation (about 15-18 degrees). The fermented yeast has many bubbles。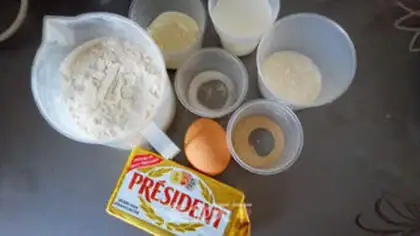
3
Main noodles: 200 grams of condensed flour, 48 grams of eggs, 15 grams of milk, 70 grams of milk, 15 grams of butter, 40 grams of sugar, 2 grams of salt, 2 grams of yeast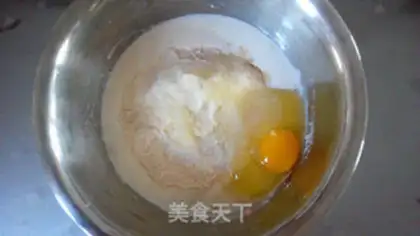
4
Combining the fermented Polish yeast with all the material except butter in the main cone5
Flour to the surface and smooth with butter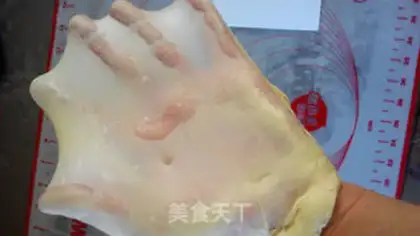
6
It's a full-blown, full-blown phase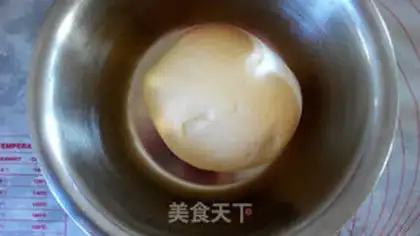
7
The fermented pasta is fermented to 2.5-3 times larger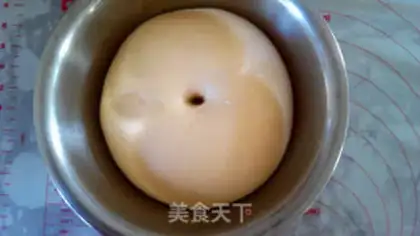
8
It's fermented noodles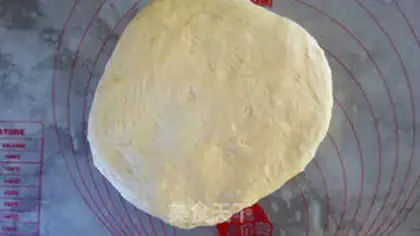
9
The fermented noodles remove light pressure exhausts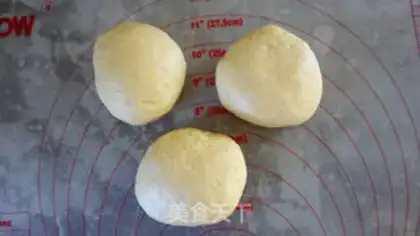
10
They are divided into three more pieces, with 30 minutes of laxity on the back of the roll。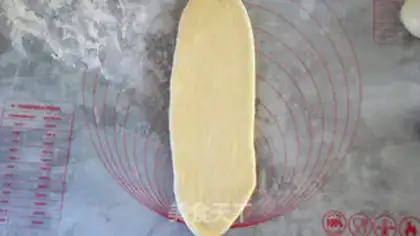
11
When it's loose, take out a light-pressure exhaust and crush the tongue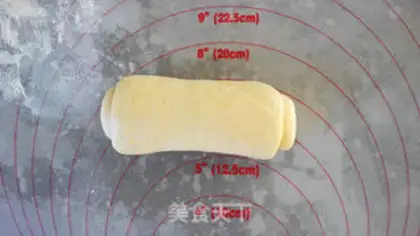
12
Scroll from top to bottom into a cylinder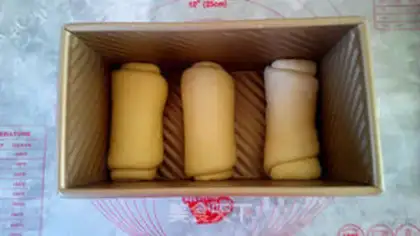
13
Put them all in the toast mold and ferment them last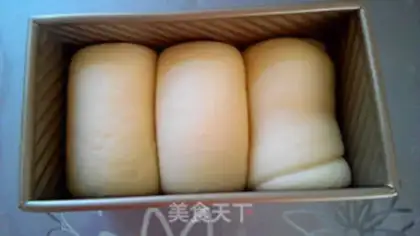
14
fermented to 7-8 full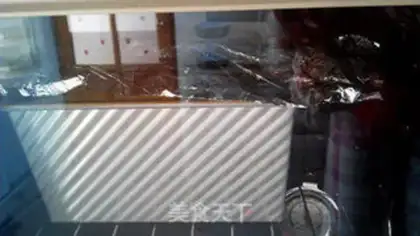
15
The oven's 150 degrees preheat, bottom floor, 40 minutes up and down. PaperPolish toast Make Tips
1. During the final fermentation, you can place a basin of hot water at the bottom of the oven.
2. The poolish can be prepared the night before and made the next day, which is very convenient.
3. The poolish will develop many small bubbles, and when stretched, you will see many honeycomb-like holes.
4. Since every oven's temperature varies, observe the changes in the toast based on your own oven to determine the baking time and temperature.
5. The bread must be completely cooled before cutting; otherwise, it will retain moisture, making it cut unevenly with a rough surface.
6. For this kind of toast, it is best not to cut it; eating it by hand-pulling is the most satisfying.