Honey milk and rose bouquet
By VicentaLakin
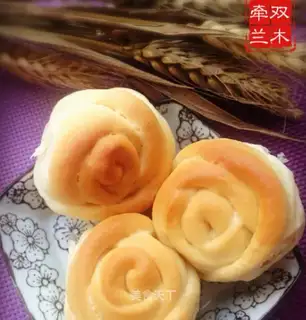
The daughter liked to eat ham sausage bread, but the ham sausage didn't want her to eat too much, and she didn't like regular snacks or toast. One day, suddenly, she thought, maybe she liked it, and then she tried this rose bag. When it was done, a search of the Internet found many of the roses' food packages, but they were not soft enough to adjust themselves several times。
Recipe Recommendations
- high-gluten flour 350 grams
- honey 70 grams
- sugar 20 grams
- milk 170 grams
- milk powder 30 grams
- corn oil 30ML
- salt 3 grams
- yeast 4 grams
- sweetening
- roast
- several hours
- ordinary
Steps for Honey milk and rose bouquet
1
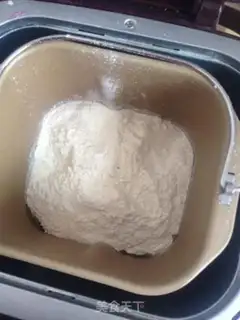
Put all the materials in the first liquid, salt, sugar, powder, yeast, start and pasta
2
When you're done rubbing your face, you have one fermentation, twice the size of the dough, and your fingers stick in a hole and you don't turn back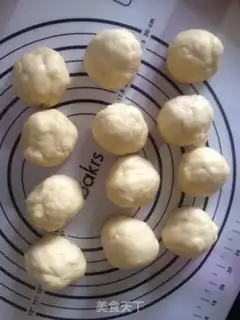
3
The fermented pasta is ventilated, divided into 12 or nine copies, and covered with laxity for 20 minutes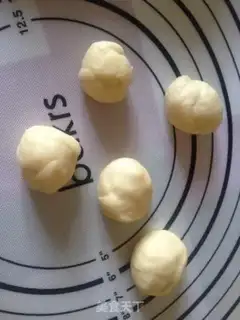
4
Take a nice, loose pasta and split it into five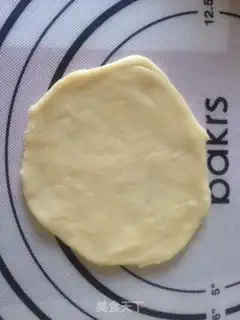
5
Take one of them into a circle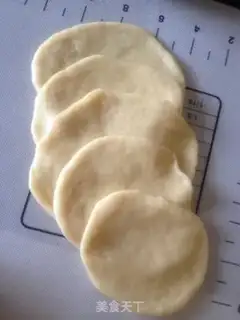
6
Put five dots in one fourth of the top one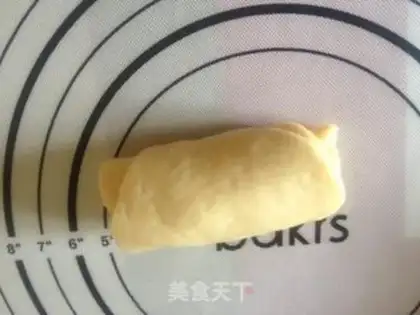
7
Roll it in the middle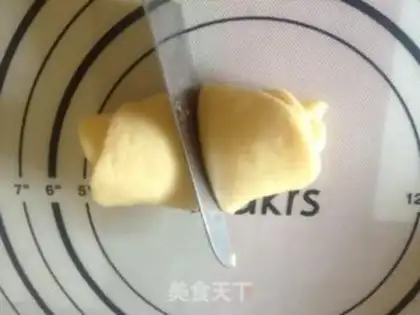
8
Cut it out of the middle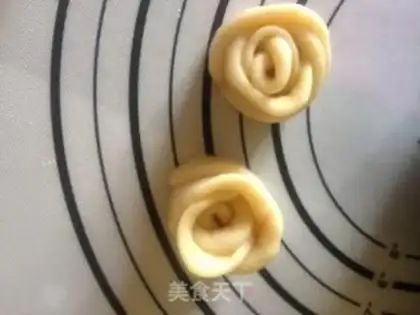
9
Two roses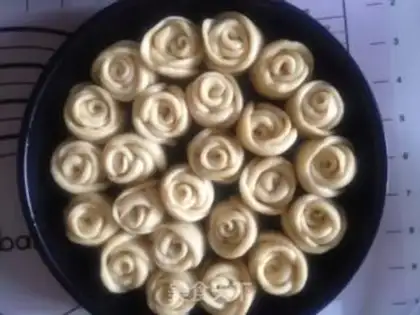
10
I'll make all the roses in turn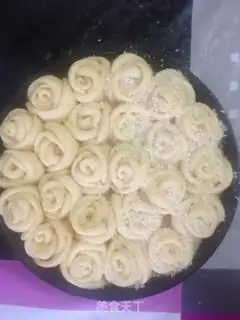
11
A second fermentation in the warm, about twice as much as it used to be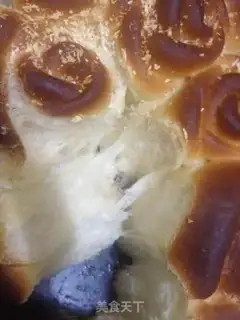
12
The preheat oven, 150 degrees in the middle of the fire, 25 minutes. EatHoney milk and rose bouquet Make Tips
These dinner rolls do not require developing an ultra-thin gluten membrane, and this recipe doesn't use butter either, yet the finished product is super soft. There are no special techniques required, so it is completely fine for a beginner. The amount of honey can be reduced to 40, with sugar increased to 40. Milk powder is used to enhance the aroma, and milk is used for kneading—adjust as needed. Since this is made for children at home, health comes first; honey and milk are used instead of white sugar and water to make it healthier. If you want the appearance to be nice, do not arrange the dough too close together. If you want the overall texture to be good, pack them tighter. The product photo shows the first attempt using a square pan with about 1 cm distance between the dough balls; the second time a 9-inch pie pan was used, with the dough balls packed more tightly. Every oven is different, so keep an eye on the bread in the last few minutes. Since the bread rises higher in the pie pan, it burns more easily.