Pumpkin caterpillar bread
By VicentaLakin
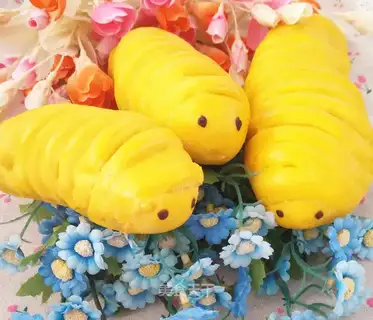
Simple make-up, so you don't need a mold to make cute bread. Pumpkin's gold color makes bread more beautiful. You can't even love it! If you like it, you'll have to order and collect it for me. Fifteen of them need your support. Thank you
Recipe Recommendations
- high-gluten flour 200g
- qingshui 60g
- pumpkin puree 80g
- whole egg liquid 35g
- butter 20g
- low-gluten flour 20g
- salt 3g
- yeast 4g
- bean paste appropriate amount
Steps for Pumpkin caterpillar bread
1
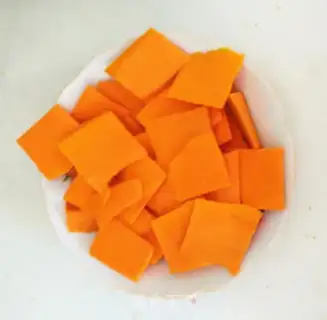
First of all, let's cut the pumpkins, wrap them up with a membrane, and get them fertilized。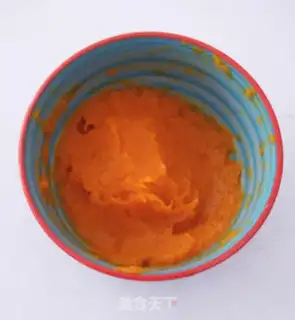
2
the evaporated pumpkin will be very soft, with a spoon pressed into mud and an 80g spare。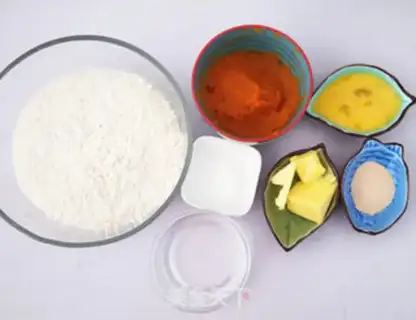
3
Heavy and low-banded flour is referred to as heavily sifted, and other materials are also referred to as resupply and the butter room is softened。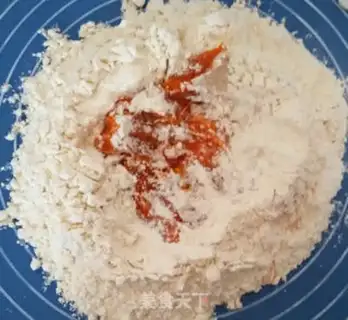
4
The flour, yeast mixed on a silica pad, added egg fluid, pumpkin mud, simple mixing, salt added, began to gradually increase the amount of fresh water and to form a noodle。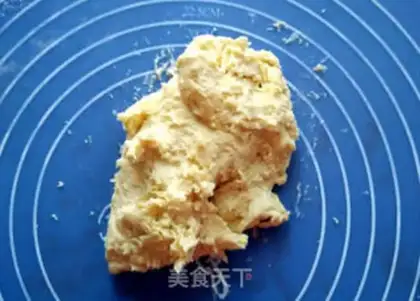
5
It's more sticky when you start rubbing your face. Don't be afraid. Keep going。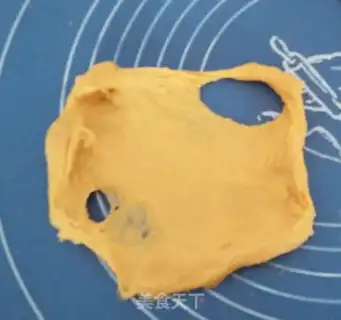
6
It's okay when the face doesn't stick anymore, the surface is smooth, and a small piece pulls out the thick film。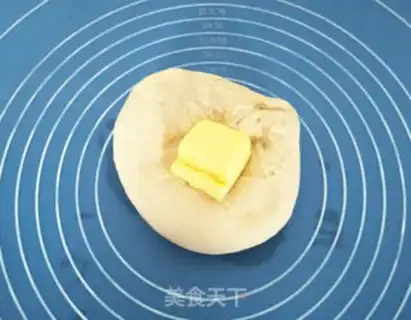
7
It's time to add soft butter. Keep going. It'll stick. Don't worry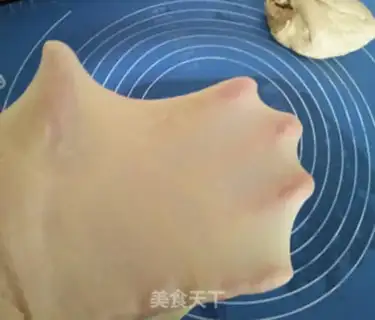
8
Scratch to a facial extension, i.e. to pull a small piece of a face, which can easily pull out a thin membrane without breaking it。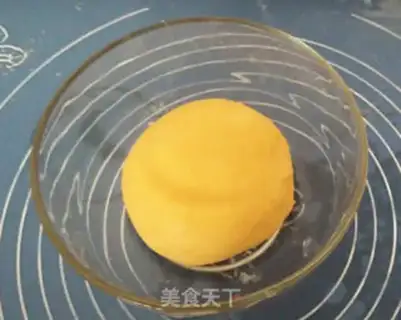
9
Scratch them in a tub, ready for fermentation。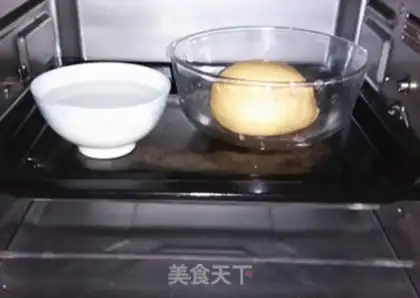
10
Put it in the oven and choose fermentation. The time limit is 50 minutes. To ensure humidity, put a bowl of hot water in the oven。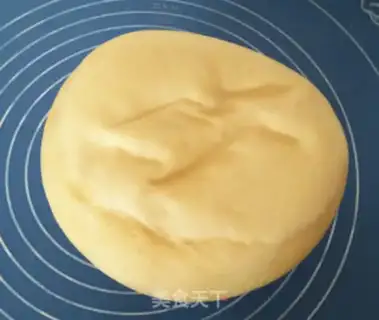
11
It's twice the size of the face。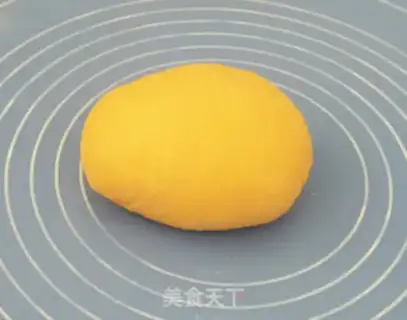
12
The fermented pasta is ventilated through a platinum pressure or a platinum。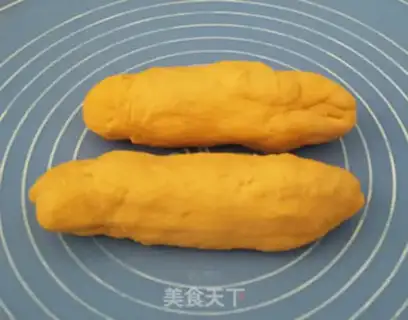
13
The ventilated noodles are prepared for growth strips, covered with protective film for 10-15 minutes。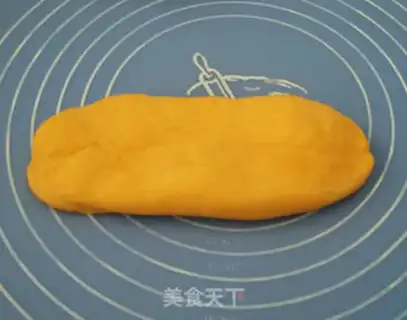
14
Put your hands on it and open it。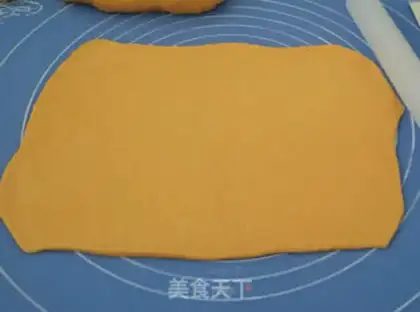
15
The pasta is growing into a square。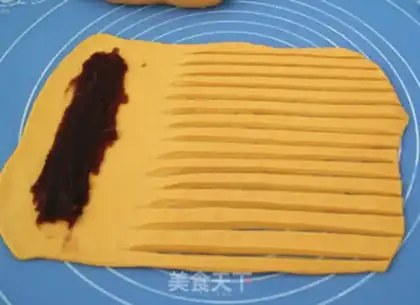
16
In 1/3 of the face, the face grows in strip form, with an appropriate bean soybean sap on the left。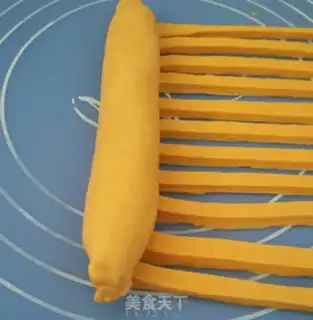
17
Squeeze the face from the left where the material is on the left side。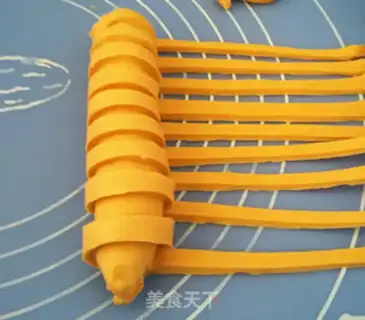
18
A roll to the strip can wrap around a roll, and extra long strips can be cut off。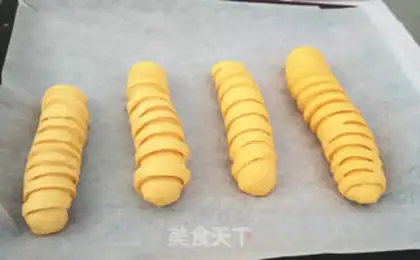
19
All set up and put in the oven. Send it into the oven for a second fermentation。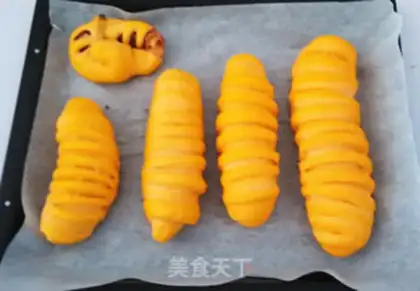
20
The fermented bread embryo already looks like a caterpillar with a full egg fluid on its surface and sent to the oven for 175 degrees for 20-25 minutes. I made a simple roll of pasta and put it next to it。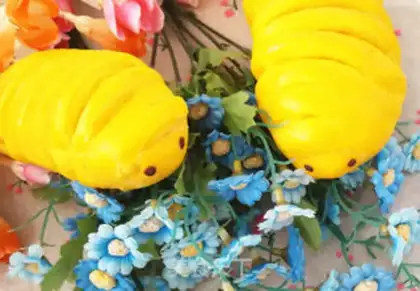
21
The bread that comes out of the oven, choose one head, and use the chocolate dot with two little eyes。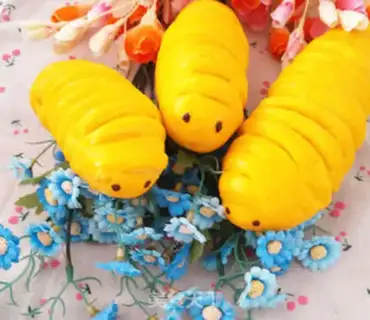
22
Well, simple and convenient caterpillar bread is ready。Pumpkin caterpillar bread Make Tips
1. Different flours absorb water differently, so you need to add the water gradually. The moisture content of the pumpkin puree also affects the amount needed, so adjust the specific water amount accordingly.
2. Salt affects yeast fermentation, so it should not be in direct contact with the yeast.
3. The kneading method involves pushing forward like rubbing clothes, combined with slapping, which makes it easier to develop the gluten membrane.
4. Baking time and temperature depend on your own oven's behavior.