Onion pine rolls
By VicentaLakin
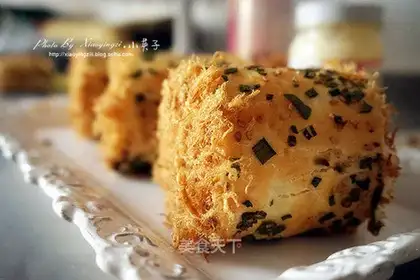
From me, I set foot in this sweet pit and followed my predecessors to learn how to make bread, which is one of my favorite breads. Because of the small onions that were planted at home, the little onions made this bread that tastes so good and good. And when the scent of the onions rises out of the oven, the tempting one swallows his mouth, which is beyond his reach. This bread is made every spring when the onion returns. I've read three books of my blog, the onion pine bread, how much I like it. This is the fourth release, and in order to be able to present the operational process in more detail and to enable bakers to see how they operate, some content has been deliberately added to the new catch-up, which is very beneficial as a newcomer. Although there are a lot of talented people here, the new ones who have just joined the baker are quite large. If you're new or you're going to learn carefully, it's painful to waste the material and time
Recipe Recommendations
- high-gluten flour 185 grams
- medium-gluten flour 80 grams
- fine sugar 25 grams
- whole egg 50 grams
- butter 30 grams
- meat floss 100 grams
- salad dressing appropriate amount
- milk powder 17 grams
- dry yeast 4 grams
- salt 2 grams
- water 150 grams
Steps for Onion pine rolls
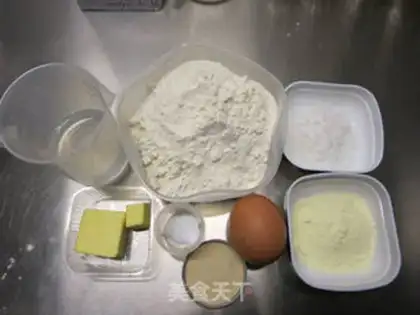
1
MATERIAL A, 25 G CLEAN WATER, 100 G MATERIAL B, 80 G DRY FLOUR, 160 G HIGH POWDER, 80 G DRY YEAST (4 G) SALT 1/2 + 1/4 (G)) SMALL SPOON OF 25 G FINE SUGAR (2 G) LARGE MILK, 17 G) FULL EGG, 50 G FULL SOUP MATERIAL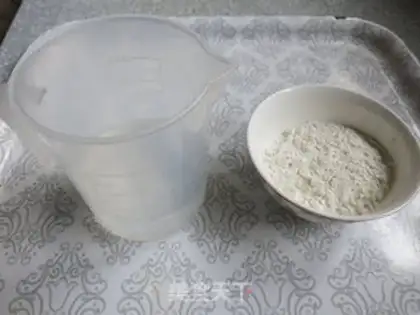
2
100 grams of water and 25 grams of high powder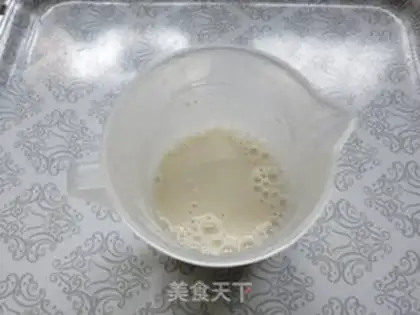
3
Smash it with chopsticks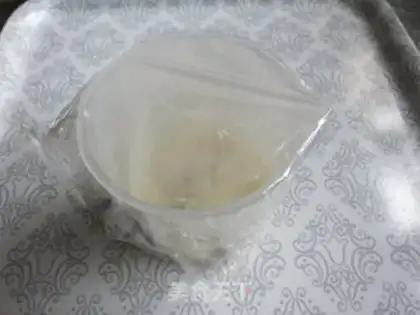
4
Microwave furnaces are prepared for 1 minute of paste mixing in order to avoid loss of dry skin moisture, and ready soup is to be wetted with a membrane and cooled into refrigerators for at least 1 hour。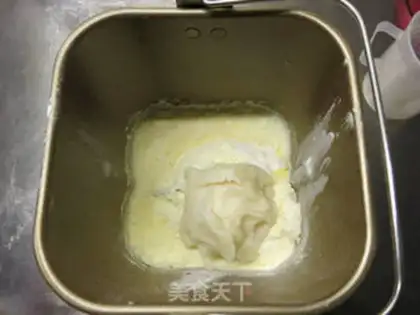
5
PUT ALL THE MATERIAL IN B IN THE LASAGNA AND PUT IT IN A SWIRL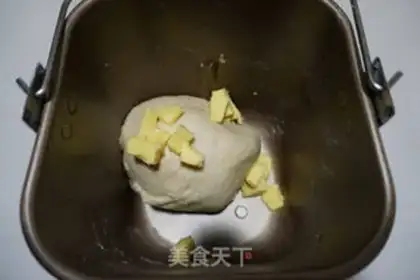
6
Add material butter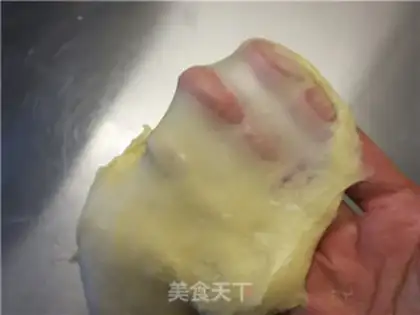
7
And then you can just go back to the extension, and you can pull out the film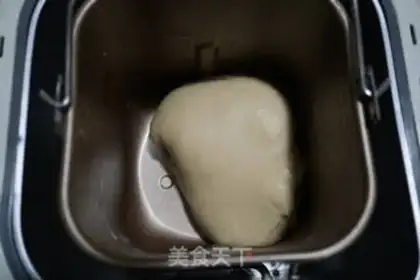
8
We'll sort it out in the warmth of the fermentation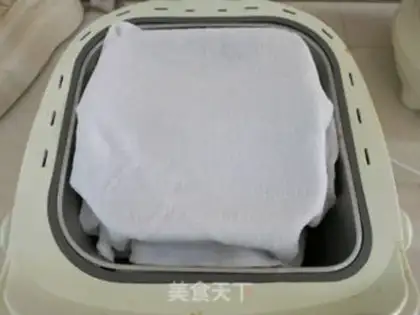
9
It's better to put on a wet little towel to keep it wet in case of skin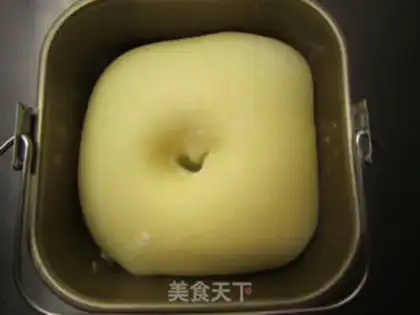
10
It's twice as big as it used to be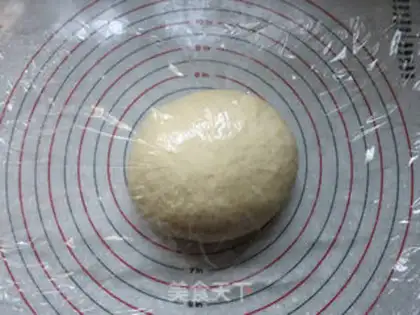
11
Take out the roller air, keep the membrane covered against the dry skin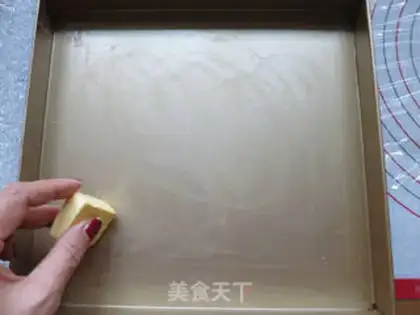
12
Put butter on the grill。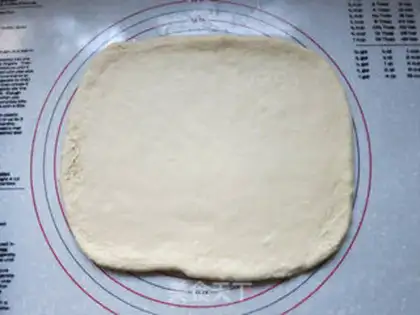
13
A rectangular size of the pasta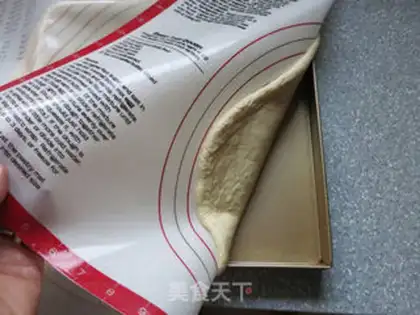
14
It's in the mold. It's an effective way to get to the face of the face, and it's a bad shape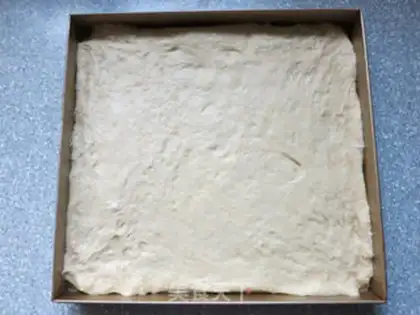
15
The last fermentation takes place in the warmth, and if you use the oven's fermentation function, you'll have to wet it with a bowl of hot water at the bottom of the oven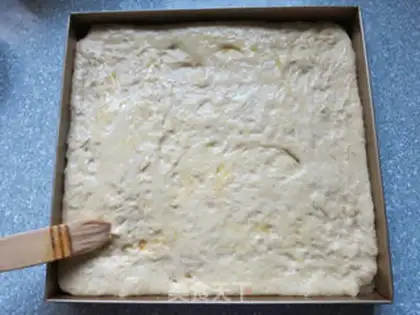
16
Noodle fermented to two times the fermentation complete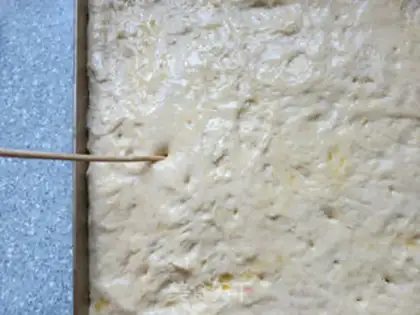
17
In order to prevent the roasting of the drums, it is easy to vent with bamboo tags。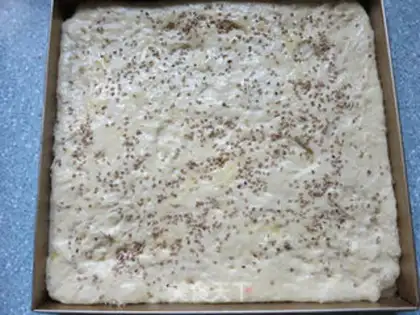
18
Sesame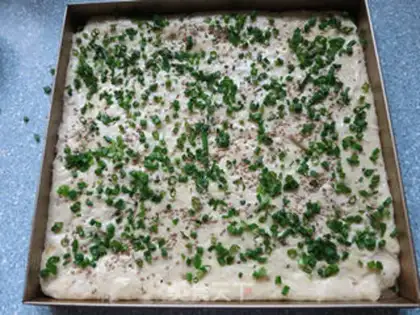
19
Put flowers on your feet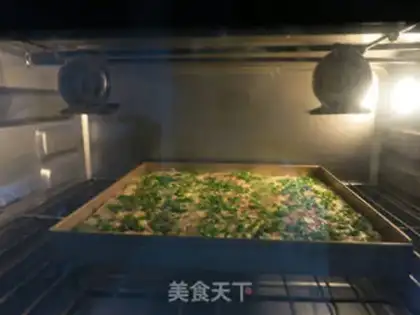
20
The oven is 10 minutes in advance and 180 preheated, then 170 degrees medium-level roast 18-20 minutes. To observe the colour, the oven is equipped with sufficient firepower to cover tin paper or lower the temperature to prevent dry roasting. If the color difference is a few more minutes, it will be a last few minutes to stay out of the oven and watch and find that the situation is not well addressed immediately。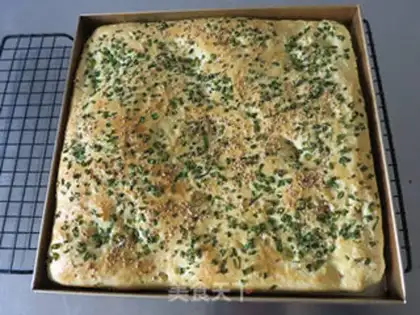
21
The baked bread comes out of the grill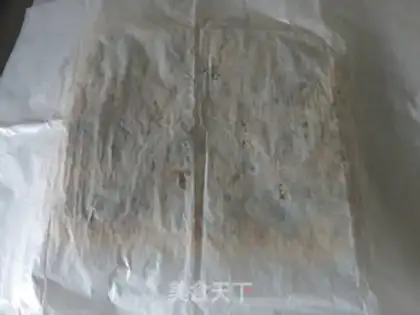
22
The surface is covered with a sheet of oil paper, which is designed to prevent surface wind drying from returning to the tide。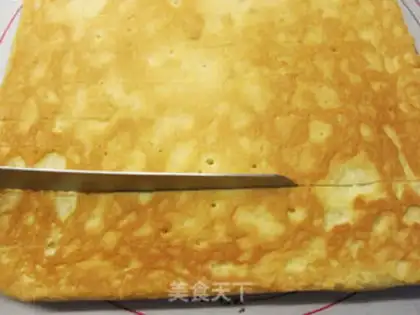
23
When the temperature of bread comes down and it warms, the bread is turned back and slits across the bread without cutting。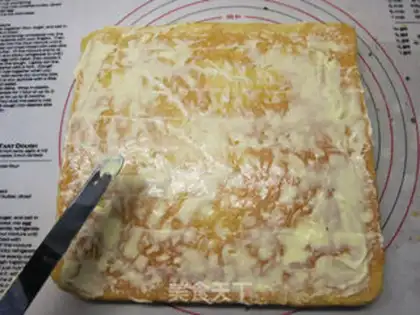
24
Put on a salad sauce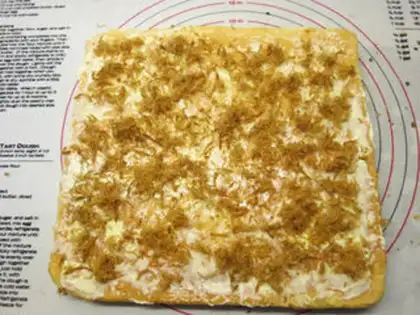
25
I'll put more meat on the pine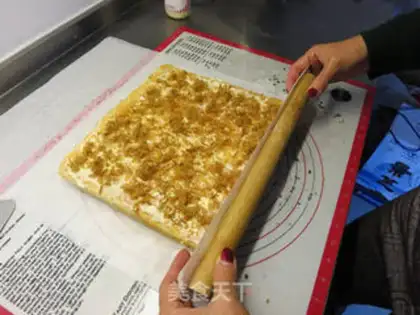
26
With a cane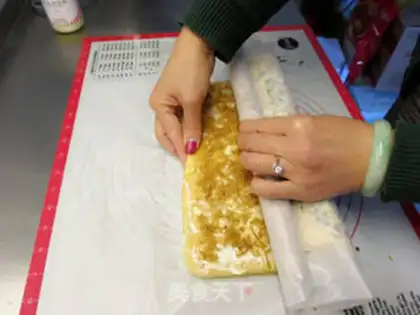
27
Roll up the bread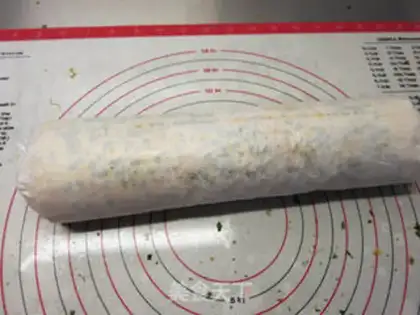
28
Put the oil paper on it for 30 minutes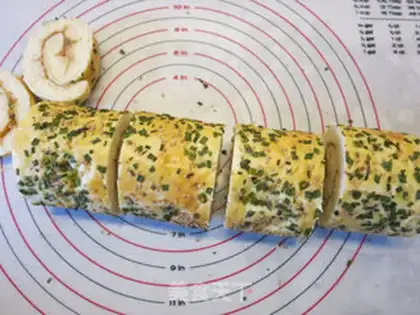
29
Remove the oil paper and cut the sides of both sides in four pieces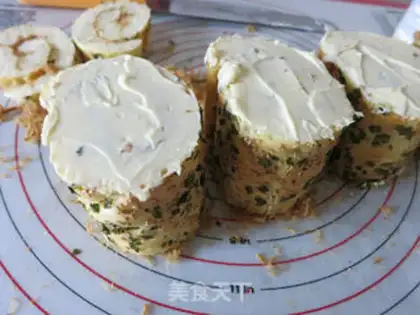
30
Put salad sauce on every tail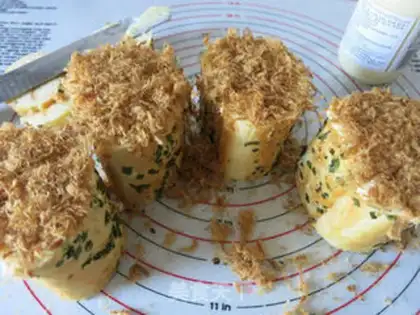
31
Just stick the meat loose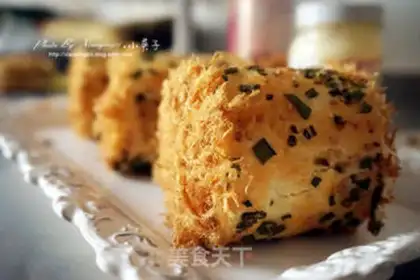
32
Completed Chart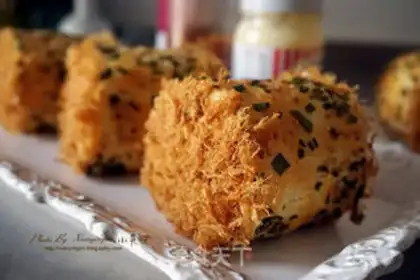
33
Completed Chart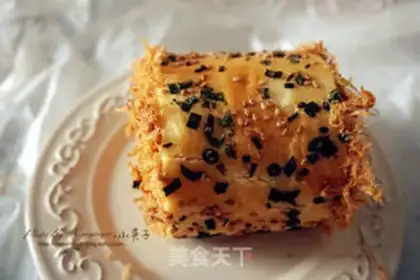
34
Completed Chart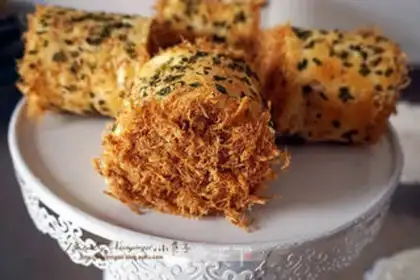
35
Completed ChartOnion pine rolls Make Tips
Xiao Yingzi's Tips:
1. To avoid moisture loss and dry skin, cover the finished dough starter with cling film to keep it moist. After cooling, place it in the refrigerator and chill for at least one hour before using.
2. Since opening the oven door lowers the temperature, you should preheat the oven 10-20 degrees higher than the recipe requires.
3. If you do not grease the baking sheet, you must line it with parchment paper; otherwise, the dough will stick and be difficult to remove.
4. When making bread rolls, do not wait until they are completely cool. You must roll them while they are still slightly warm; otherwise, they will break easily.
5. Covering freshly baked bread slices with a sheet of parchment paper helps trap moisture, which is beneficial for keeping the bread soft and preventing it from drying out.
6. Use a knife to make slits in the bread slices. This is to make them easier to roll. Do not cut too deep; cutting halfway through the thickness of the crust is sufficient.
7. The water absorption capacity of flour varies. When mixing the dough, you can reserve 10 grams of water. Finally, adjust based on the dough's consistency: if the dough feels sticky to the touch, do not add more water; if it feels dry, add the reserved amount. The same brand of flour may absorb different amounts of water throughout the year. In the summer, you should reduce the water accordingly.
8. Everyone knows that ovens vary in temperature; the temperature mentioned here is the actual temperature. If you are unsure whether your oven's thermostat is accurate, like me, you should buy an oven thermometer. Although I dare not guarantee that an oven thermometer will measure the exact temperature, at the very least it lets you know the difference between the thermometer and the oven, so you have a better idea of what to expect. My oven's thermostat is very inaccurate and varies with the seasons; I don't dare bake anything without a thermometer.