Double-story sugar cake
By VicentaLakin
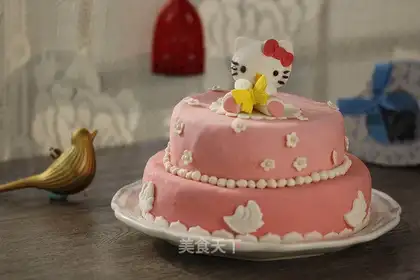
Hello Kitty has been liked by many little girls since its birth, even to the majority. This is because many girls have a princess's dream, and the dream fairy-tale world is accompanied by the wings of childhood, and it is these classic fairy tales that feed people like springs. I love its pink colour, its sweet look, its beautiful bows, like a beautiful little princess, who gathers the best fantasies and aspirations of a girl's childhood. Today we have a childhood dream of a two-storey sugar cake and quotes: "I don't want to grow up."。
Recipe Recommendations
- sweetening
- roast
- several hours
- senior
Steps for Double-story sugar cake
1
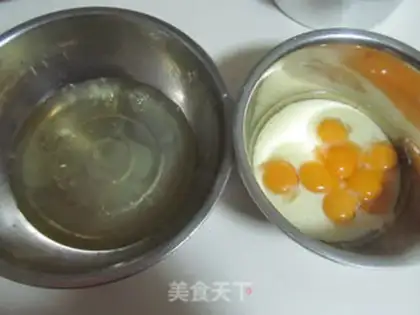
(b) The placement of milk, 50 grams of sugar and oil in a container, while the placement of egg yolk in it and the discharge of eggs into containers free of water and oil;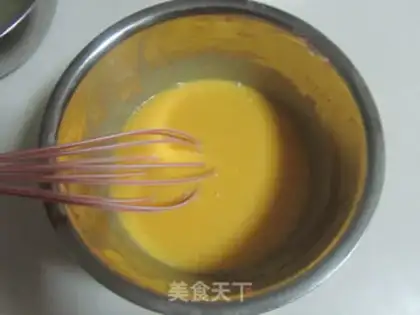
2
(b) Equalizing the mix of yolk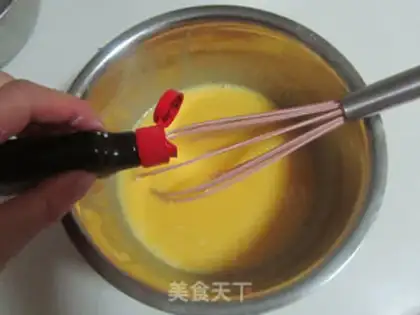
3
Add a few drops of vanilla, evenly mixed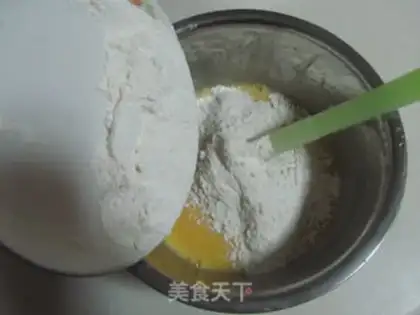
4
(c) Add sifted low-banded flour and salt, with full and balanced mixing;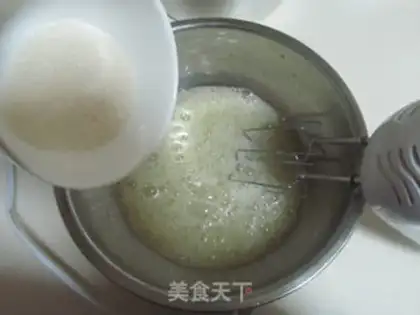
5
One third of an additional 100 grams of sugar will be added to the poaching of the eggs, which will be evenly mixed; in two or three cases, evenly mixed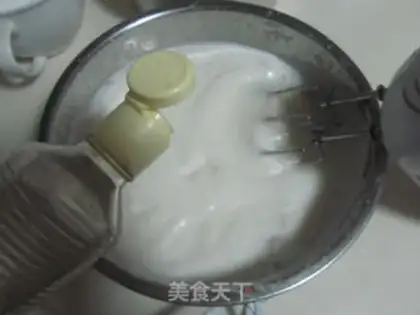
6
Add a few drops of white vinegar to the distributed egg purifier, and a little more;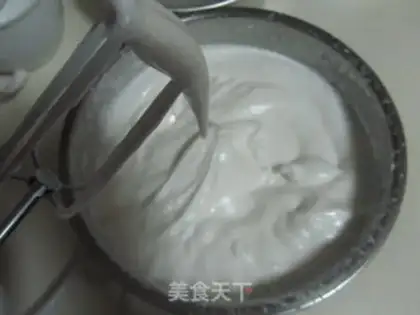
7
The proteins that are distributed are able to set a small triangle upside down with a mixer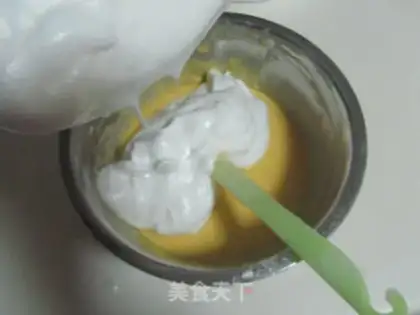
8
(b) To dump one third of the distributed protein into the mixed yolk and evenly mix them;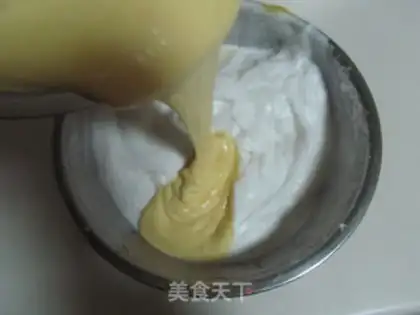
9
(b) The mixing liquids are then poured into the remaining two thirds of the distributed egg clears and they are evenly mixed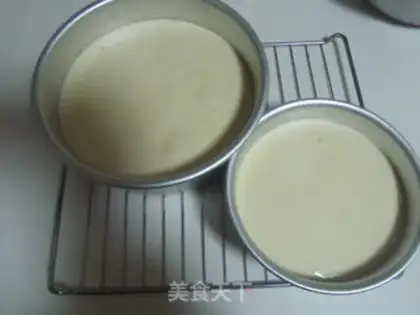
10
(b) Falling into the desired mould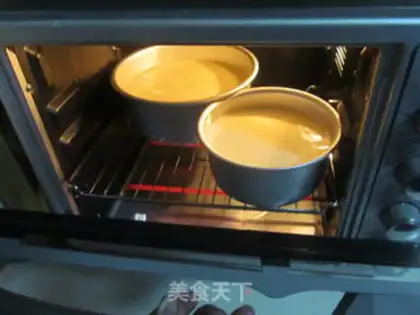
11
... two vibrates before putting the oven in a preheated 170 degree oven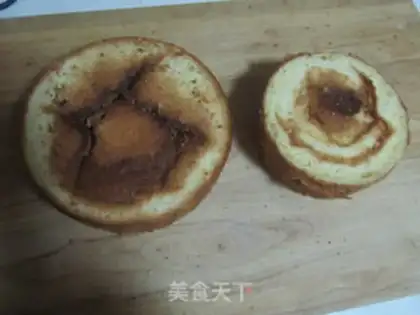
12
Forty-five minutes in the middle and lower floors, and when it's baked, it's set upside down on the net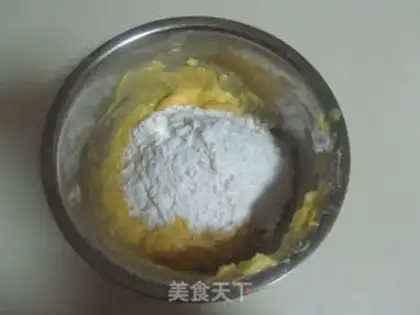
13
Cream cream cream: Butter room softened, sugar powder added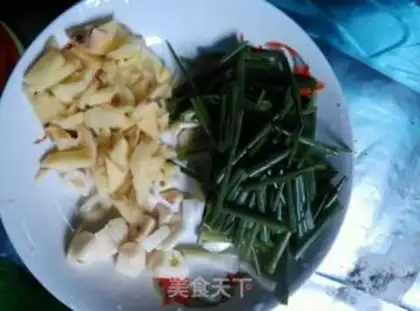
14
(b) The form of feathers mixed with an electric mixer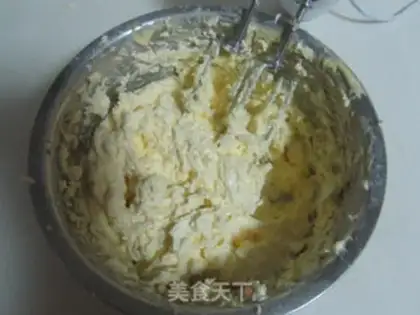
15
Add the egg purifier in turn, and then evenly, and then the next one, which is then mixed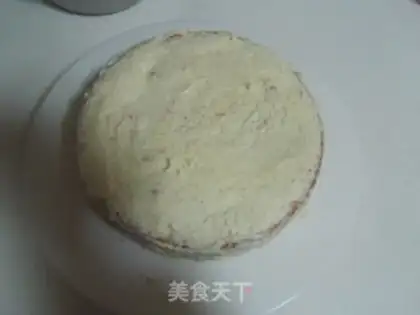
16
• Placing cream cream on and around the cake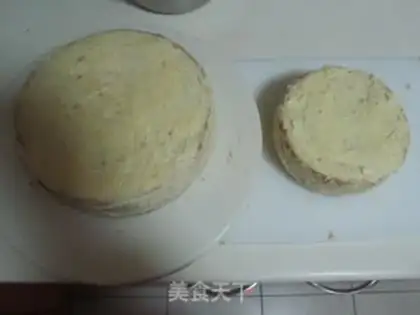
17
At the same time, both cake surfaces were flatted and frozen in the fridge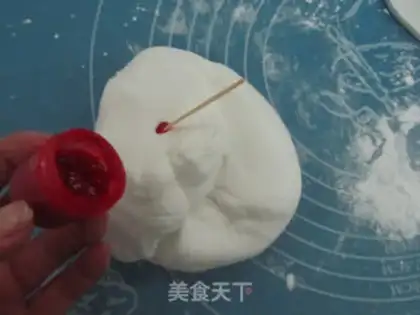
18
- Add pink and colored sugar paste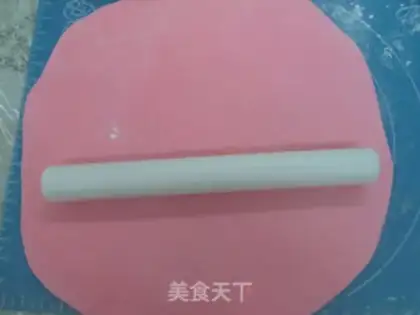
19
After making the preferred colours, make some powder on the board and start the skin; and turn the sugar peels to a sufficiently large direct to cover the cake completely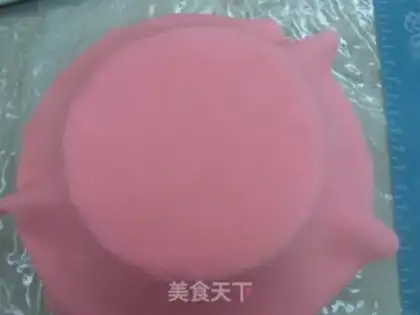
20
(b) Transferring the sugar skin to the cake with the cane
21
Cut the extra edge with a knife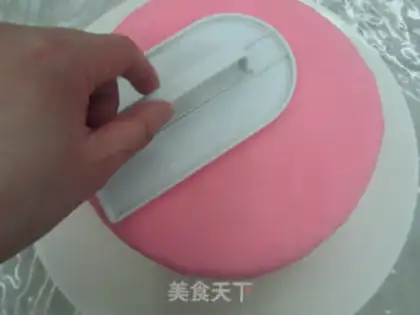
22
We're going to have to wipe the surface and the surroundings out and sort them out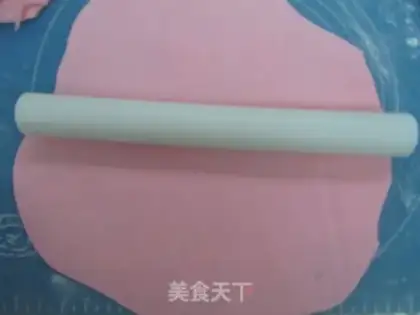
23
A little light on the top-level cake color and a big circle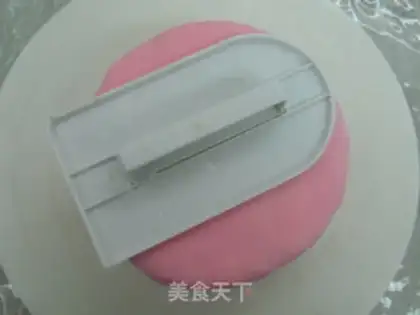
24
The same way to wrap the top cake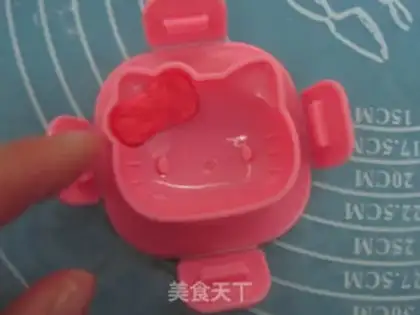
25
USE THE HOME SUSHI HOLLEKITY MOLD TO PUT RED FIRST ON THE KNOT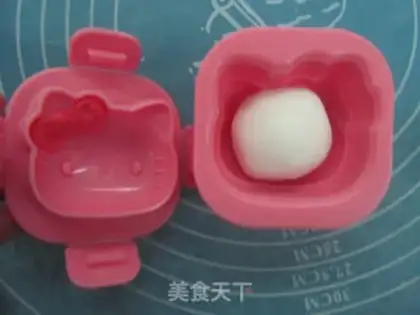
26
Put it in white sugar, press it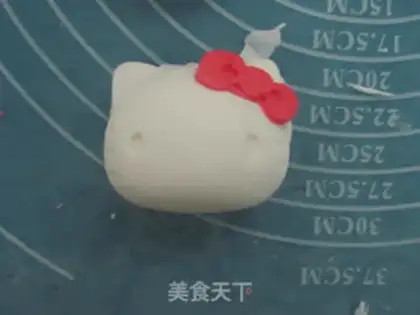
27
REWIND IT SO HOLLEKITY'S HEAD IS MADE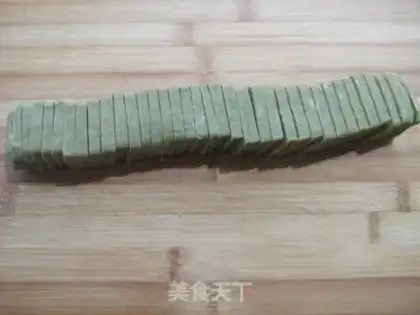
28
Make black noodles, make its eyes and beards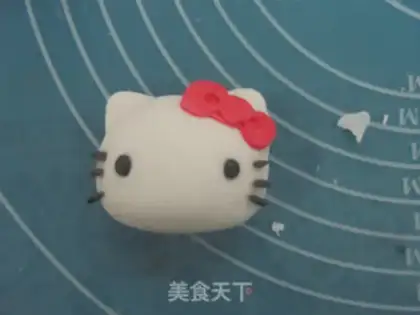
29
Sticking beards; using yellow sugar as its nose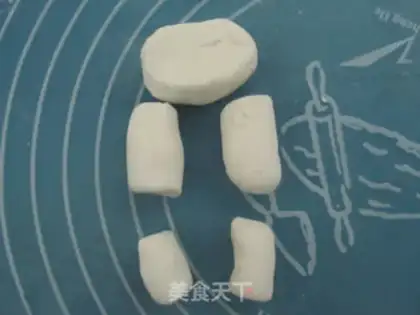
30
The body, arms and legs are then proportionally developed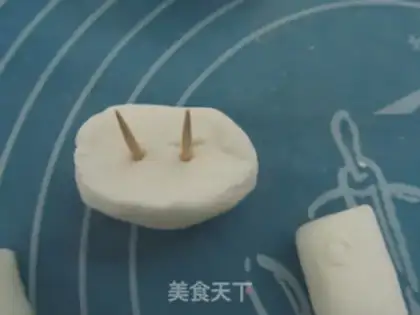
31
Fixed body with toothpicks due to heavy head; of course, arms and legs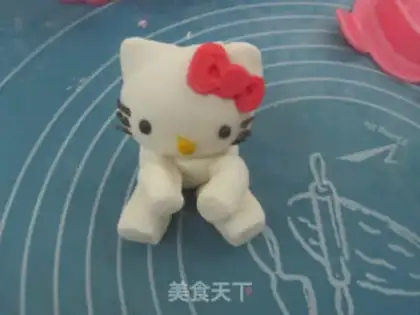
32
SO HOLLEKITY IS FINISHED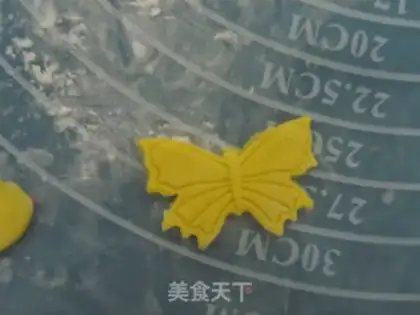
33
(a) A yellow lump of sugar, pressed with a butterfly mold, and such a butterfly was completed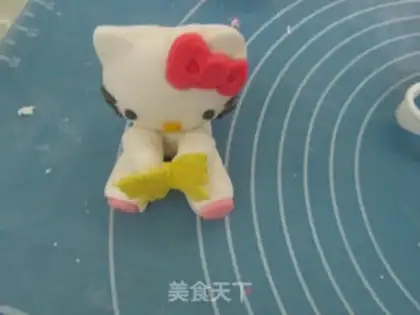
34
Put the butterfly on the arm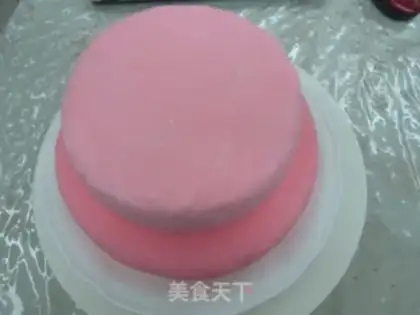
35
Put two cakes (8 and 6 inches) in place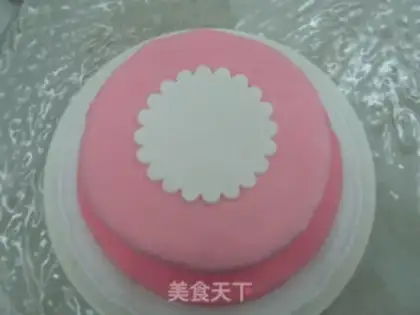
36
Press a circle into the middle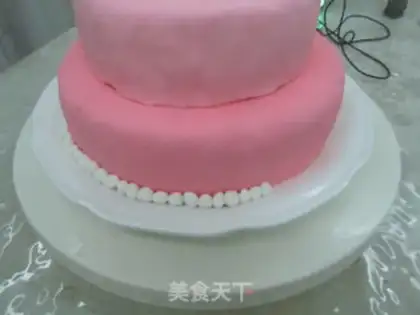
37
And squirt a little ball as pearls in two layers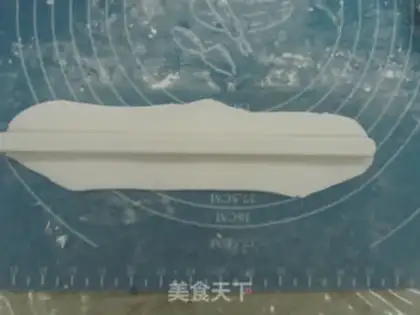
38
A long white strip, presses with a bouquet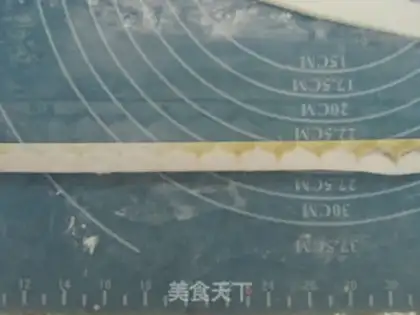
39
To remove the excess, a bouquet is formed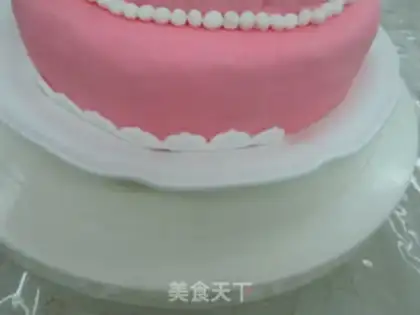
40
Stick it to the edge of the bottom cake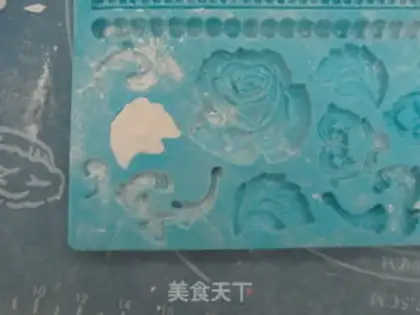
41
(a) Pump some powder in the molds and press the glucose cream in the molds needed (preferably less, not more, but fill the bottom)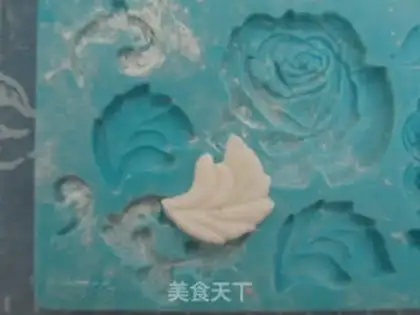
42
The leaves are finished when they fall out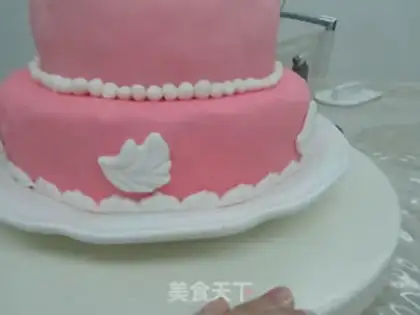
43
Paste it around the bottom cake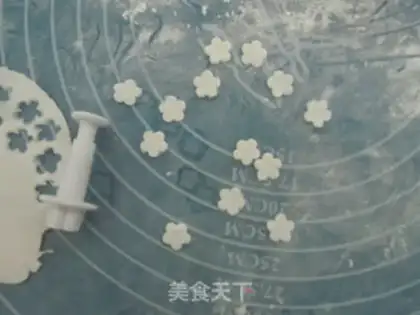
44
Press some flowers with a little flower mold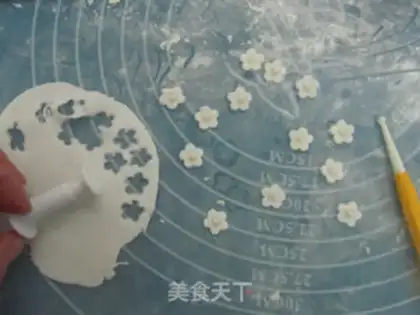
45
Sticky honey in the middle, with pearl sugar in the middle as a flower
46
(b) Sticking small flowers randomly to the top of the cake surface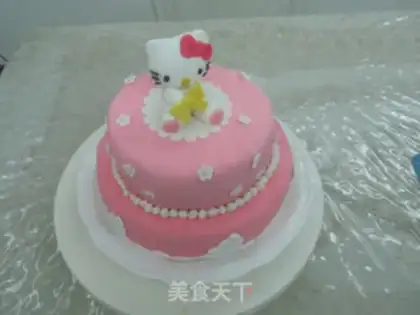
47
AND FINALLY PUT THE NEWLY MADE HOLLEKITY IN THE MIDDLE OF THE TOP CAKE。Double-story sugar cake Make Tips
1. Beat the egg whites in a container that is free of water and oil. When mixing the whipped egg whites with the yolk mixture, pay attention to the strength and method; fold from the bottom up.
2. For home baking, add vinegar to avoid using chemical additives like cream of tartar. Remove the cake from the mold and invert it immediately to prevent collapsing.
3. I used a chiffon cake base, but you can certainly choose whichever cake base you prefer. Also, I didn't add layers of fruit or buttercream to the cake, as I was concerned the finished fondant cake would be too sweet; feel free to adjust these elements to your liking.
4. Use ready-made fondant for the cake covering. For the decorations, mix fondant and gum paste in a 1:1 ratio; this makes the decorations easier to shape and helps them hold their form longer.
5. I used Italian meringue buttercream this time, which is relatively simple to make. When adding the egg whites, ensure one is fully mixed before adding the next. This buttercream can be used for both smoothing the cake and as a filling; chilling it in the refrigerator after smoothing helps it set better.
6. When covering the cake with the fondant sheet, be sure to roll it out large enough: it must be larger than the diameter of the cake plus twice its height. Trim off any excess edges; if it is too small to cover the cake completely, removing the fondant will result in waste.
7. The shape of Hello Kitty is actually relatively simple; you can mold it by hand or use a mold. I made full use of some sushi molds I had at home, though I have also hand-molded it in previous blog posts. Since the head is quite heavy, it is best to secure it with a toothpick. The rest of the decorations are up to you.