Old pumpkin bread
By VicentaLakin
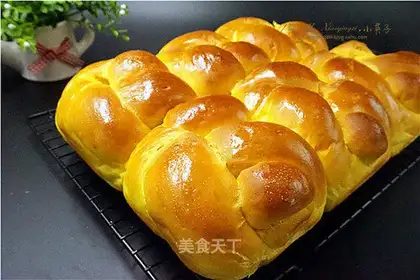
The ACA-TM33HT oven is the prize awarded in the "Autumn Harvest" event. It's been experienced before that the brain is a fully capable smart oven, both in terms of temperature control and temperature distribution. A little roast is not good, and a big roast is really good. The 30-cm grill is almost full of oven volumes, and the result is just as perfect, and no corner will let you down. It's a big plate, a color. It's amazing! This time I'm adding the elements of pumpkins, and I'm trying to develop new varieties, and I'm just trying to taste what it's like to subvert traditional foods. The result was satisfactory, and the old bread, which added the pumpkin element, tasted neither old nor old, and flatted the pumpkin's perfume. The combination of these two makes the old bread taste even better, but the color of the gold and the yellow has become too attractive
Recipe Recommendations
- high-gluten flour 350 grams
- low-gluten flour 150 grams
- natural yeast 200 grams
- pumpkin puree 170 grams
- egg liquid 75 grams
- butter 50 grams
- white sugar 60 grams
- salt 4 grams
- milk powder 20 grams
- dry yeast 1 gram
- water 30 grams
- milk fragrance
- roast
- several hours
- ordinary
Steps for Old pumpkin bread
1
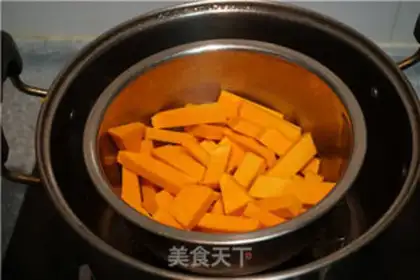
Pumpkin goes to the skin, cuts into small pieces, fertilizes in the steam pan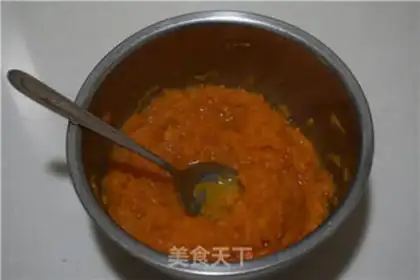
2
Then crush it with a spoon while it's hot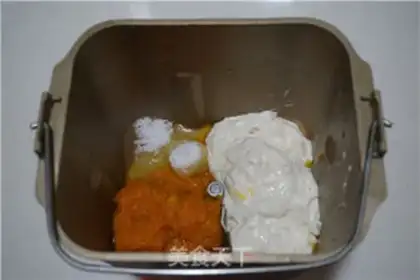
3
Fermentation material: 75 g of high-weather flour, 75 g of low-weather flour, 20 g of natural yeast, 200 g of natural yeast water, 30 g of pumpkin mud, 170 g of natural yeast in yeast raw material, pumpkin mud, sugar, water first into bread drums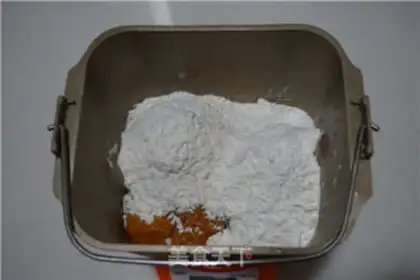
4
Put powder on it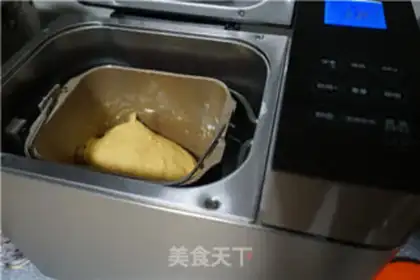
5
Starts the custom and face program for 15 minutes. It's been smooth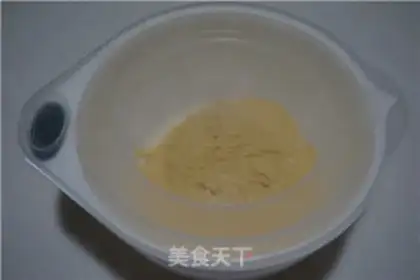
6
It ferments in warmth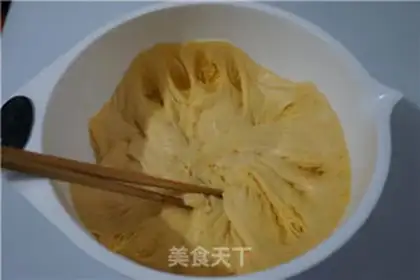
7
It's about 3-4 small, and it's swelling and falling back, and it looks like a beehive inside。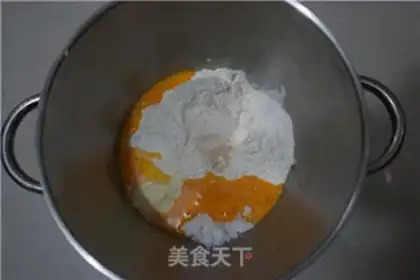
8
Main noodle material: 75 g of high-weather flour, 75 g of low-weather flour, 75 g of sugar, 60 g of milk, 20 g of salt, 4 g of butter, 50 g of dry yeast, 1 g of yeast, together with materials other than butter in the main noodle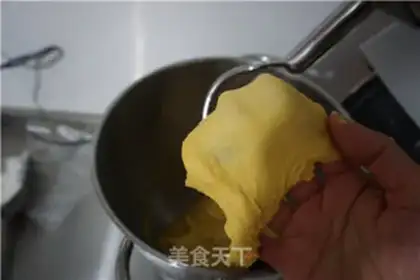
9
The chef's machine has been extended to his face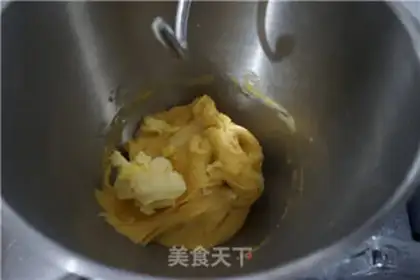
10
Add butter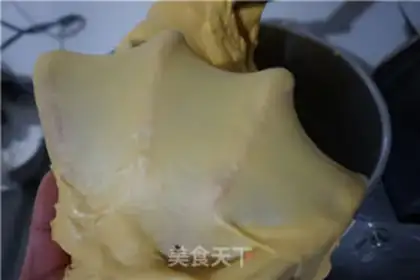
11
Scroll to full expansion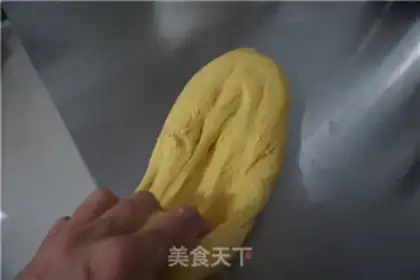
12
Drop a few times on the stage after taking out the noodles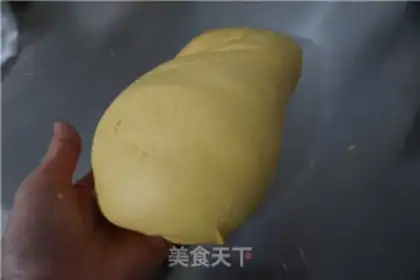
13
This move will make the face of the face smoother, and the internal structure tighter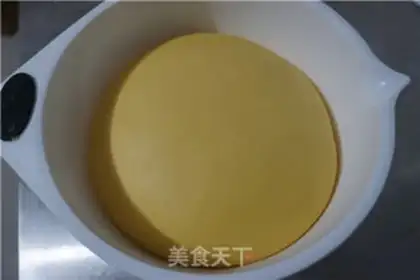
14
When you're in a circle, it's about twice as big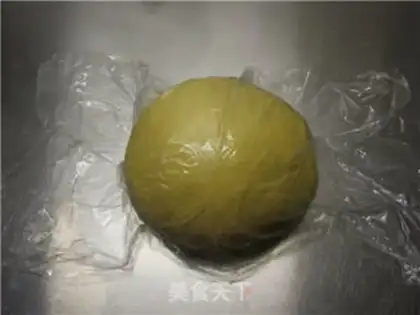
15
Take out the fermented noodles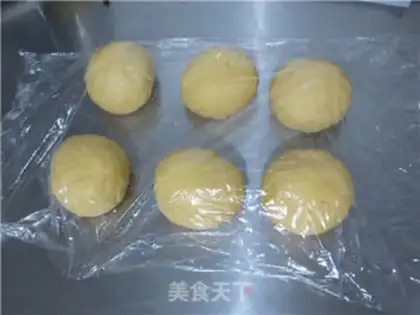
16
On average, six. 15 minutes of laxity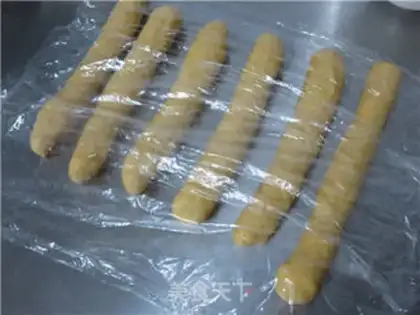
17
And then when you're loose, you've got a noodle strip, and you've got 10 minutes of laxity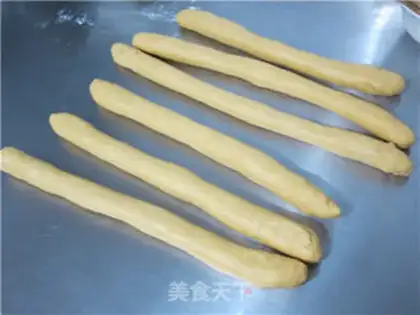
18
It'll take a few more minutes if it doesn't last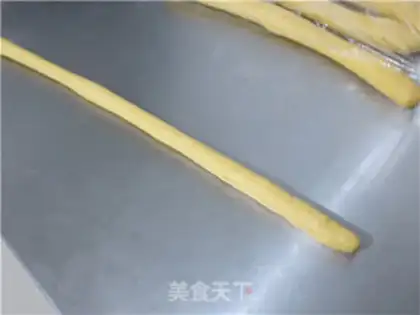
19
Until it can easily reach the desired length of 60 centimetres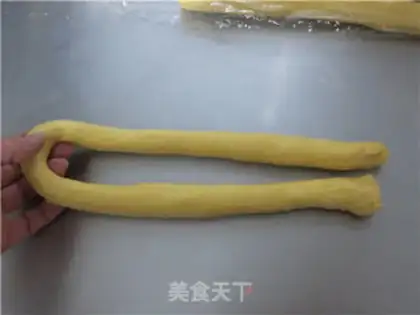
20
Hold the face on the left hand and hold the fold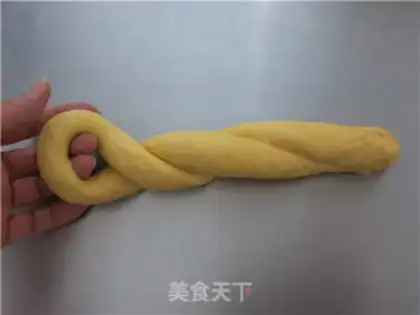
21
Two laps inside the right hand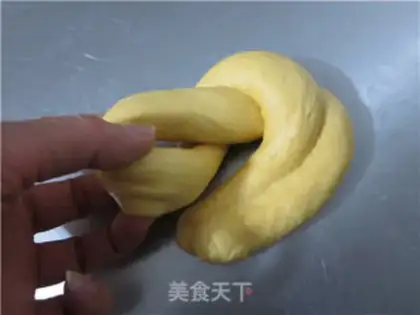
22
Turn the part that connects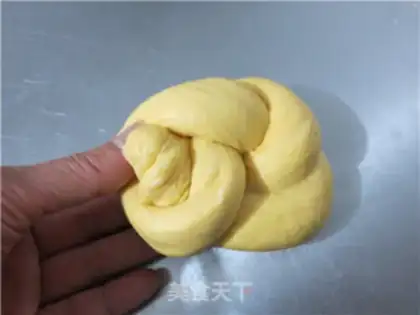
23
Head in the circle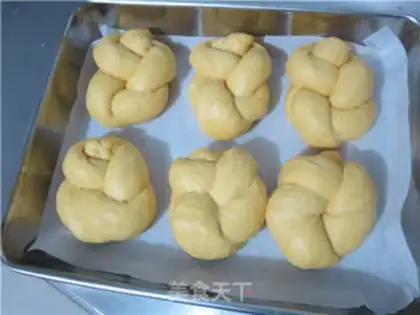
24
It's on a grill with a silica or tarpaulin on it, where the fermentation is activated for final fermentation。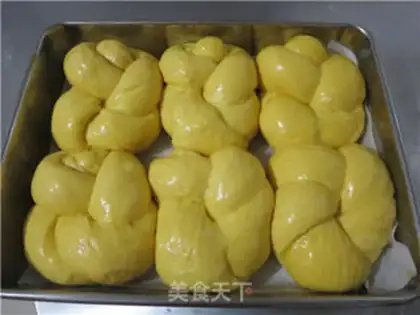
25
Final fermentation is over, surface egg fluid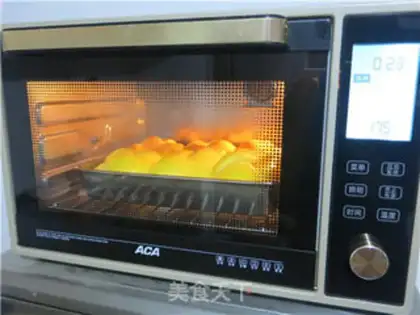
26
The oven preheated 175°C oven, lower floor, up and down, about 30 minutes。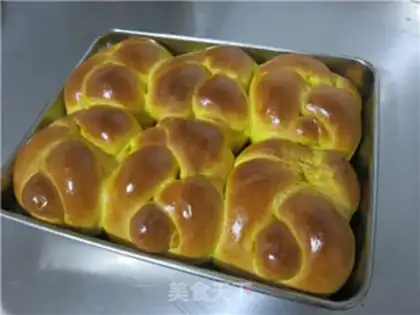
27
Once out of the oven, move to the grill and cool。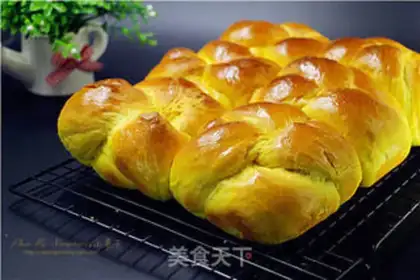
28
Done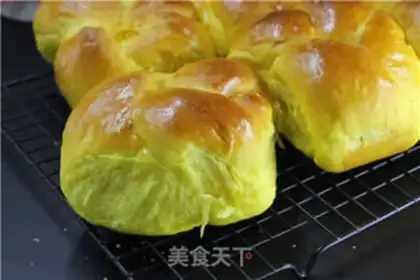
29
Done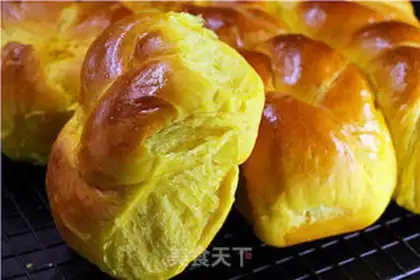
30
DoneOld pumpkin bread Make Tips
Tips from Xiaoyingzi:
1. Using homemade natural yeast to make bread results in a soft texture that does not stale easily.
2. Since natural yeast has a high moisture content, it is best to add liquid gradually. During the process, decide whether to continue adding liquid based on the feel of the dough.
3. When rolling the dough, do not make it too long. Roll it to a suitable length according to the size of the dough; after folding it in half and bending it over, it should fit just right without excess gaps, as large gaps are difficult to manage.
4. The recipe includes 1 gram of dry yeast because low temperatures might make the fresh yeast inactive and affect fermentation speed. If the temperature is suitable, the dry yeast is not needed; please adjust accordingly.
5. Baking time and temperature are for reference only; specific adjustments should be made based on your own oven rather than blindly following the recipe.
6. If the baking sheet is non-stick, it can be used directly. If it does not have a non-stick function, it must be lined with greaseproof paper, a silicone mat, or greased with butter to prevent sticking before use.
7. You do not need to wait until the bread is completely cool before putting it into a plastic bag for storage.