Root cake
By VicentaLakin
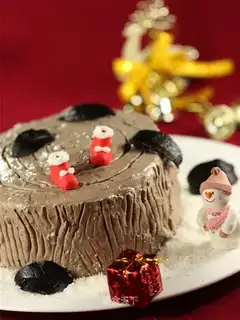
Root cakes are traditional Western desserts for Christmas, classic chocolate desserts, warm enough to eat, sweet enough, and add a Christmas atmosphere。
Recipe Recommendations
- low-gluten flour 120 grams
- eggs of 5
- cocoa powder 15 grams
- sugar 100 grams
- milk 10 grams
- butter 45 grams
- animal cream 200 grams
- chocolate 100 grams
- sweetening
- roast
- several hours
- ordinary
Steps for Root cake
1
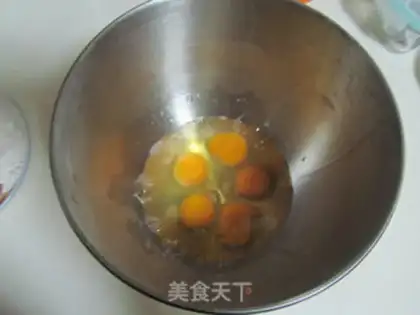
The whole egg is placed in the stainless steel drum of the cooker ' s machine and is fitted with an egg beating; 3. The cooker ' s machine is activated and sugar is added in the middle part of the time and the mixing is even to the full hair; 4. The thick drop is present at the beginning of the egg; 5. The condensed flour is added at the same time; 6. The milk and butter is added at the same time; 7. The mixed paste is placed in the mould; 8. The oven is preheated to 165 degrees, placed in the middle and lower floor and baked for 30 minutes; 9. The baked cake is taken down and cut in three slices after cool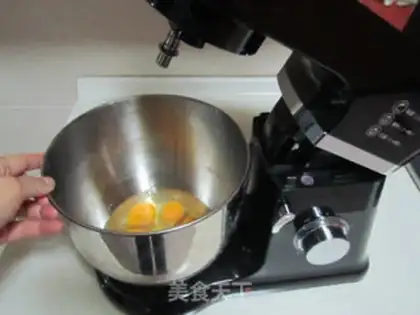
2
stainless steel drums installed on cook machines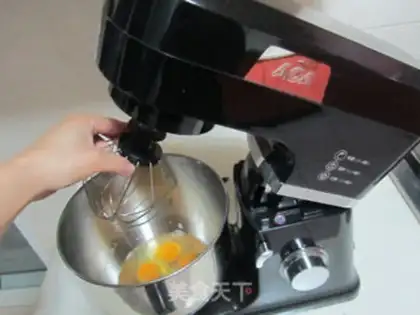
3
Sets the egg; 3. Starts the cook machine with sugar in the middle and mixs it evenly to full hair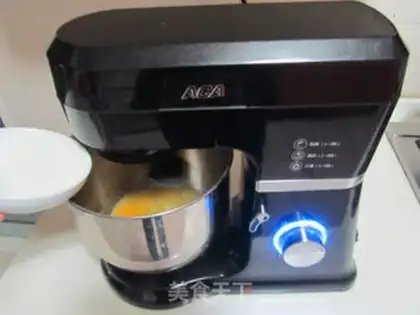
4
Activate the cook ' s machine and add sugar in the middle and mix it evenly to full hair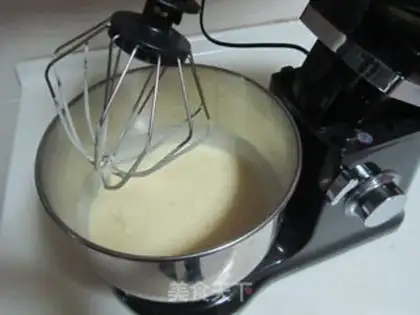
5
(a) A state of thick drop-down when the egg is lifted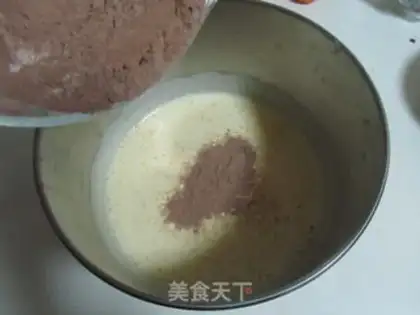
6
(a) Add low-banded flour in fractions, evenly mixed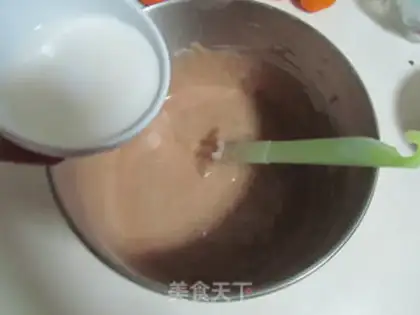
7
In turn, milk and butter are added, and the mix is even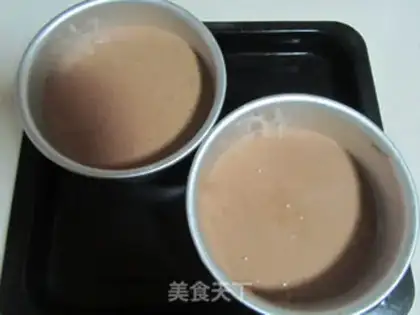
8
I'm not sure if it's a good idea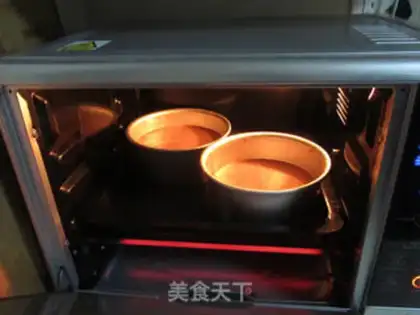
9
The oven is preheated to 165 degrees, placed in the lower middle and baked for 30 minutes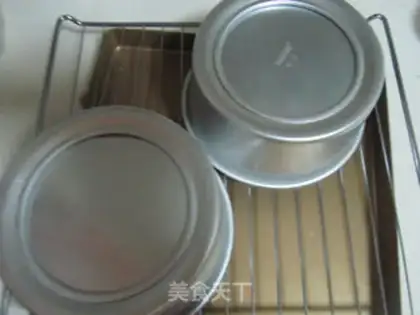
10
The baked cake comes out with the retweet and cuts in three pieces after it cools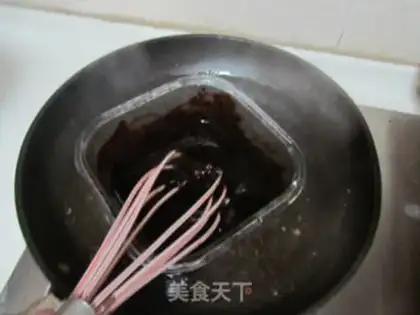
11
Black chocolate and butter melt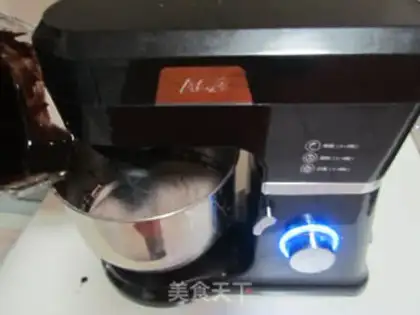
12
11. An animal-fruit cream, six or seven minutes to the melted chocolate to full-cut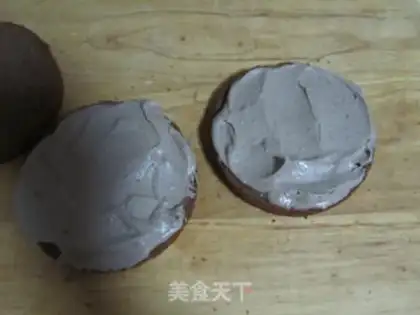
13
(a) The black chocolate cream is painted on every piece of cake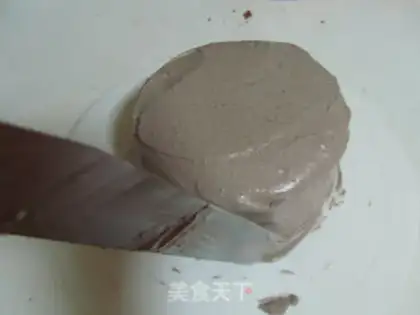
14
(b) Placing them together and coating them with cream outside of the cake and putting them in a freezer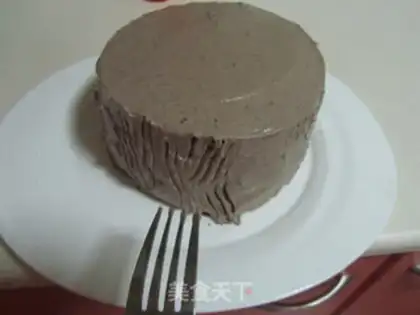
15
Put irregular bars on the edge of the cake with fork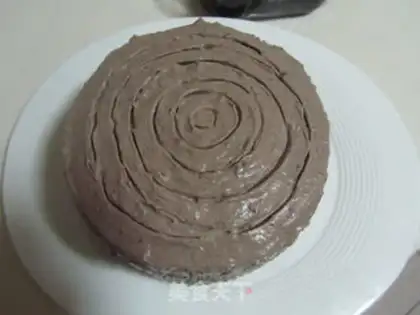
16
The use of toothpicks to draw circles on the face of a cake as the annual wheel of a tree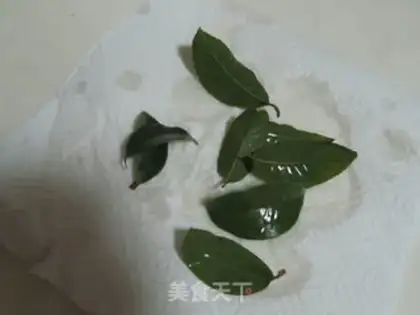
17
(b) Brush clean leaves with salt water and wipe the water from the surface of the leaves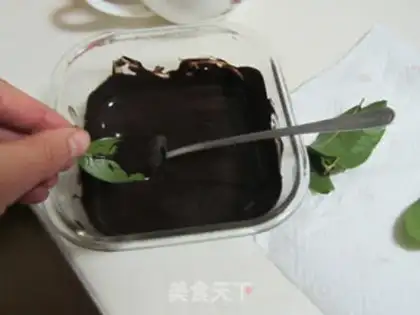
18
Painting of the leaves on the back of the leaves with the remaining chocolate fluid until chocolate condensates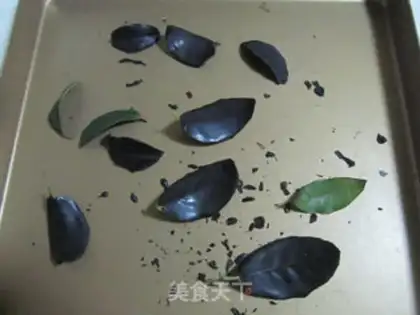
19
(b) The leaf is separated gently when the chocolate is fully condensed, so that the leaf is made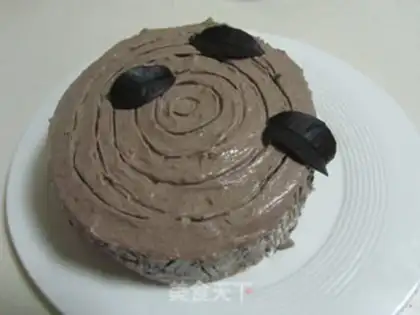
20
It's like putting chocolate leaves on a cake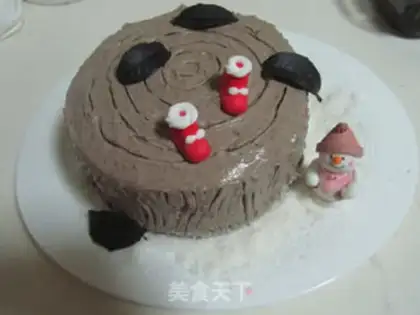
21
And with other Christmas decorations。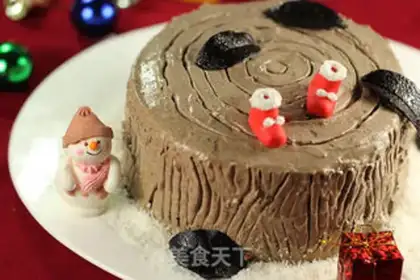
22
Let's celebrate Christmas。Root cake Make Tips
1. The Tree Root Cake uses a chocolate sponge cake base. Be sure to whip the whole eggs until fully risen; this means when lifted with a whisk, the mixture should drip in a thick, slow stream. Add cake flour (low-gluten flour) in batches slowly along with other ingredients; do not mix for too long to avoid affecting the texture of the final product.
2. When melting dark chocolate over a double boiler, add a little butter; this makes the melted chocolate smoother and more fluid. Once it has cooled to room temperature, pour it into whipped heavy cream and whip until thick to form chocolate cream.
3. Spread a layer of chocolate cream on each layer of cake and stack them. Then apply an even layer of cream over the entire surface of the cake. It does not need to be perfectly smooth, but to better create the tree root patterns, you can first refrigerate the cake to set the shape.
4. When using a fork to draw vertical lines, don't make them too regular; make them look natural. The texture on the surface should be circles, representing the tree rings; using your teeth is more convenient for this.
5. For the leaves, it is best to choose ones with clear veins. Before use, they must be thoroughly cleaned and the surface moisture wiped off. Spread melted chocolate on the back (underside) of the leaves; this will imprint clear veins. You can apply another layer once the chocolate has dried. Once fully set, gently separate the leaf from the chocolate layer. The chocolate leaf decoration is now complete.