Cranberry cookies
By VicentaLakin
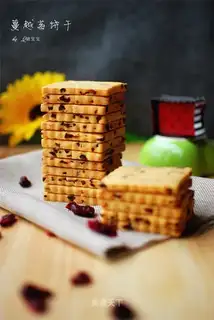
HANDMADE COOKIES FOR THE FAMILY, BUT NOT FOR THE TASTE. BAKING: 180 DEGREES ABOVE AND BELOW THE MID-LEVEL OF THE TO 5438 OVEN, 25-30 MINUTE MOLDS: NUMBER OF RECTANGULAR SPRING-PRESSED SODA CRACKERS: 30 COOKIES
Recipe Recommendations
- low-gluten flour 230 grams
- dried cranberries 70 grams
- powdered sugar 120 grams
- butter 150 grams
- whole egg liquid 2 tablespoons
- sweetening
- baking
- several hours
- ordinary
Steps for Cranberry cookies
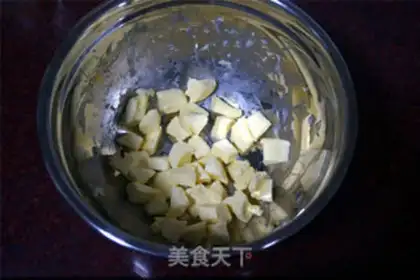
1
Butter cut into small softeners。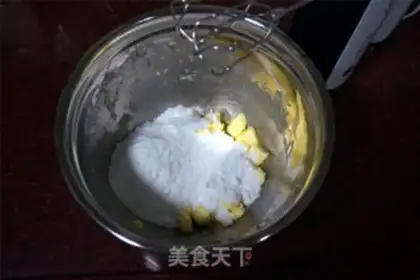
2
Add sugar powder and stir it with an egg-beater。
3
Add full egg fluids (about 30 ml of two spoons) and cause a disturbance to full integration。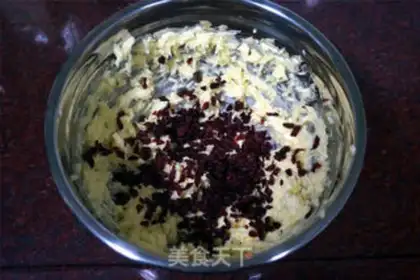
4
Add shredded cranberry dry, evenly mixed。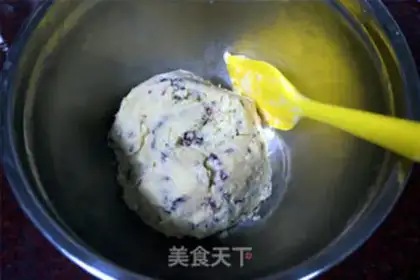
5
Sift low-banded powder into dry powder-free groups。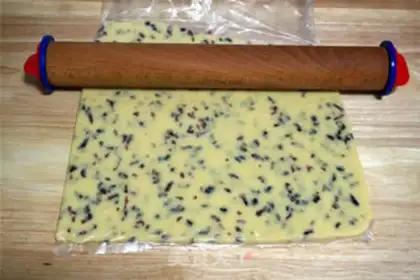
6
The noodles are loaded into thicker skin bags and condensed into about 0.6 centimetres thick。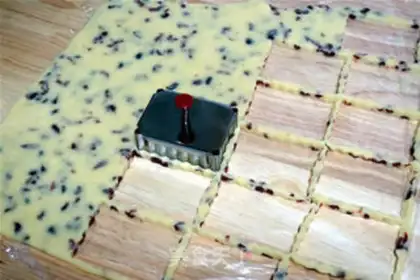
7
Frozen in the freezer in the fridge for 30 minutes to hard, removed, made of cookies with molds, and one face down on the grill with a small hole。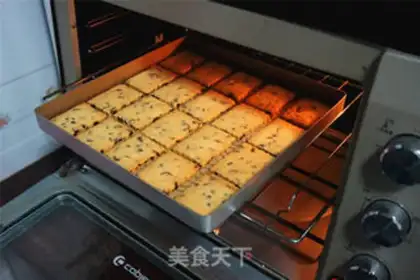
8
TOO 5438 OVEN PREHEATED AND PLACED IN THE MIDDLE LAYER, 180 DEGREES UP AND DOWN, AND 25-30 MINUTES TO THE SURFACE YELLOW。Cranberry cookies Make Tips
One, cranberry cookies are usually made of frozen pasta and sliced, and I'm looking for work, printing with molds, making cookies, etc. thick and beautiful. Two, with the help of a fresh bag, it's not sticky, it's clean and it works. Some of the students, even if they look at the recipes and the production process of the recipes, baked cookies that are not perfect, deformed, surfaced, and then leave a message and even spit on me, and here I would like to remind you of one of the most crucial details: each time they freeze the face and then print the cake. For the first time after printing, reassemble the face and put it in the freezer until it's hard to print, remember! 4 and the last part of the story is that each oven has a different spleen, and the temperature and time I give to bake is only for reference, and watch later。