♪ The dates and the years ♪
By VicentaLakin
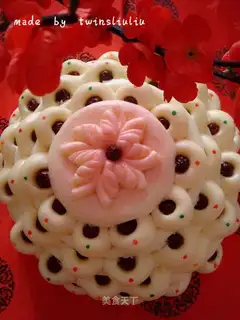
A few days ago, we shared the idea of making a flower cake, which everyone loved. It is very easy to learn today to share a relatively simple trick. With this approach in hand, and with our full imagination, we will be able to make all sorts of flowers. It's almost New Year's. Let's go
Recipe Recommendations
- ordinary flour 500G
- yeast 4g
- Aluminum-free baking powder 1g
- small jujube appropriate amount
- food coloring appropriate amount
Steps for ♪ The dates and the years ♪
1
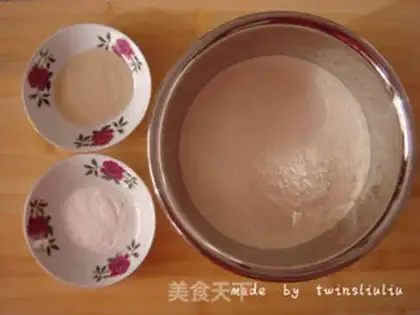
prepare food. normal flour: 500g, yeast: 4g, aluminum-free powder: 1g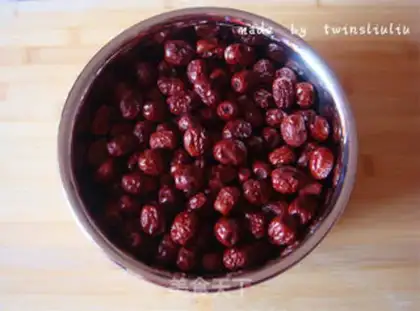
2
Little dates: Appropriate. After washing, they are put in cold water and start cooking. Once the water is released, the dry content is extracted. It's not too hot, but it's still steaming。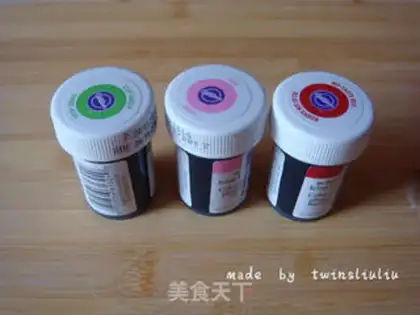
3
Food pigments: appropriate amount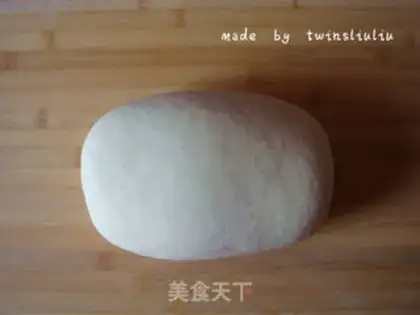
4
The yeast and the powder are poured into the flour, evenly mixed, covered with warm water and swarms, fermented in the warm。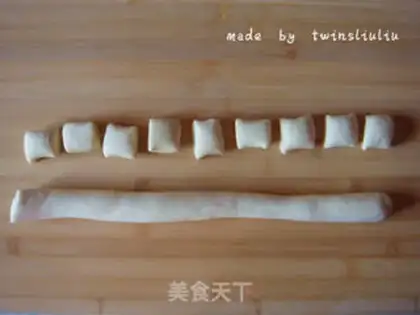
5
When the noodles are fermented to the original 1.5 to 2 times the size of the agent. Cut out a few small agents for the edges of the florist, not too big。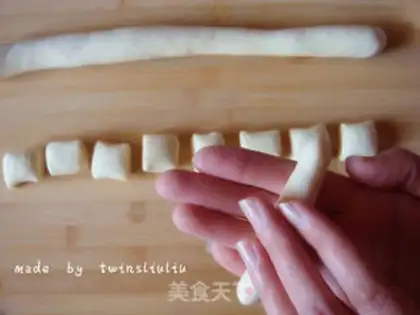
6
Scratch the agent into a little strip。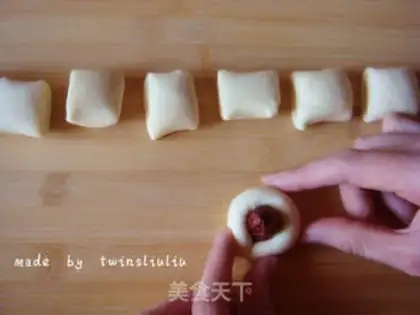
7
And take a small date, and wrap its covered face around it, standing on a set date。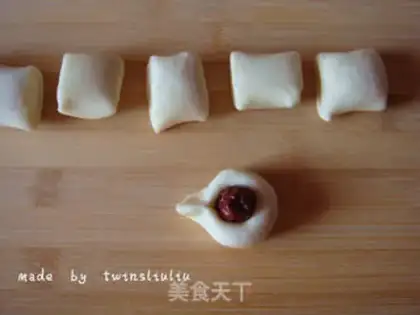
8
Squeeze on both ends of the noodles and form a drip pattern。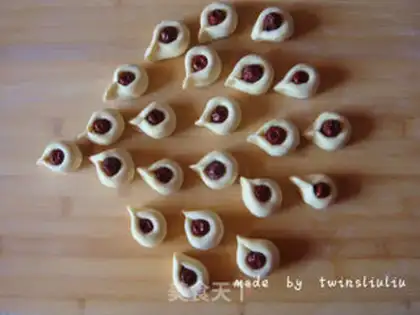
9
A few of these forms have been squeezed out as a spare for the florist。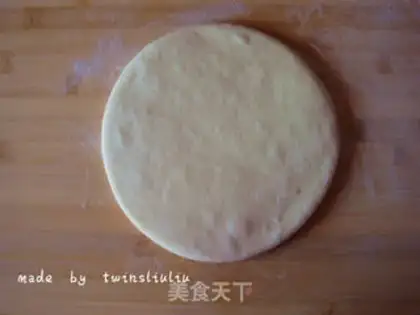
10
Take a piece of pasta and draw out a round face with a cane. It is medium in thickness and should not be too thin。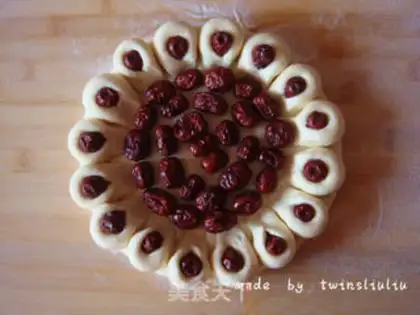
11
Rounded the radians of the rims of the waffles made. The tip of each small perimeter will be fixed with a little push. The center of the circle is full of dates。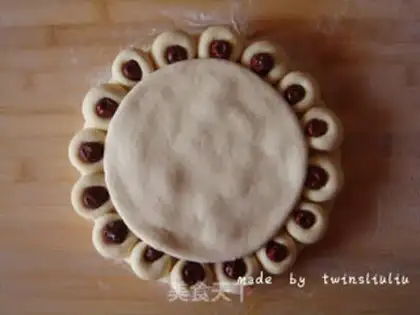
12
And another piece of face, covering the middle of the circle with small dates。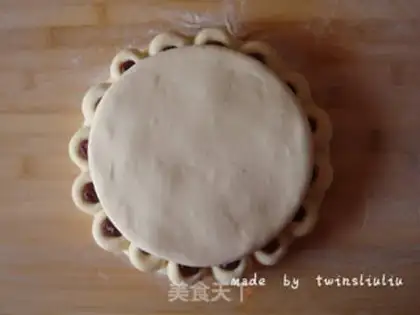
13
And a bigger 12 than step, as a second layer of florist。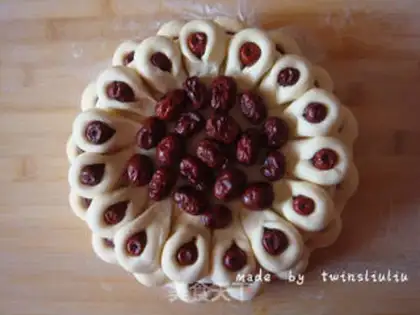
14
Repeat step 11, side by side, center with small dates。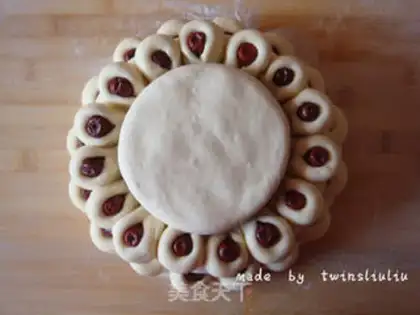
15
Repeat step 12, a piece of face to cover the area in the middle of the circle with small dates。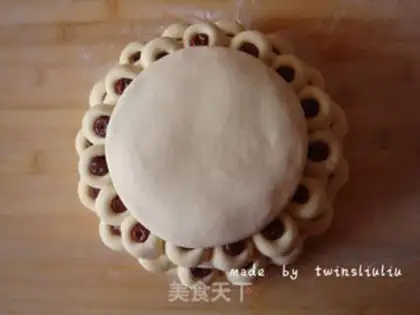
16
Repeat step 13, with a larger face than step 15, as the third layer of florist. You'll ask, why do you always have to put two layers on it? In fact, the first level covers the central dates, and the second level serves to bring the centre and the surroundings together at a high level and to prevent the collapse of the center of the florist, whereas the second level is the beginning。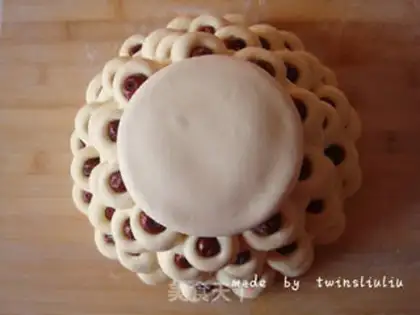
17
In this way, the layers are added over and over again, and the layers are randomly formed in a tower form, based on the principle of a smaller layer than a layer。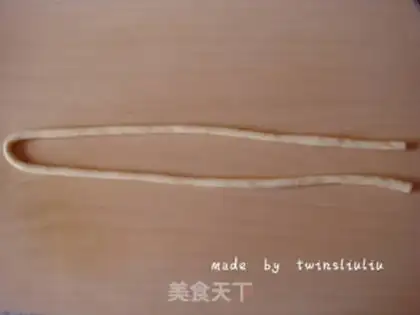
18
Make flowers on top. Take a little noodle and line it up。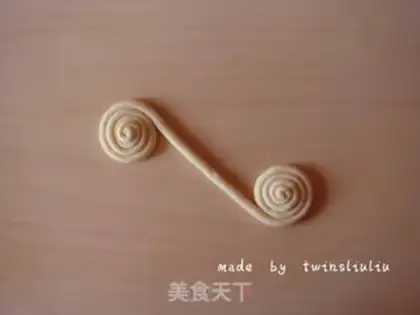
19
Both ends in reverse direction and simultaneously roll to centre。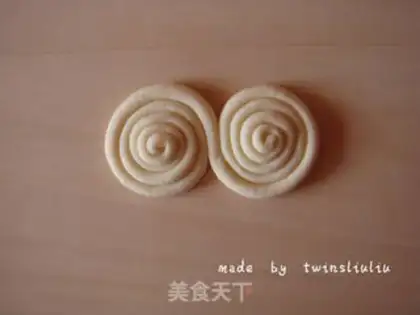
20
Until it's rolled together and becomes the 8th type. You have to be as tight as you can, so the flowers look good。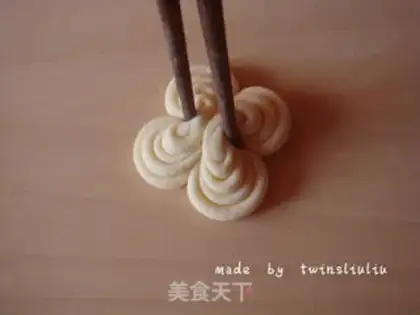
21
Tighten the center of two circles with chopsticks into four petals。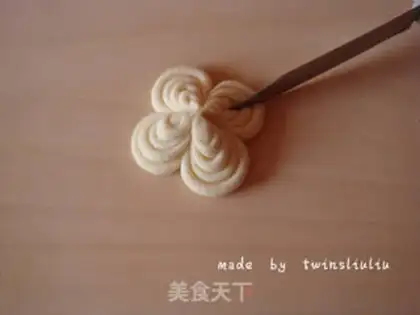
22
Cut every petal along the central line, the center is not cut, and the flowers are eight。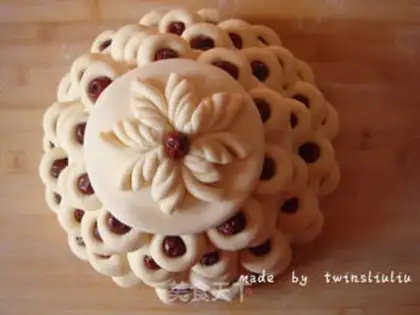
23
The flowers are placed in the centre of the croissant, with a date fixed in the core. Make a double fermentation。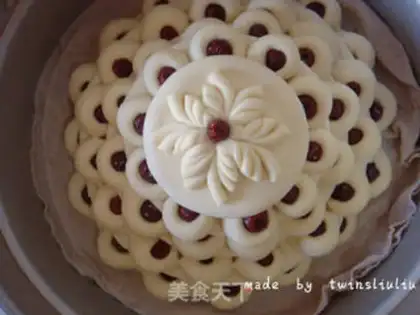
24
When the size of the florist is observed, and the surface of the face is loosely fertilized, it is evaporated in the pot and 25-30 minutes after the gas. Because I made more floors, so I steamed for 30 minutes. If there are fewer layers, the steaming time can be reduced accordingly。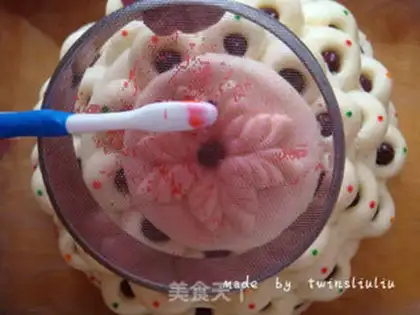
25
THE MEAT CHOPSTICKS ARE COVERED WITH PIGMENT, AND THE DOTS ARE MADE ACCORDING TO PERSONAL PREFERENCES. THIS BOUQUET CAP USES A COLORED METHOD: TAKE A LITTLE EDIBLE PIGMENTATION WITH A PROPER AMOUNT OF WATER TO ADJUST, USE A TOOTHBRUSH TO RUB UP THE COLORED PIGMENT, AND DO IT IN A POSITION WHERE IT NEEDS TO BE COLOURED. (END)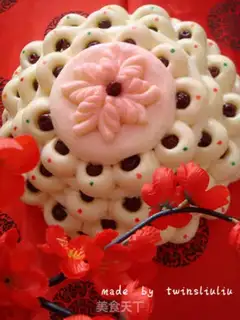
26
My family's tall。
27
It's 28th of the month。♪ The dates and the years ♪ Make Tips
Note: 1. Pick the date and make the florist better. The face must be slightly hard to make, so that it can be shaped. 3. The boiler covers are lifted three to five minutes after the fire has been shut down to prevent the collapse of the finished product by rapid cooling。