Straight corner cream cake
By VicentaLakin
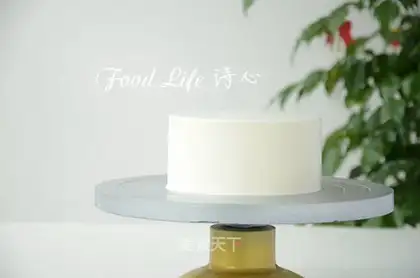
Straight-angled faces. A lot of friends say it's hard. In fact, it's not exactly three words that can be made clear, but it requires a hand-held technique. The other day, a mother from the same town came to the cream cake class, and I saw her wearing it well on the first day, so the next day, when I was doing the spin-off cake, I took a special picture of her painting, hoping that it would be more detailed with a picture, but it would be helpful for friends who would not。
Recipe Recommendations
- chiffon a
- light cream 300 ml
- fine sugar 20 grams
- fruit appropriate amount
- fresh milk jelly appropriate amount
- honey beans appropriate amount
- sweetening
- baking
- several hours
- ordinary
Steps for Straight corner cream cake
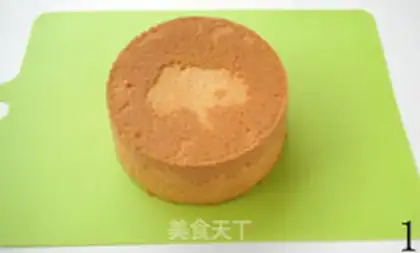
1
Prepare a six inch wind。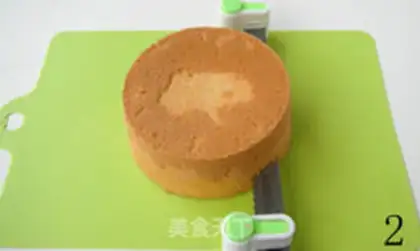
2
On average, three pieces were divided with the cake parter。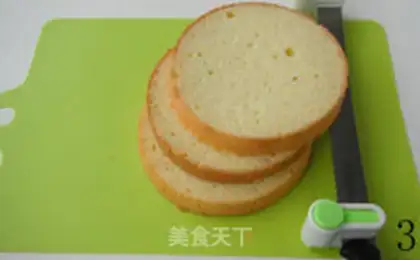
3
A piece of cake better be as thick as a piece。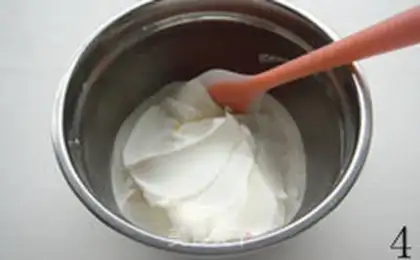
4
Cream cream with thin sugar。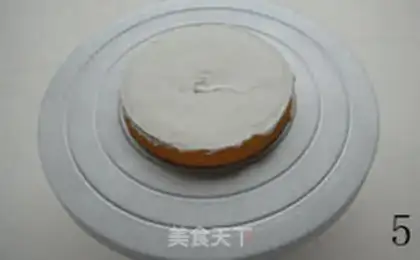
5
Take the first piece of cake and put a flat layer of cream on it, which does not need to be even, as long as it covers the cake。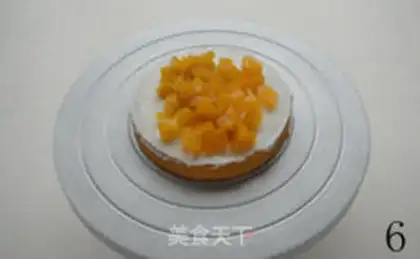
6
Put on proper fruit。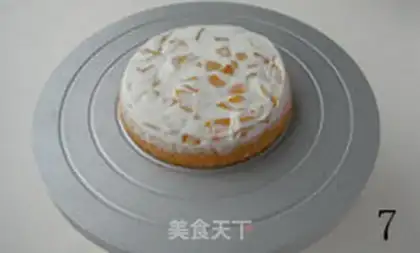
7
Keep wearing a layer of cream。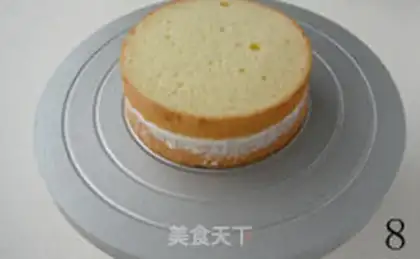
8
Cover a second piece of cake and turn the table and see if it's aligned。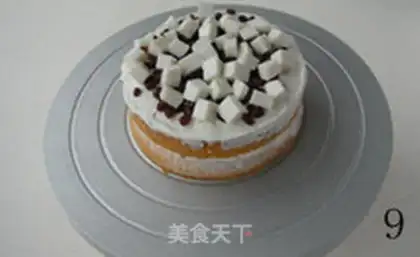
9
Add a layer of cream and then a proper amount of bean and fresh cream. I'd love to continue with the fruit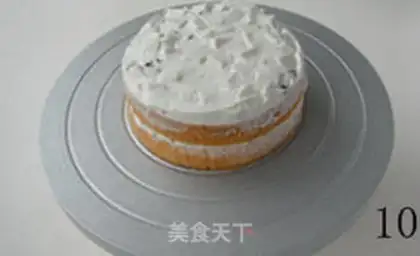
10
Put on a layer of cream。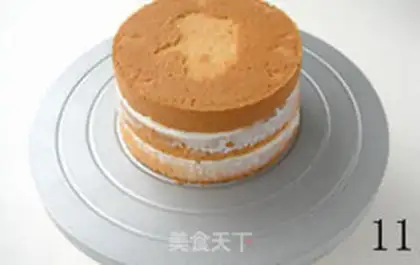
11
Cover the third piece of cake and also turn the stage to see if it is aligned。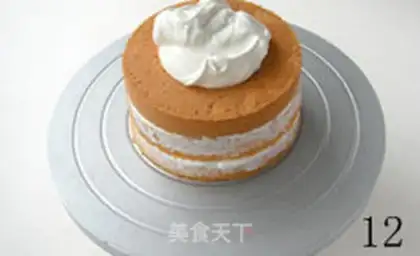
12
On the top of the cake is a proper amount of cream。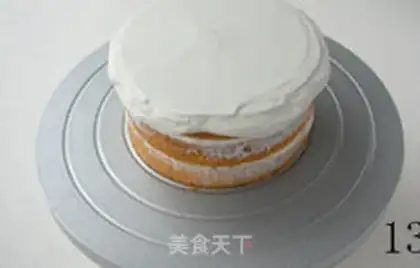
13
The right hand, with a machete, the left hand on the table, the two hands on each other and the cream on the side, is slightly larger than the face of the cake。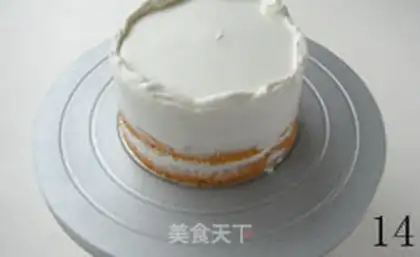
14
Scratch the edge of the edge, so that the edge is higher than the middle。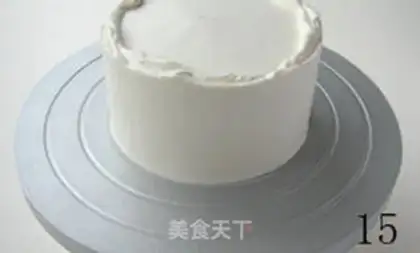
15
Keep mopping the sides。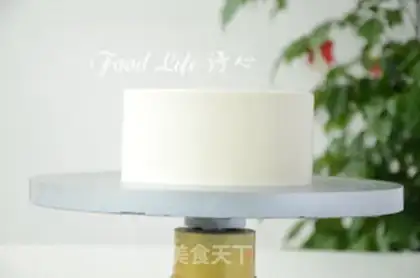
16
Finally, the edges of the edge are smoothed with a plaster to form a perfect straight angle. Here, every time you wipe a knife, you wipe it clean。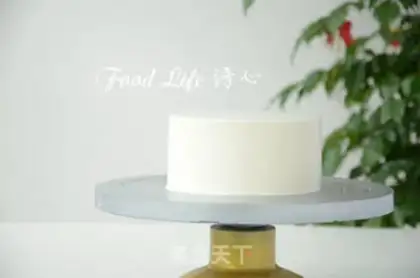
17
Completed Chart