Bean and sand, bread
By VicentaLakin
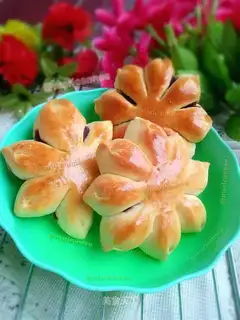
A flower bread, by its name, looks like a flower. This is the second time I've made bread with soybean sand, and it's better to eat than the first time. It's a technical and manual work to make bread, but I feel like I'm getting well prepared, and I've got some basic skills to make it. It's just more time-consuming. When the noodles are in place and the fermentation is in place, there's no way to lose the taste. The lovely, lively flower shape is the love of the children! Let's eat! It's a good choice for breakfast or tea! This video can be consulted at http://player.youku.com/player.php/sid/XNzQ2NjEyNTEy/v.swf
Recipe Recommendations
- high-gluten flour 200 grams
- yeast powder 2 grams
- eggs one
- water 50 grams
- milk powder 15 grams
- butter 20 grams
- white sugar 30 grams
- salt 2 grams
- egg liquid appropriate amount
- red bean paste 180 grams
- sweetening
- baking
- several hours
- ordinary
Steps for Bean and sand, bread
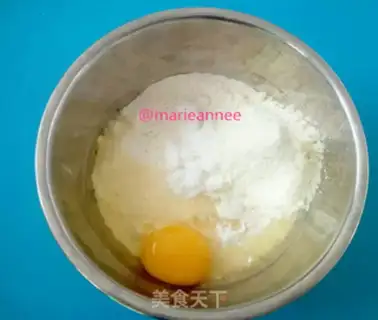
1
(b) To measure the corresponding grams in terms of high-strength flour, milk powder, salt and sugar, to be placed in a small basin, to be inserted into an egg, to be evened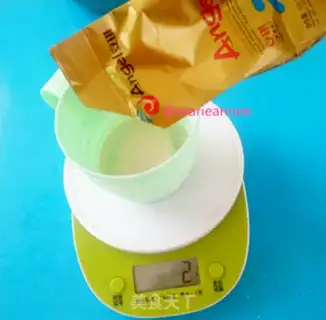
2
Two grams of yeast powder added to 50 grams of water. Smash it with chopsticks to fully dissolve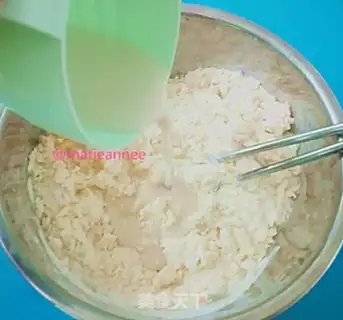
3
And slowly pour yeast into the flour bowl and mix it down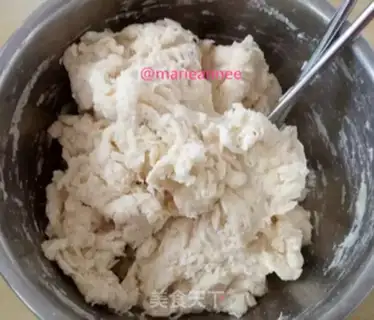
4
It's not like it's so bad, it's so bad, it's so bad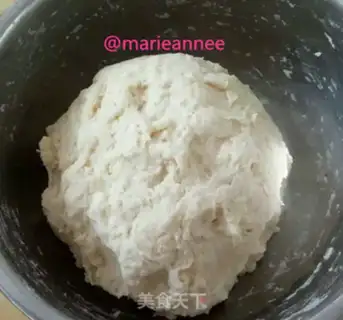
5
Hand-stamping, covering the skin film, until half an hour, allows flour to fully absorb the water and to become fertilized, which can significantly reduce the time spent rubbing. The summer temperature is high and should be put in the freezer room to avoid fermentation。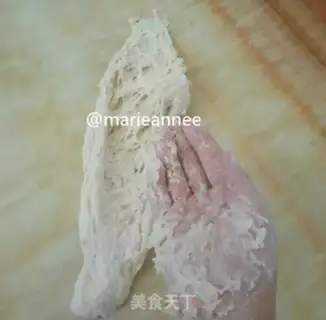
6
Put the dough on the tablet in half an hour, rub it out with the wrist, sticky, normal, don't be afraid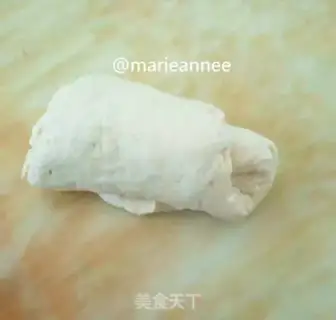
7
It folds, re-paints the face, re-paints and pulls it out again, until it can pull out the thick film (if you start adding not enough liquids, it feels dry, this time you have to refill the water in a timely manner, by taking a bowl of water with water on your hands, not pouring it directly on the face, and refilling it with water on your hands several times). If the noodles are too dry, it's not easy to pull out the film)。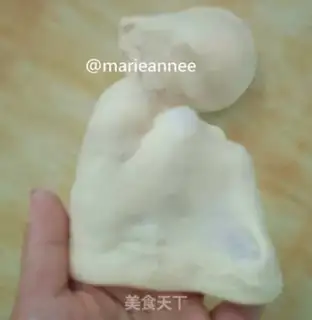
8
If you're in this state, you can pull a thick membrane and add softening butter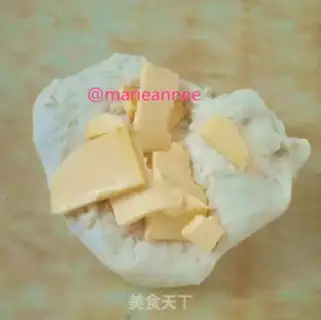
9
Add soft butter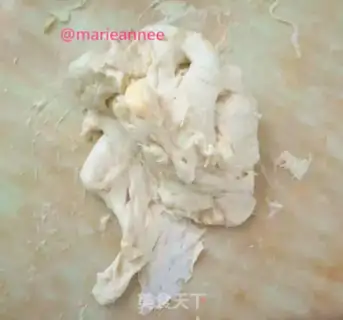
10
When you're in butter, it's smooth, it's sticky again, it's like a pile of tattered cotton, it's a bad bet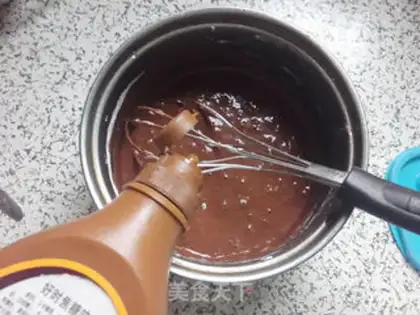
11
Let's do this again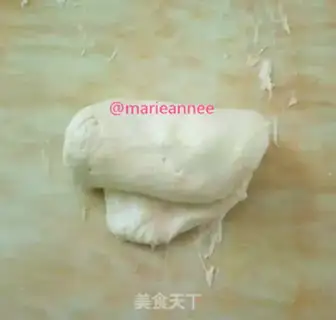
12
Take it back and fold it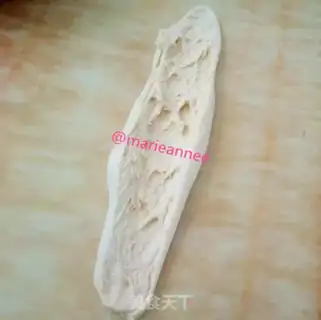
13
Or do you repeat what you did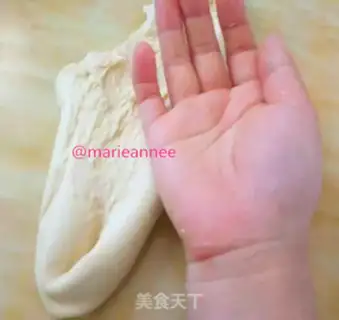
14
The noodles are almost done in half an hour. It's not easy to stick hands or stick to the table. It's easy to pick them up. It's easy to leave the table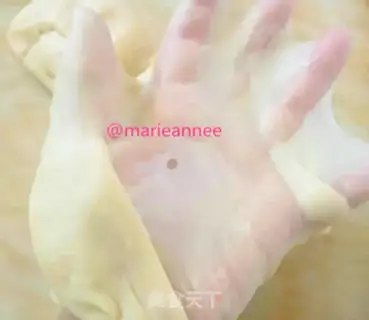
15
Take a small section of the face and check the subfilm, squeeze the top of the face with four fingers other than the small finger, then pull it up slowly, and pull it around with two fingers. (It's easy to pull out the mural, it's not easy to break, it's resilient, it means that the face is in place. (The face is broken in a moment, it means the face still needs to be rubbed.)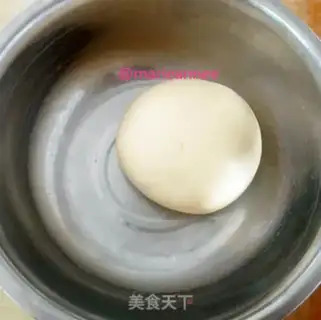
16
Puts the noodle in the basin again, covering it with a shampoo or wet towel warmed to ferment 2.5 times the size of its original size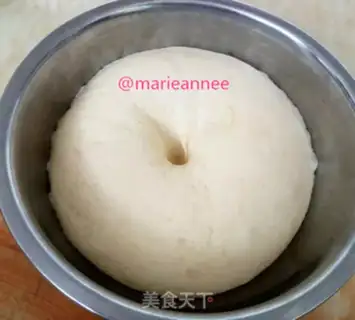
17
The fermented face feels light, the fingers stick a little bit of flour, the finger print doesn't recover immediately, and it doesn't collapse as slowly as a deflated skin ball。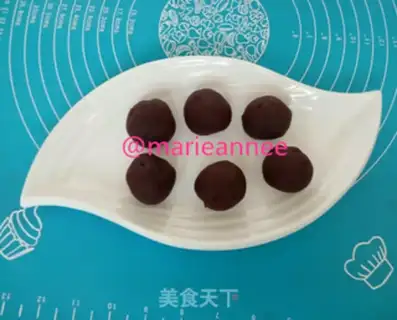
18
You can have the soy sauce ready for the fermentation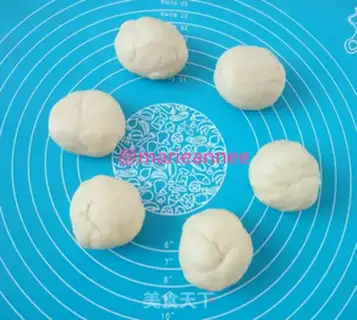
19
The fermented pasta is pumped by pressure and divided into six equals, covering the membrane to 10 minutes。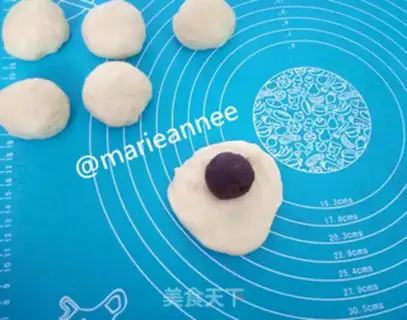
20
Take a little noodle and flatten it, put on the soybeans, wrap it up and round it up。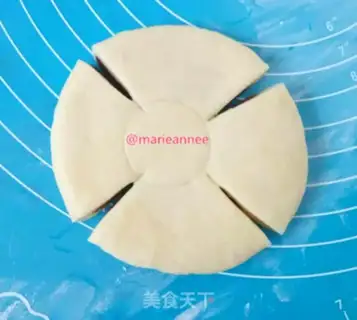
21
Bread slams down, stomps down, stomps into cobblers. Grandpa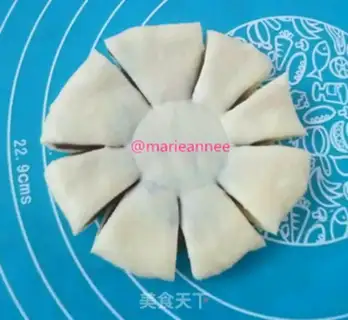
22
Splits the average of each one into two equals. Grandpa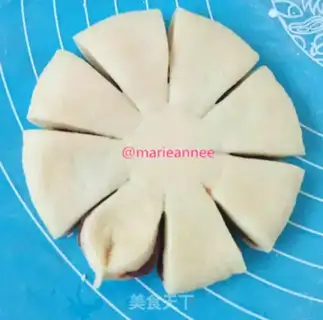
23
And then the two angles of each equivalent will be a petal。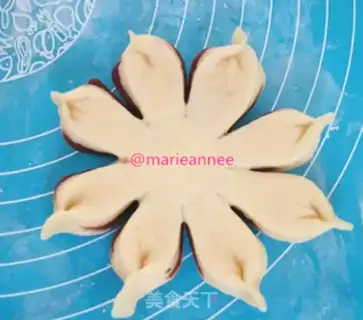
24
The other petals were squeezed in the same way. All six of them are flowers。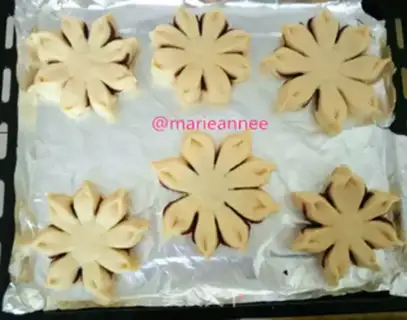
25
The flowers were made and put in a balconies with tin paper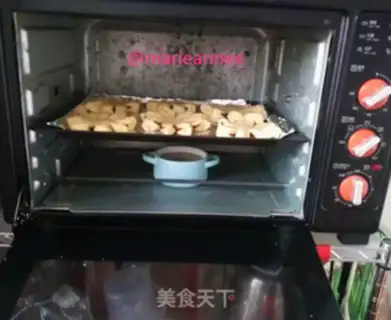
26
The dish is moved into the oven for a second fermentation. The bottom of the oven needs a bowl of water to keep it wet。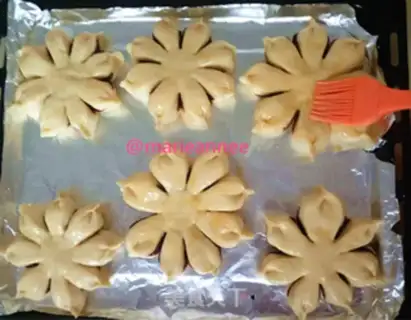
27
When fermented to 1.5 times the original size, the bread was painted with egg fluid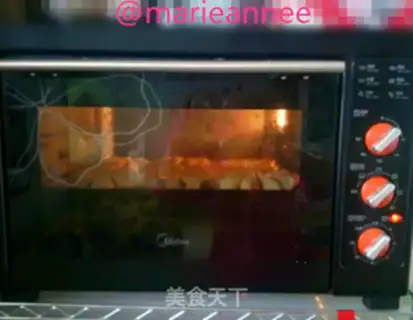
28
It's in the middle of an oven that's preheated at 180 degrees, it's on fire, it's out of the oven in about 15 minutes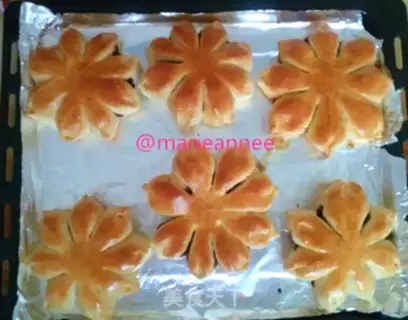
29
Take out the grill, you can eat it when it's cold, keep it sealed and eat it in three to five days as soon as possible。Bean and sand, bread Make Tips
1. The timing of the oven is limited to reference 2. The size of the eggs and the water intake of flour are different, so the amount of water is controlled. If you've just started adding less liquid than enough, and it feels dry, then you have to refill the water in a timely fashion, by taking a bowl of water with hands on it, not pouring water directly on it, and refilling it with a small amount of water with hands.