Marble cheesecake
By VicentaLakin
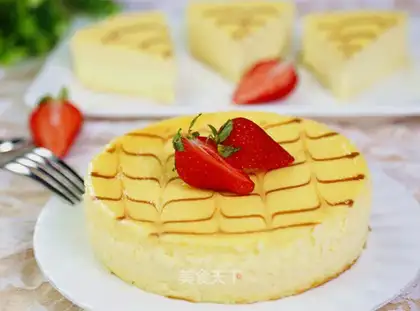
Marble cheesecake is simple, nutritious and tasteful. I've always liked cheesecakes, thick tulips and chocolates, and combined these two tastes, these are marble cheesecakes -- marble-like textures。
Recipe Recommendations
- eggs three
- vegetable oil 40 grams
- low powder 42 grams
- cream cheese 250 grams
- evaporated milk 50 grams
- sugar 50 grams
- milk 40 grams
- corn starch 8 grams
- yogurt 110 grams
- starch 15 grams
- egg yolk of 2
- sweetening
- other
- several hours
- ordinary
Steps for Marble cheesecake
1
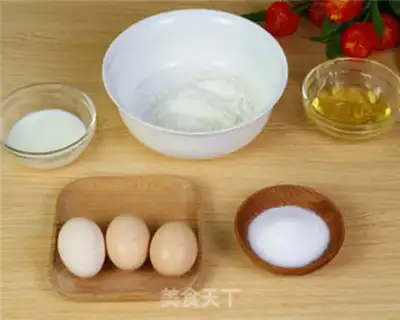
Prepare cake base: three eggs, five grams sugar, 40 grams vegetable oil, 40 grams milk, 42 grams low powder, 8 grams corn starch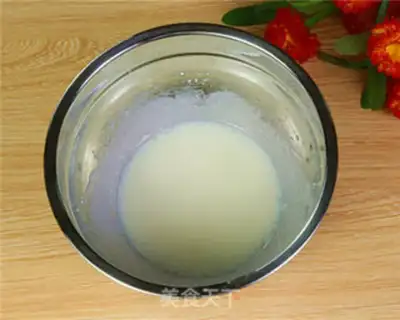
2
Put the oil in the milk, so the milk and the oil are fully emulsed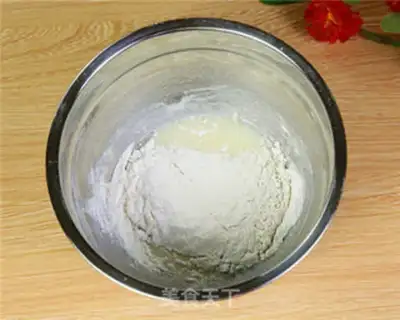
3
Add powder mixing to the mixture of milk and oil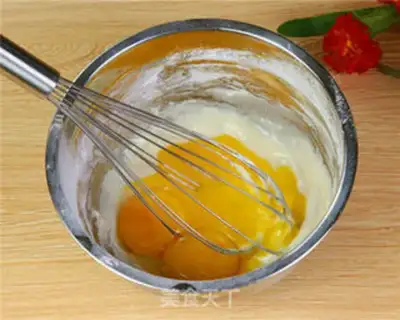
4
Go on with the yolk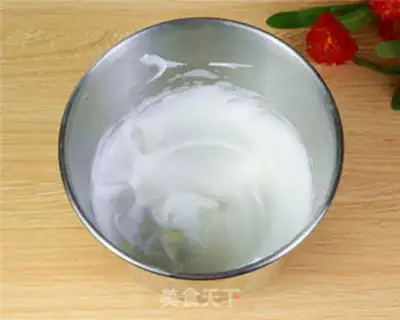
5
You hit the protein with an electric omelet and then you add the rest of the sugar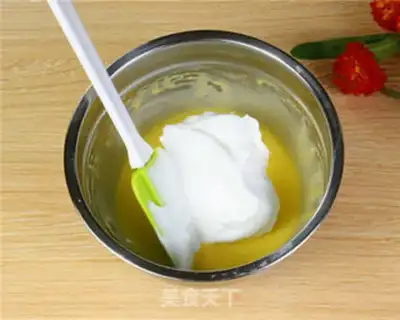
6
One third of the distributed protein is mixed with the yolk paste before all the protein is mixed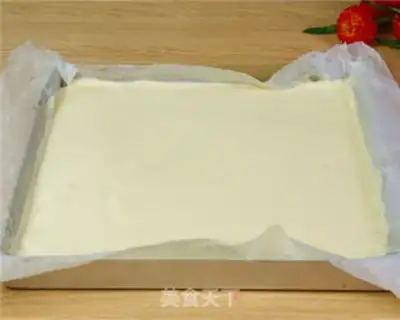
7
One third of the distributed protein is mixed with the yolk paste before all the protein is mixed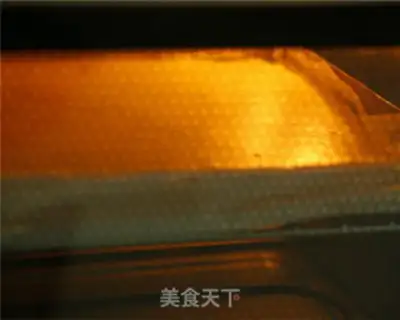
8
In the middle of the oven, 150 degrees preheat for 3 minutes, baking for 23 minutes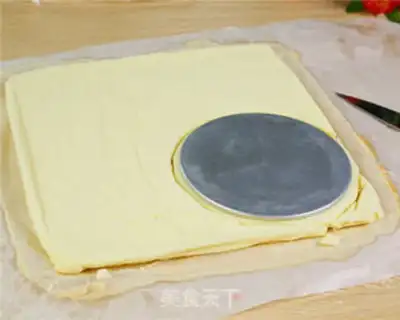
9
On a cold piece of cake, the size of the living bottom cake. Snippets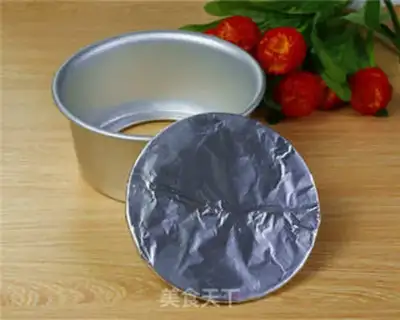
10
Pack a layer of tin paper on the living bottom model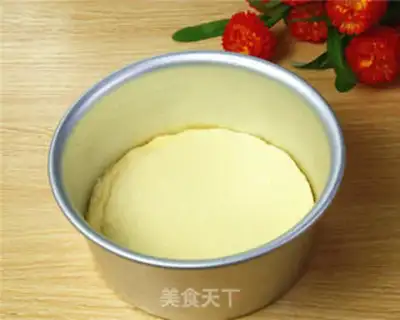
11
Put the wrapped cake on the bottom model. Stand by
12
Marble cheesecake material (6 inches): cream cheese, 250 grams of yogurt 110 grams, light milk 50 grams, starch 15 grams, sugar 50 grams, egg yolk 2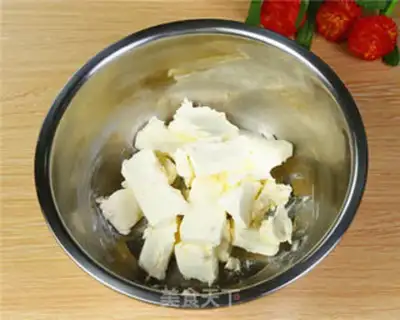
13
Let's cut the creamed cheese into pieces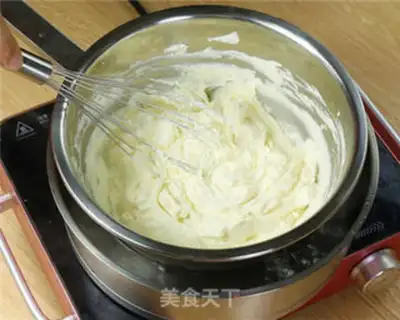
14
The insulated water softened and slid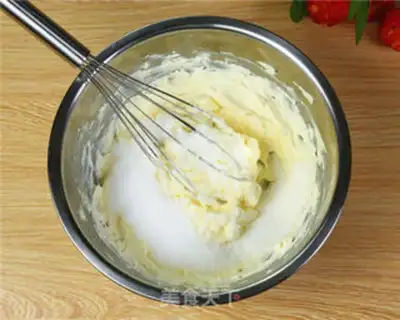
15
Add sugar blending to melted cream cheese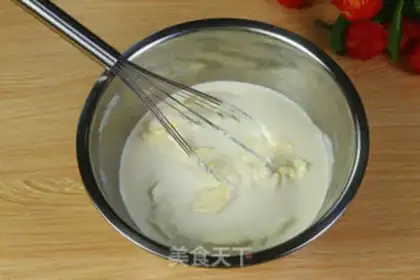
16
I'm gonna add a little bit of cream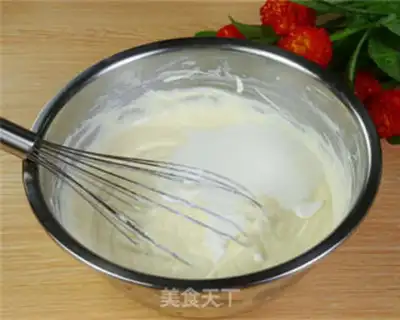
17
Add yoghurt to it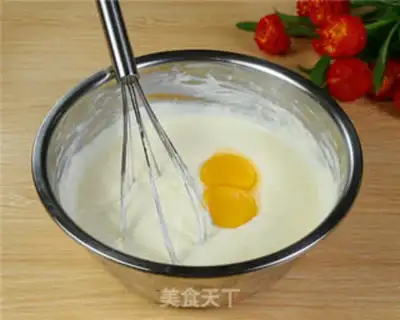
18
Add egg yolk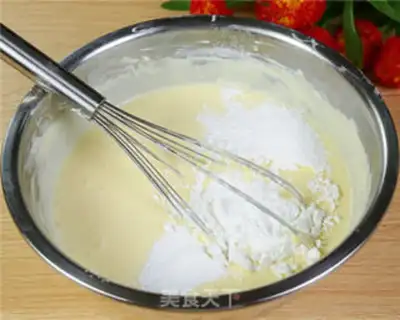
19
Sift in powder, mix to non-particle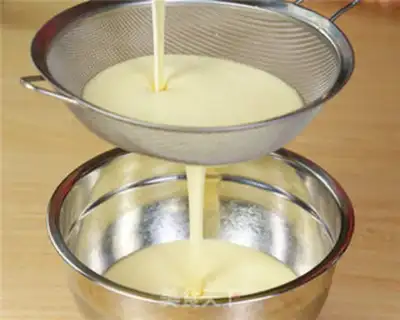
20
It'll make the cake more delicate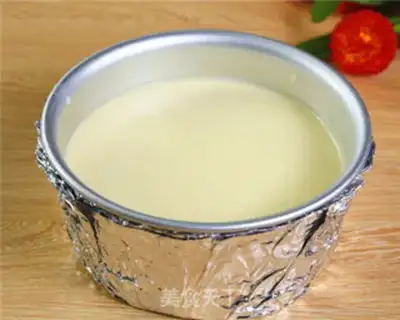
21
Pour sifted cakes into prepared molds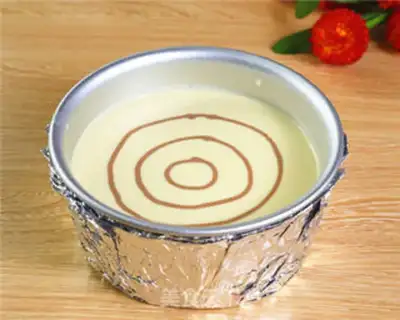
22
Then you take a spoonful of cake, you add chocolate sauce, you put it in a bag, you paint it on the face of the cake. Move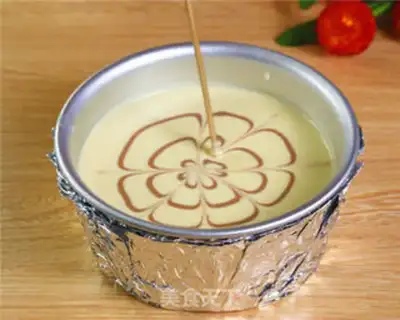
23
Then we'll put bamboo on the surface and we'll draw a bouquet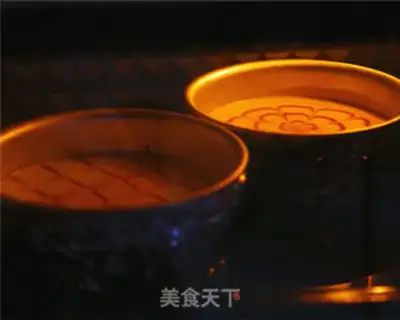
24
Two layers of tin paper were wrapped in the skin of the mold that had been poured into the cake to prevent the cake from entering the water. And then put it in a bowl with cold water. 150 degrees lower in the oven, 45 minutes baked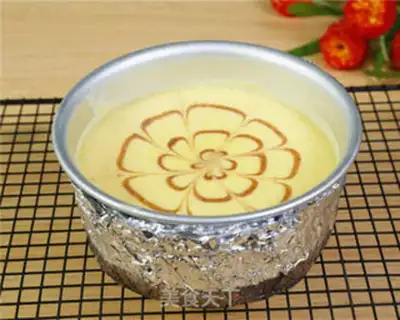
25
Stay cool. We'll put it in the fridge for four hours before we eat it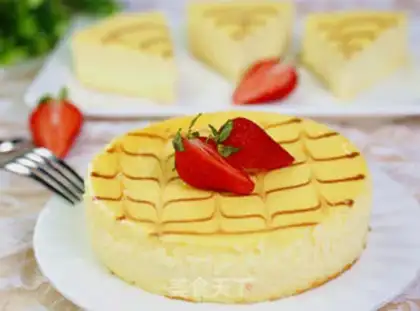
26
And with strawberry decorations, beautiful cheesecakes will come outMarble cheesecake Make Tips
1. Cream cheese is slightly firm when refrigerated. Leave it at room temperature for a while or heat it over a water bath until it becomes soft; only then can it be beaten smooth with a mixer to make the cheesecake.
2. Wrap the loose-bottom cake mold with at least two layers of aluminum foil to prevent water from seeping into the cake.
3. The chocolate sauce used for drawing patterns should be mixed with some cake batter first; otherwise, the patterns will crack during baking if applied directly to the surface.
4. Sifting the mixed batter will make the texture finer.
5. You can choose your favorite fruits for decoration.
6. I used the PE5386 Yidu Feisuo oven; please adjust the temperature appropriately if using ovens from other brands.