Barbie cake
By ElvieMurray
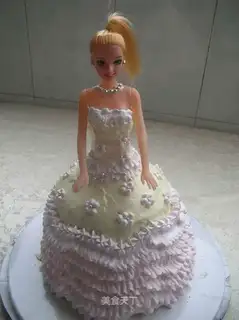
Today's birthday, Miss Zeng is a kindergarten teacher, my son's kindergarten teacher for four years, and my husband's colleague and best friend for more than ten years. She loves beauty very much, so I want to give her a surprise on her birthday!
Recipe Recommendations
- sweetening
- baking
- several hours
- simple
Steps for Barbie cake
1
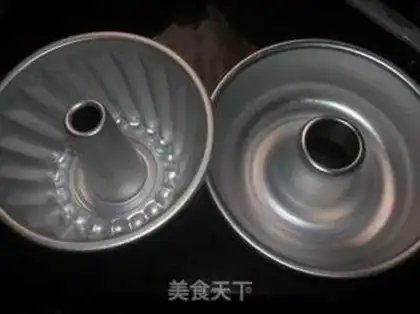
Prepare a hollow mold and a Guguhof mold, with both empty spaces in the middle, so that Barbie can stand and you don't have to cut holes anymore.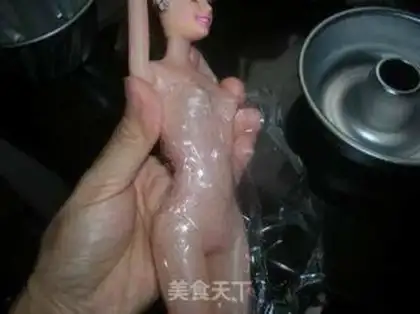
2
Clean the Barbie doll and wrap it in plastic wrap to avoid contact with the cake body. It's hygienic.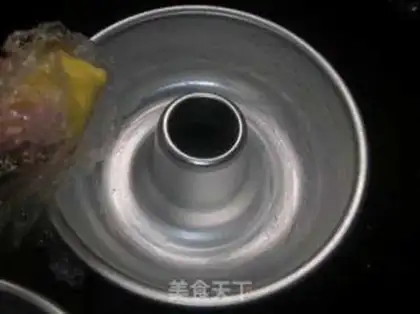
3
Grease the mold and place it in the refrigerator to freeze it for easy demoulding.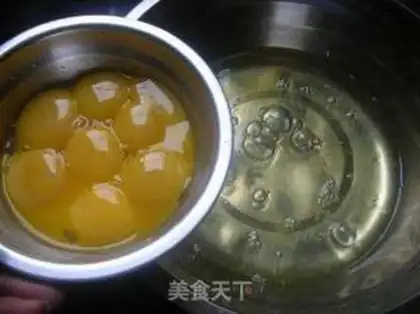
4
Eggs separate egg whites from egg whites.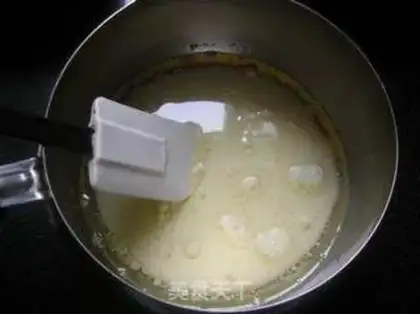
5
Add milk, salad oil, and 1 spoonful of honey to the nest and stir well. Sift in low-gluten flour and stir irregularly.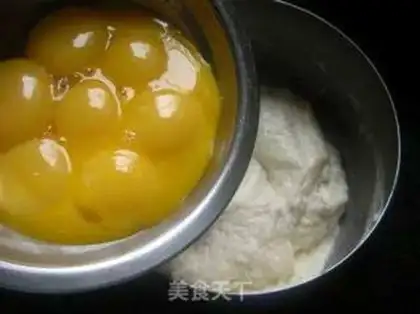
6
Add the egg yolks in time, stir well after each addition, then add the other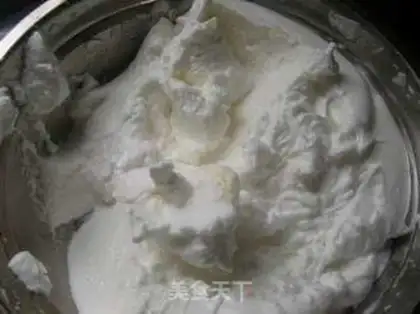
7
Add the egg white into sugar in three times and stir until 90%, forming a cocktail shape.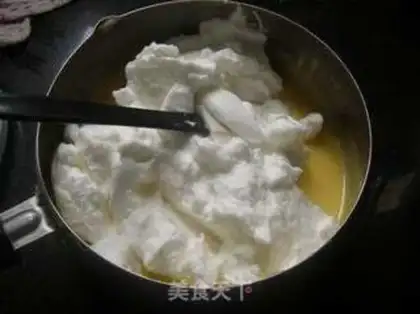
8
Add 1/3 of the egg white to the egg yolk paste until evenly mixed, and then pour the mixture back into the egg white.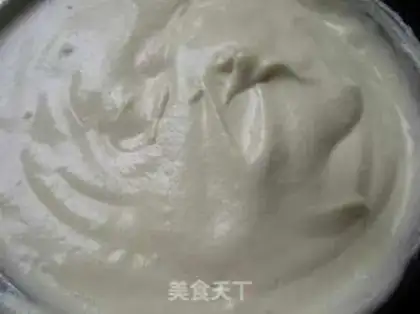
9
Stir evenly the cake paste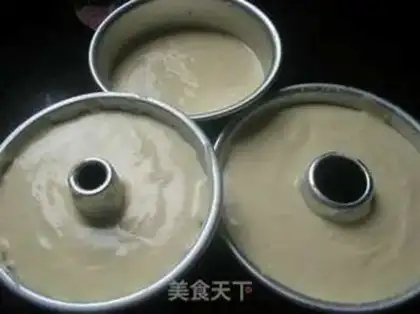
10
Pour the cake paste into the molds respectively, and pour the excess into a 6-inch cake mold and bake it in case of use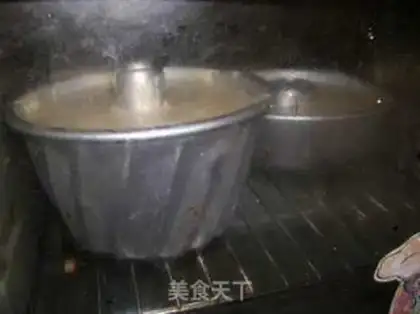
11
Preheat the oven to 160 degrees and bake for 50 minutes, and turn upside down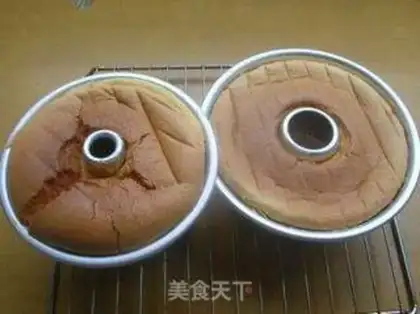
12
Cake after cooling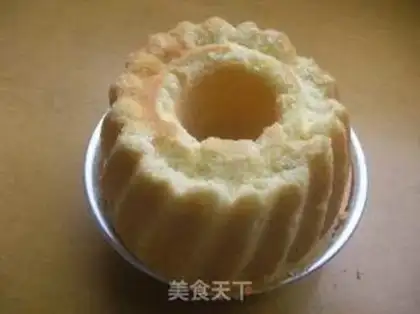
13
The Gugukhov mold-shaped cake was removed and didn't take off well.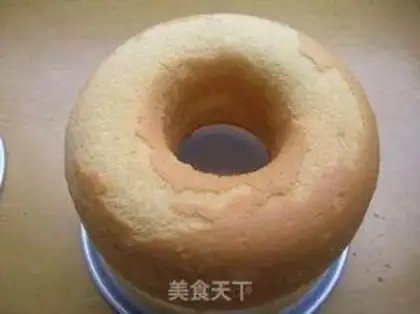
14
Cake made of hollow mold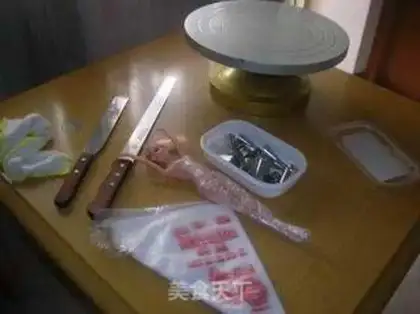
15
Prepare cake knives, flower bill decoration bags, turntable Barbie dolls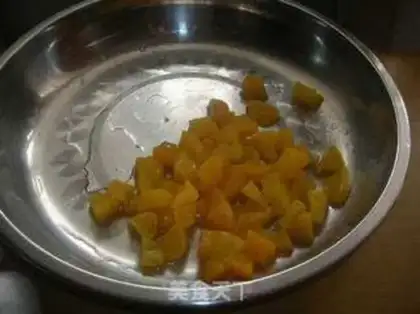
16
Slice the yellow peach meat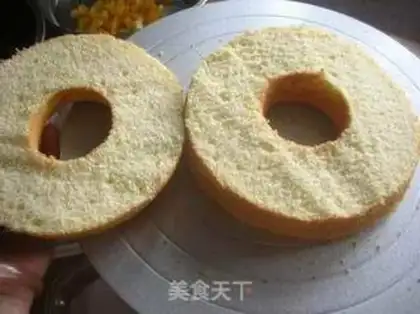
17
The hollow cake is cut in the middle and divided into 2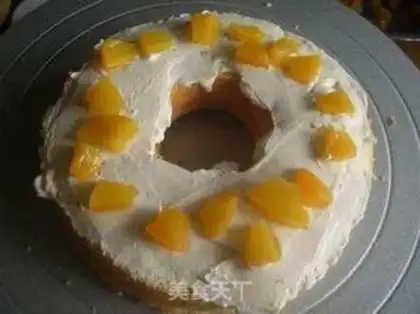
18
Squeeze a layer of cream on the dough and add the yellow peach grains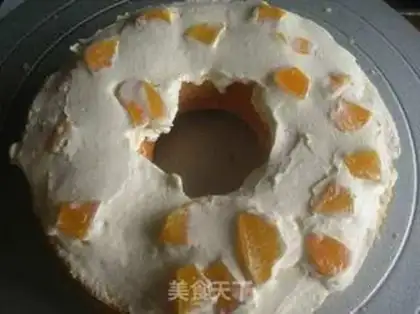
19
Add cream and smooth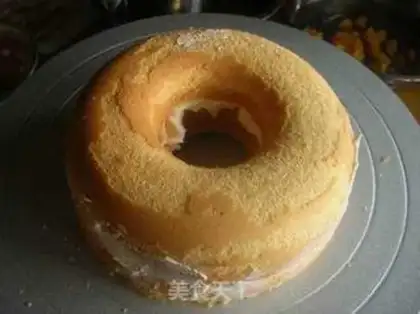
20
Add the other half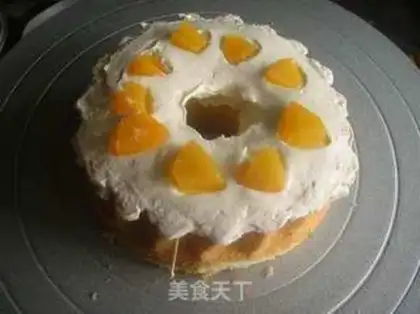
21
Cut the Gugukhovmo cake in half, half in half, and add the yellow peach meat to make a sandwich fruit.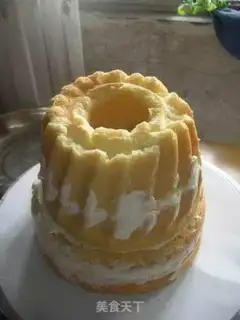
22
The hollow cake is at the bottom, and the Kuchhoff cake is on top, just forming a skirt shape.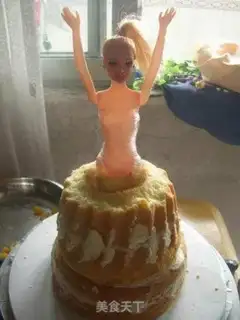
23
Put Barbie in the empty position in the middle, repair the sides, and plug the extra cake fragments tightly where Barbie stands.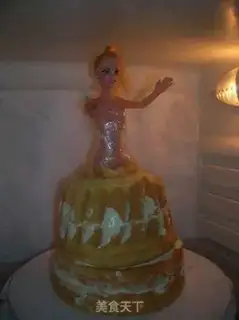
24
Refrigerate in the refrigerator and wait until the cream has been beaten before garnish.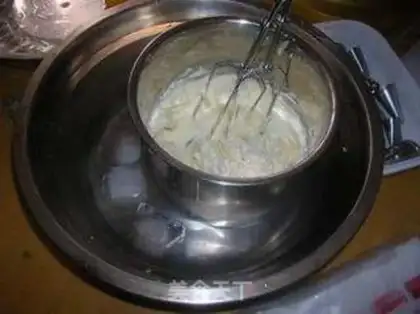
25
Whisk the cream over ice for better results.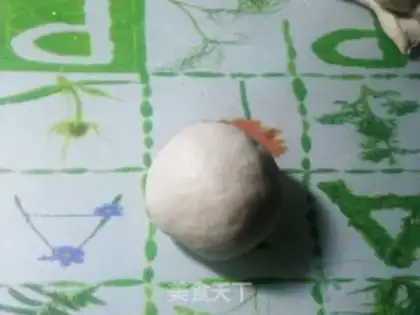
26
Spread the whipped cream on the bottom of the cake and smooth it out. In fact, you can not smooth it out. You will need to decorate it later.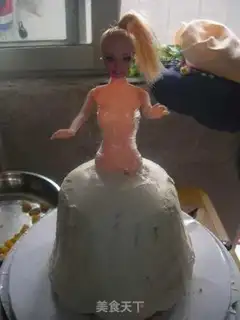
27
Decorate the skirt and use a spatula to apply cream to the upper body of the skirt.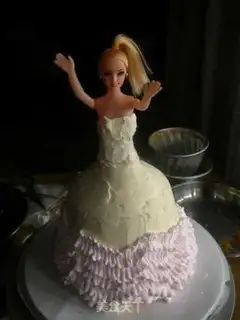
28
Use medium leaves to frame the pattern, point out the flowers with the round mouth in the middle, decorate with silver beads in the middle, and use small leaves to frame the waist. Use a round mouth to squeeze out the neck shape and make a necklace out of silver beads.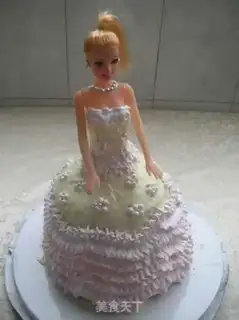
29
Barbie cake was finally produced under my technique, and it was amazing by everyone!