Bear bread
By VicentaLakin

Cute little bear bread, not just for kids, but for me. With milk powder and eggs, nutrition is more comprehensive. I don't have a bakery, so I'll have to rub my face by hand. It'll be easier for friends with a bakery to use it. Some people used to say that they can't rub their face in hand for an hour or two, it's exhausting, and I don't think it's that scary, and it's only half an hour to get it out。
Recipe Recommendations
- high-gluten flour 200 grams
- eggs one
- water 55 grams
- baking powder 3 grams
- yeast powder 2 grams
- white sugar 30 grams
- salt 2 grams
- whole milk powder 20 grams
- unsalted butter 25 grams
- red bean paste 180 grams
- Chocolate pen 1 vial
- egg liquid a little
- sweetening
- baking
- several hours
- ordinary
Steps for Bear bread
1
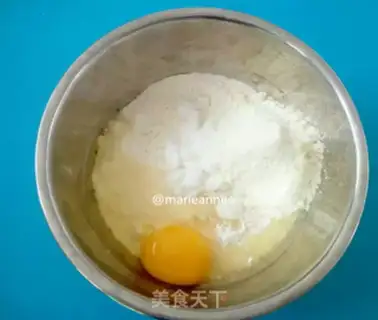
Scale the corresponding grams in terms of high-strength flour, powdered milk, salt, sugar, powdered bubbles, etc., into a small basin, crochet into an egg and mix it with chopsticks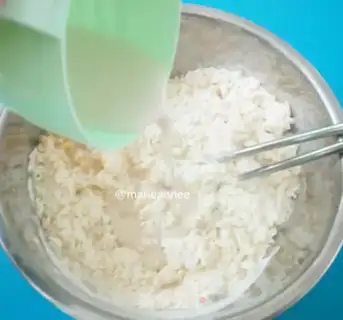
2
Two grams of yeast powder is added to the water, mixed with chopsticks to a full level of solubility, slowly into the flour basin, and mixed with the other side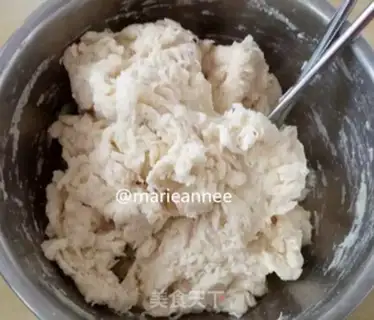
3
It's not dry powder, it's cotton. It is then sprouted with its hands, covered with a shampoo, which lasts up to half an hour, allowing flour to fully absorb the water and become very fertilized, thus significantly reducing the amount of time it takes to wipe the face. (Summer hot, put in the freezer to avoid yeast)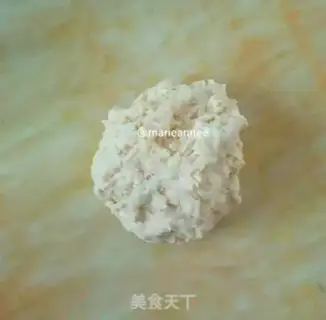
4
Put the dough on the table in half an hour. Move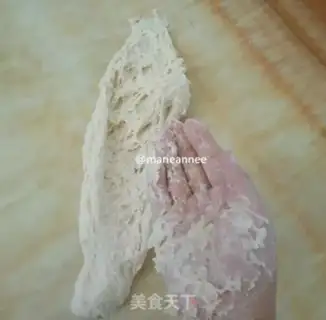
5
Put a little pressure on the tail of the pasta with your left hand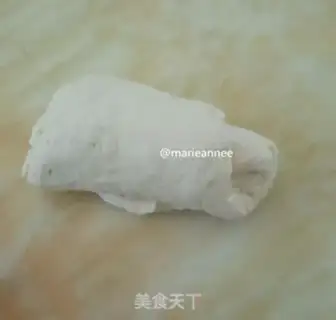
6
Take it back, fold it up, then turn the dough in a different direction and rip it out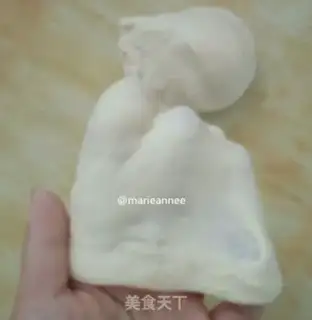
7
Repeat step five and step six (pull out and take back) until it pulls out thick membranes, as shown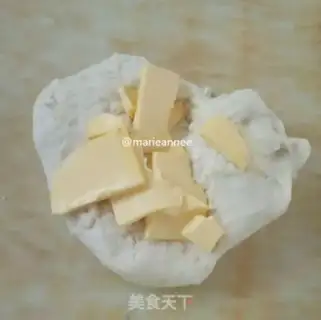
8
And then you rub out a thick film and add softened butter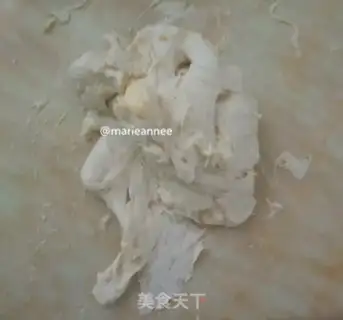
9
When you join the butter, it'll be smooth, it'll get wet and sticky again, it'll look like a pile of tattered cotton. Lee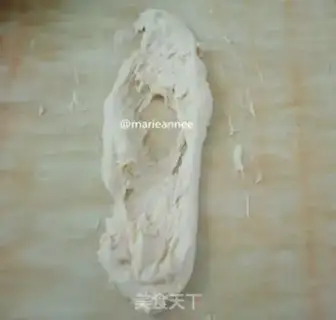
10
Let's do this again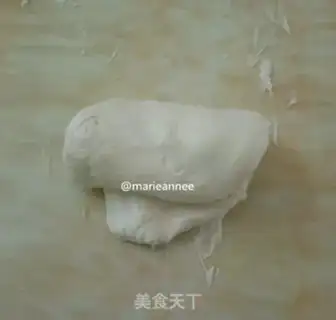
11
Take it back and fold it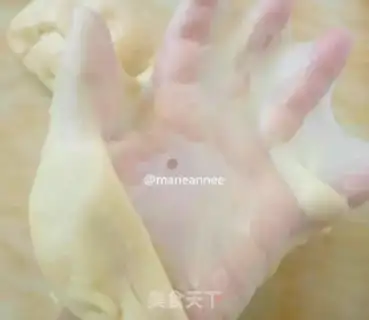
12
Repeat steps 10 and 11, rubbing to the noodle can easily pull out the mural, and it's not easy to break. Noodles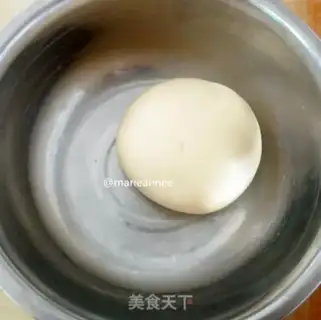
13
Put the noodle in the basin again and ferment it with a protective film or a wet towel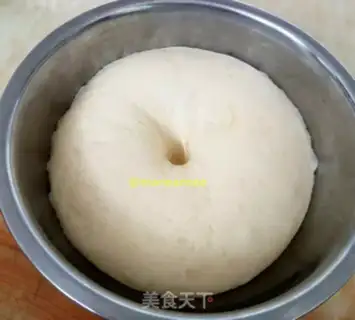
14
It's a fermented pasta, like a map. The fermented pasta is 2.5 times the size of its original size, and it feels light, with a little sticky finger on the flour, and a little bit of it, the finger print doesn't recover immediately, and it doesn't collapse as slowly as a deflated skinball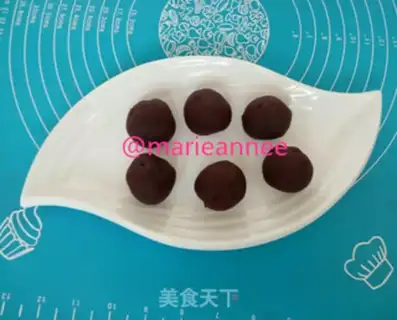
15
You can have the soy sauce ready for the fermentation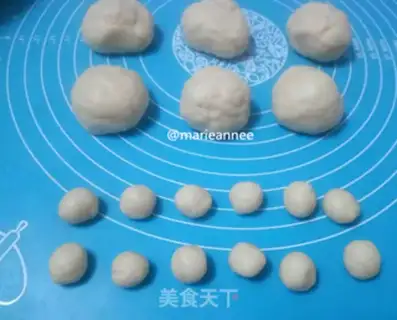
16
The fermented noodles are pumped by pressure and then divided into an average of seven large groups of about 51 grams each. Take one of them and split it into 12 smaller ones, about 5 grams each. It's not like I'm going to be able to get a full-blown film up to 10 minutes。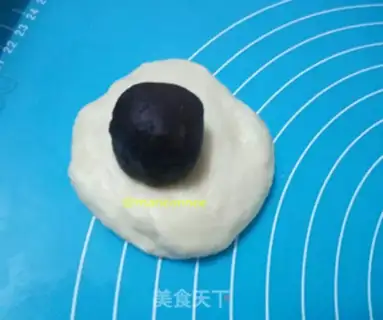
17
Take a big noodle and flatten it, put on the soybeans and wrap it around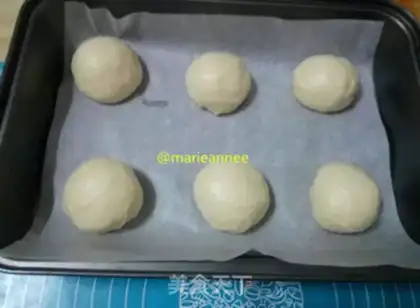
18
Make a bakery and put it down, and put it in a flat dish with tin paper. Huh? Okay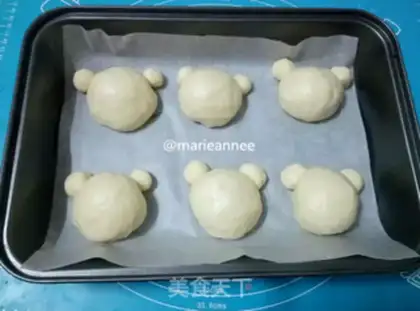
19
Put a small beam in the ears of a bear at the top and right of each big noodle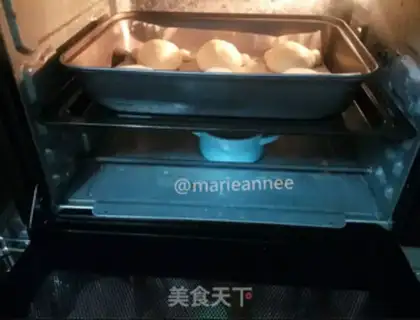
20
fermentation is repeated in the warm and wet parts of a well-formed face. If you use the oven for fermentation, you need a bowl of water in the oven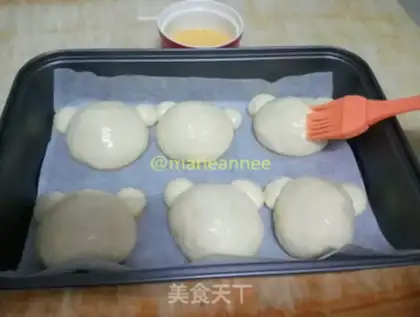
21
When he fermented to 1.5, he took out the bread and painted the egg fluid on his surface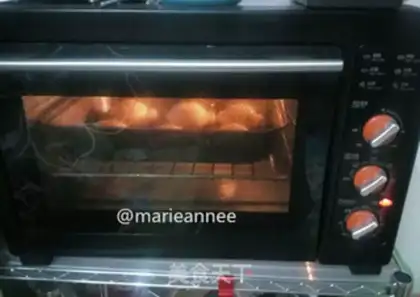
22
The grill is in the middle of the oven, which is preheated at 180 degrees. It's 15 minutes from the fire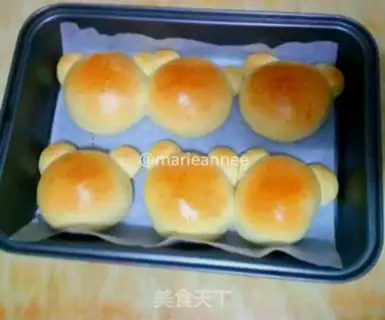
23
It's cooling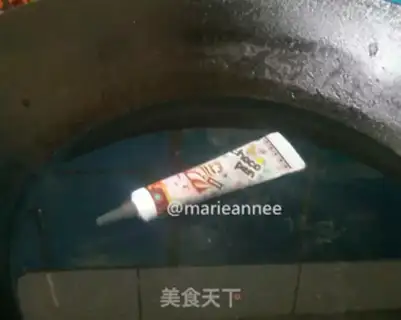
24
The chocolate pen melts in hot water and paints the eyes, ears, nose and mouth of the bread in the appropriate position
25
How can you eat such a lovely bearBear bread Make Tips
1. Adjust time and temperature according to your own oven's characteristics.
2. If you do not have a chocolate pen, you can melt chocolate in a bowl over hot water and use chopsticks to draw, or mix cocoa powder with a little water to form a thick paste for facial decorations.
3. Egg sizes and flour water absorption vary, so control the amount of water well. If the initial liquid amount is insufficient and the dough feels dry, you must add water in time. Method: Dip your hand in a bowl of water and pat it onto the dough; do not pour water directly onto the dough. You can dip your hand to add water multiple times while kneading until a gluten film develops.
4. Observe frequently after 10 minutes of baking. Cover with aluminum foil once the surface colors to prevent over-browning. Cover with foil as soon as the surface forms a skin. Check the bread surface two minutes before taking it out of the oven, and decide whether to remove the foil early based on the actual color (if the color is light, remove the foil early to expose the surface to the heating elements for browning; if the bread surface color is just right, keep the foil covered until it comes out of the oven).