Mango lasagna cake
By VicentaLakin

The millennia of mango give people an unstoppable rhythm, and stay at home after a free lunch, make a mango layer of cake, and sweet and sweet for her
Recipe Recommendations
- sweetening
- other
- several hours
- senior
Steps for Mango lasagna cake

1
The milk is poured into the container with three full eggs and evenly mixed。
2
Add sugar powder evenly。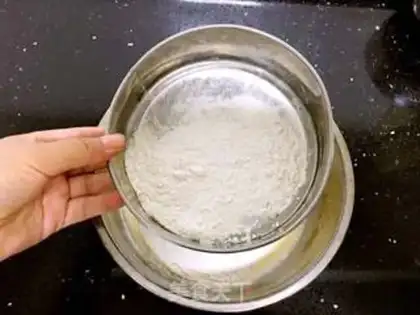
3
It's a new low powder sift in the egg fluid。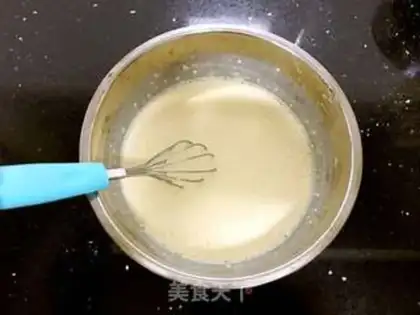
4
Smash to dry powder。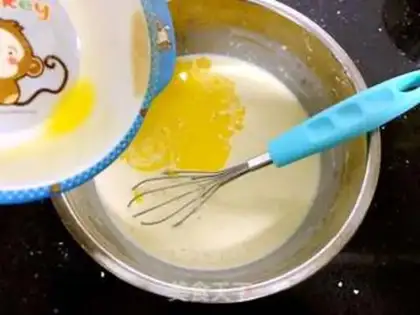
5
Butter cuttin, insulated water melts, cools to the heat, pours into the paste and mixs evenly。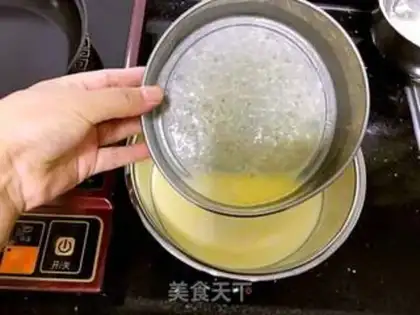
6
The face was sifted and put in a freezer for half an hour。
7
Take a non-sticked pot; heat it with a small fire for a moment, and then take a proper amount of paste into the pot, shake it with your hands and spread it; and make a small fire so that it is stylish。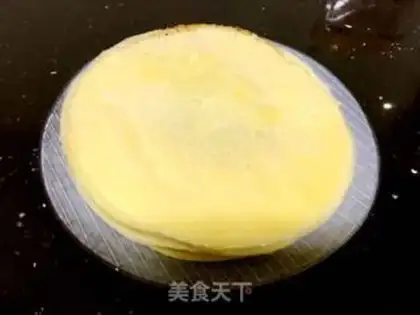
8
And then make all the pie skins and freeze them for half an hour。
9
Mangos go to the nuclei and cut them up。
10
Pour light cream into a clean basin and then put sugar on it and then turn it down。
11
Take out the frozen skin, take a pie skin face up, put on a little bit of cream and put on a layer of mango。
12
Cover it with a cake skin, one floor at a time, until all the cake skins are put in a freezer for half an hour。
13
Take out the cut to eat。Mango lasagna cake Make Tips
1. Sieve the batter after mixing to ensure a finer texture for the crepe skins; 2. If the sieved batter has many small air bubbles, let it rest for half an hour before frying to prevent excessive holes in the crepe skins; 3. Use low heat when frying the crepe skins; remove them once the batter has set; 4. Stack the fried crepe skins flat one by one, then place them in the refrigerator for half an hour after all are done;