♪ Pull a flower cheesecake ♪
By VicentaLakin
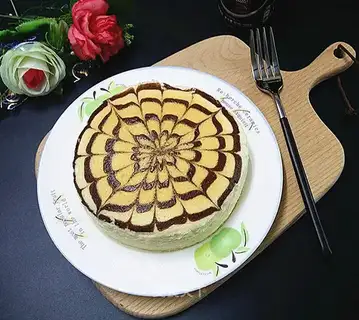
A box of cream cheese made out of family-friendly cheese bags and a few of them were left in a state of fear; the cake was made out of a temporary formula based on cheese, which was always very popular with the pull of flowers, and the two were combined; as the first oilpaper was placed in the mould, the oil paper did not fall in the baking process, it affected the overall look of the cake when it was deformed, so sad -
Recipe Recommendations
- eggs of 2
- butter 20 grams
- white sugar 40 grams
- milk 40 grams
- cream cheese 80 grams
- corn starch 10 grams
- low-gluten flour 13 grams
- salt a little
- lemon juice
- cocoa powder a little
- milk fragrance
- baking
- several hours
- senior
Steps for ♪ Pull a flower cheesecake ♪
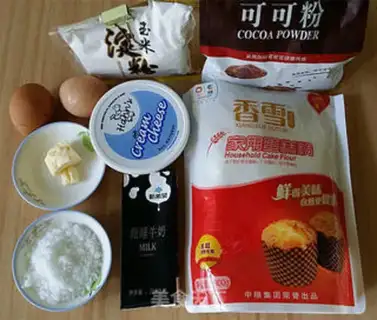
1
Get your food ready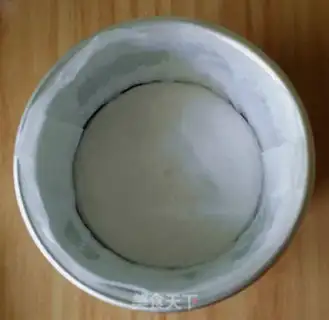
2
Put some butter on it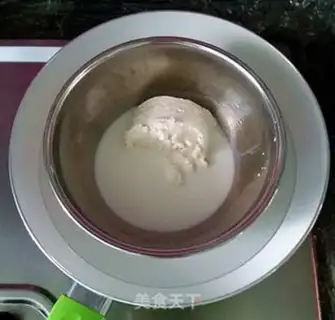
3
Milk, cream and cheese, hot and smooth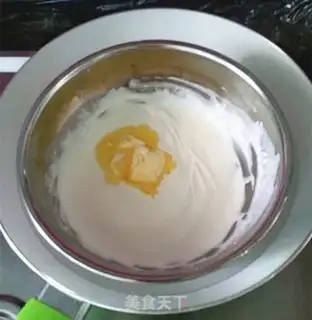
4
Add butter to melt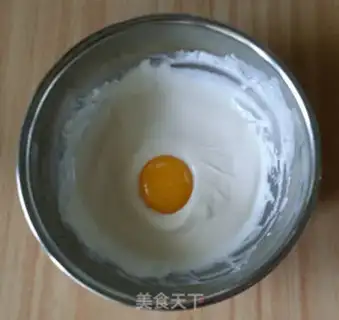
5
Add yolk after water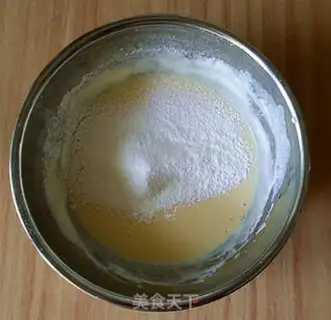
6
Scan corn starch and low-banded flour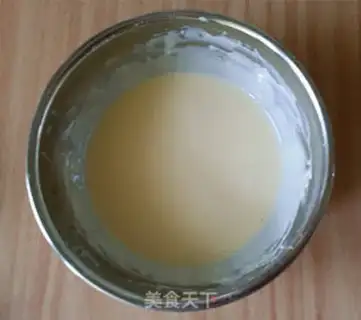
7
We're going to have no particles left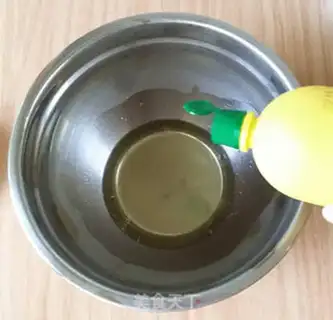
8
A little salt, lemonade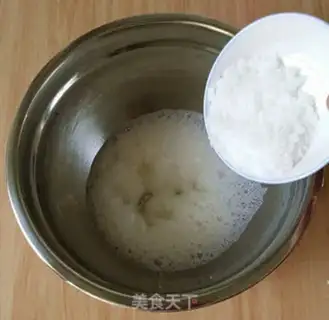
9
Add sugar three times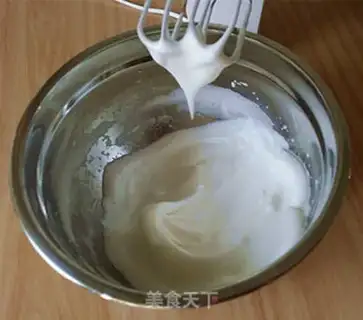
10
Wet bubbles, big chicken tails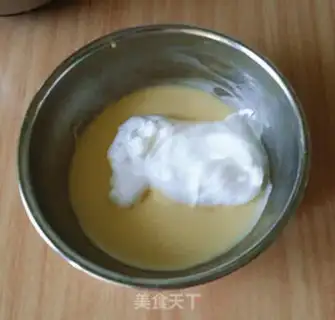
11
Take a third of the protein to the yolk paste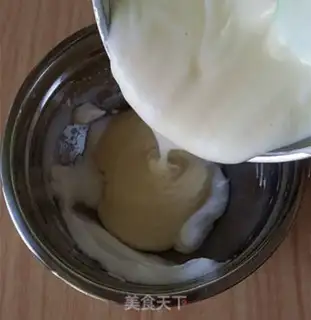
12
And then back to the protein basin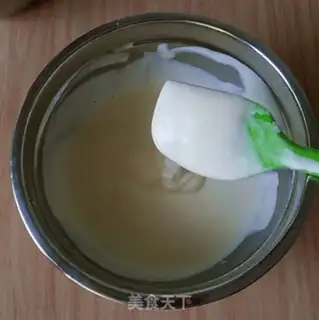
13
Quick and light turn into thick, smooth cake paste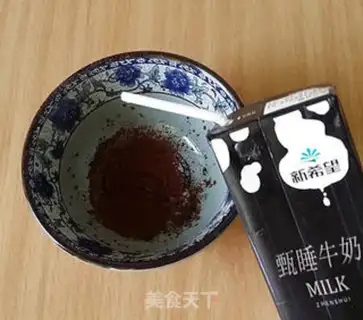
14
A few drops of milk in cocoa powder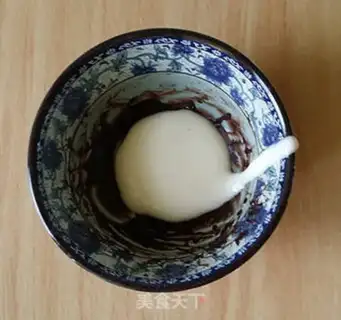
15
I'll add a little cake and a little cocoa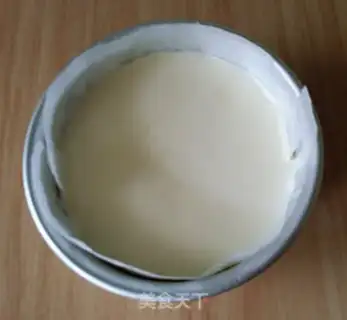
16
Smash the cake into the mold and shake it a couple of times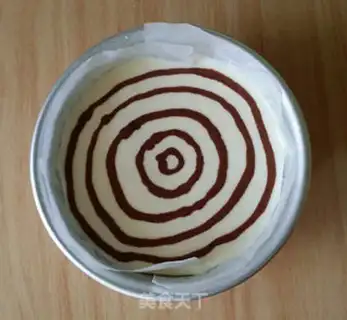
17
Squeeze cocoa on the face of the cake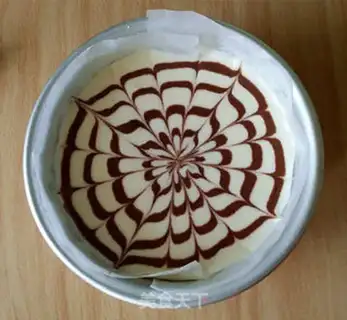
18
I've got a toothpick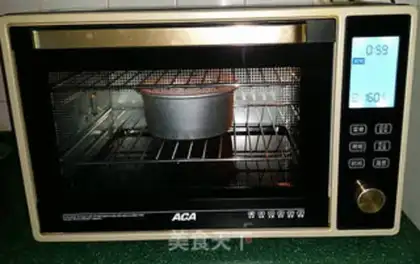
19
Send it to the pre-heated oven: bake it with an insulated bath, i.e. full of water on the lower grill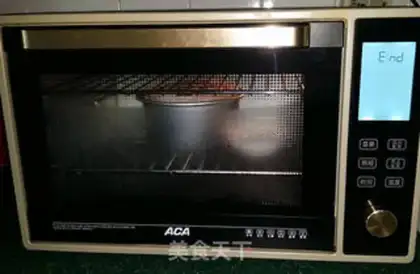
20
Set the fire up and down: 160 degrees, 25 minutes on the surface, turn to 130 degrees, 150 degrees, then 30 minutes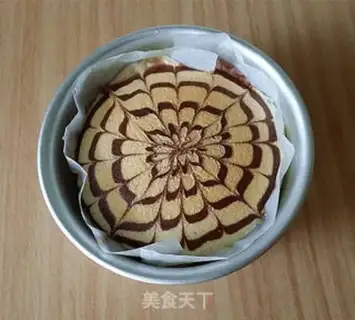
21
Don't take it out when it's done. It'll be suffocated in the oven for 30 minutes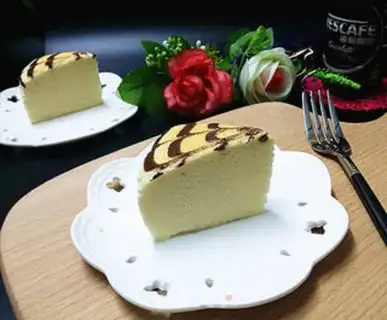
22
Cut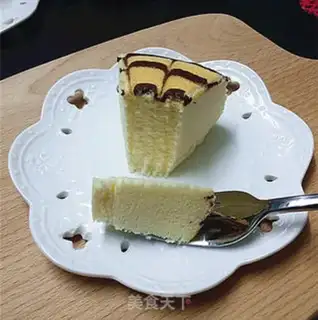
23
It's very delicate♪ Pull a flower cheesecake ♪ Make Tips
1. Cheese melts more easily using a water bath method, but do not heat it directly as it easily burns the bottom.
2. For a light cheesecake, the egg whites only need to be beaten to soft peaks; otherwise, the cake cracks easily during baking and the texture is affected.
3. Prepare a basin of hot water before cutting the cake. Heat the knife in the water, wipe it clean, and then cut the cake. This ensures neat and beautiful slices; the knife needs to be cleaned after every cut.
4. Oven brands vary, so adjust the temperature appropriately according to your own oven. I initially worried about it browning too dark and planned to cover it with foil, but later felt it wasn't necessary, so I never used foil.