A cloudy chocolate cake
By VicentaLakin
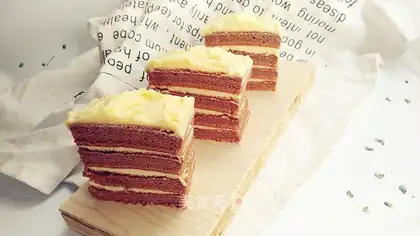
Make a cup of coffee and taste a chocolate cake. Look at the tattoos of the cake with a spoon. There's a little bit of light clouds. And suddenly I think of the poem, "The flowers are blooming in front of the court, and the clouds are swirling."。
Recipe Recommendations
- protein of 3
- powdered sugar 40g
- egg yolk of 3
- milk 35g
- salad oil 40g
- low-gluten flour 50g
- cocoa powder 10g
- boiling water 15g
- light cream 150g
- butter 80g
- sweetening
- roast
- an hour
- ordinary
Steps for A cloudy chocolate cake
1
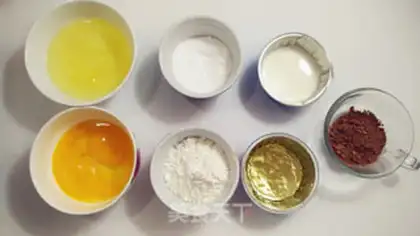
Prepare raw materials, separate proteins and be fed into clean, water-free and oil-free pellets。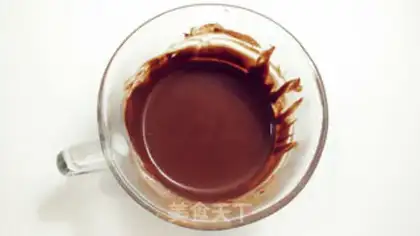
2
Coco powder is added to boiling water, mixed into sauce and placed on the side side。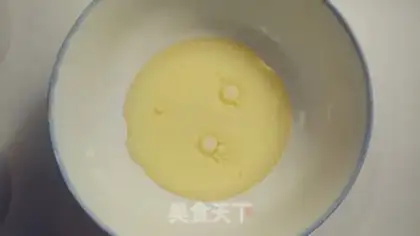
3
Add milk and salad oil to the egg basin, and mix it evenly with a hand-beater。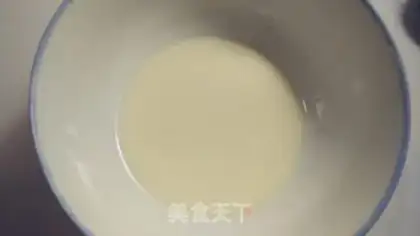
4
Smiling like this。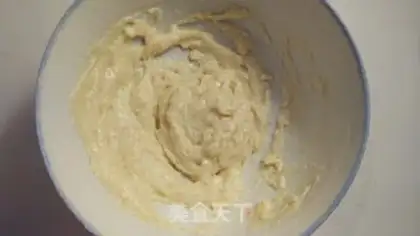
5
Sift low-banded flour into dry powder。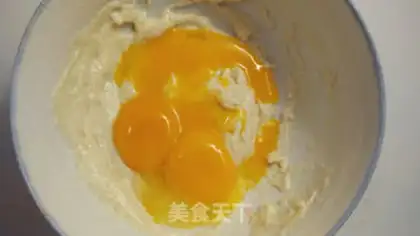
6
One-time yolk addition。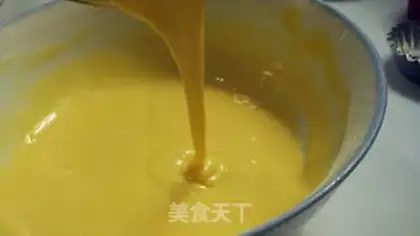
7
DRAW THE WORD “Z” WITH A MANUAL OMELET UNTIL IT BECOMES A DELICATE SMOOTH PASTE。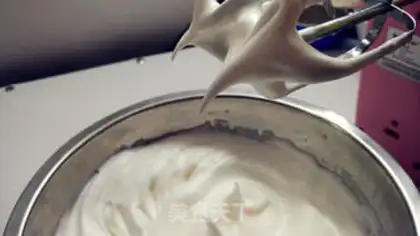
8
Add sugar powder to the proteins three times, and hit the wet hair bubble. (First, the protein is torn to fish eyebrows at a low speed with an eggbeater, adding a third of the sugar powder. It then continued to use the electric egg beater at high speed, to double the volume of protein, adding a third of the sugar powder. It then continues to be hurried with an electric omelet, with a slight pattern and a third of the remaining sugar powder. Finally, a low-speed bulge until the egg-beater comes up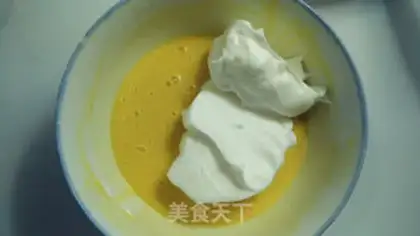
9
Preheat oven, 180°C. One third of the protein cream is added to the yolk paste, which is smoothed with rubber razors。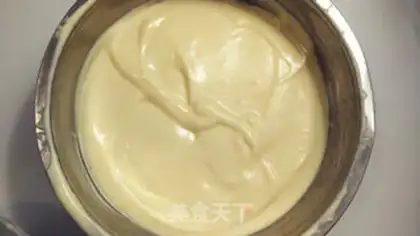
10
Rewinding back to the protein cream, rubber razors continue to be used to tumble the hand until they do not see a spot of protein and the face is thinly smooth。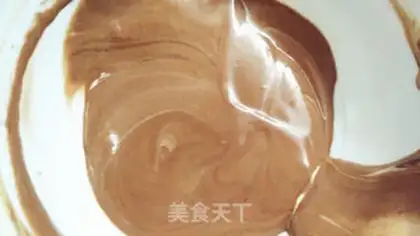
11
Add two spoons of cake to the cocoa paste, evenly mixed。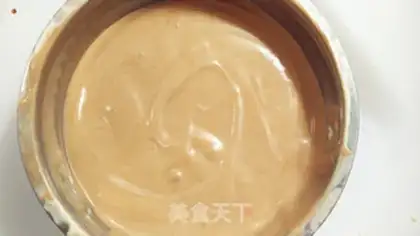
12
It was then poured into the cake and continued to be smoothed with rubber razors。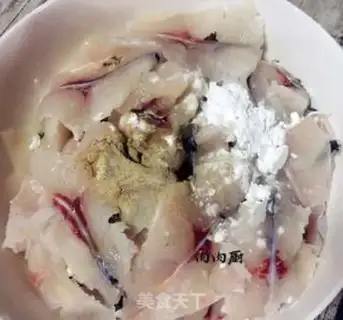
13
Put the paste down in the oven, wipe it flat, and shake it twice。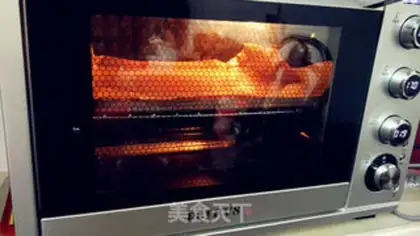
14
Send it to the preheated oven, fire 175°C, and roast for 18 minutes。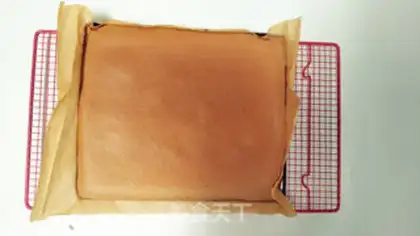
15
When the cake came out of the oven, it fell from the top, and it hit the heat. When demersalized, a sheet of oil paper is baked on the Internet, and the cake body is attached directly to it, bearing in mind that it should be covered with paper to prevent drying。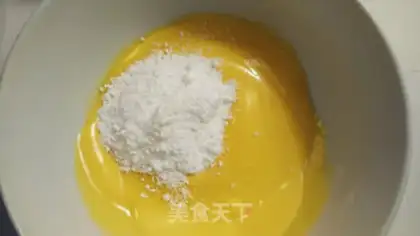
16
We'll make cream while the cake rolls cool. When the butter room is softened, sugar powder is added to the room, which is evenly mixed with an egg-beater。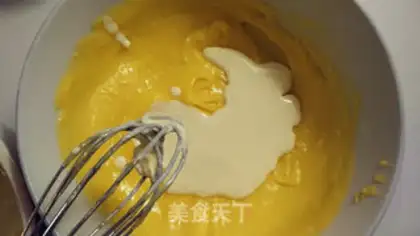
17
Repeatedly add light cream to the room temperature so that it is even。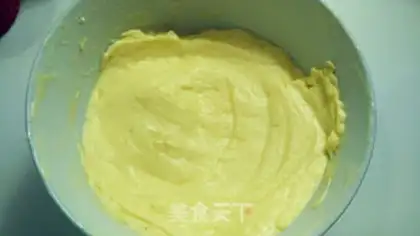
18
Smiling like this。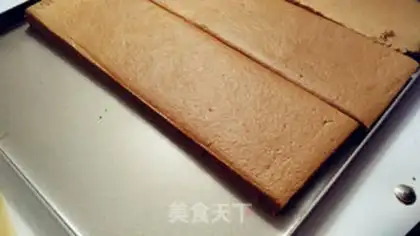
19
The cake rolls, etc., are divided into four long strips。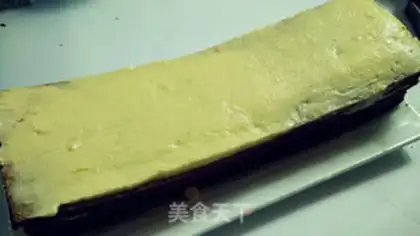
20
Take out a piece of cake, evenly cover it with cream and fold it. Such a nice floor。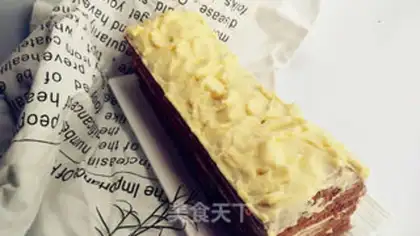
21
When the top cream is emptied, the natural texture is painted with a spoon, like a cloud。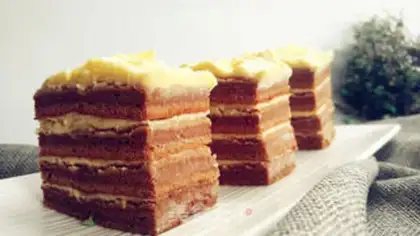
22
When you're done, the cake bars are put in the freezer for half an hour before you cut them off。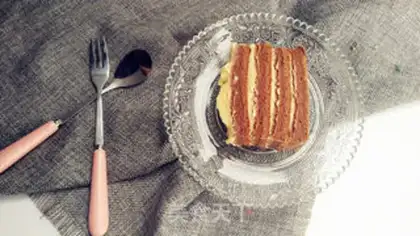
23
Beautiful tea time。A cloudy chocolate cake Make Tips
1. The pasta is more nuanced by the post-egg approach. 2. Protein frost is enough for wet hair bubbles. 3. The cream cream must be restored to room temperature and added to butter. 4. The temperature and timing of the bakery are adjusted to the actual situation. 5. Each cut must be emptied of the knife and then cut again。