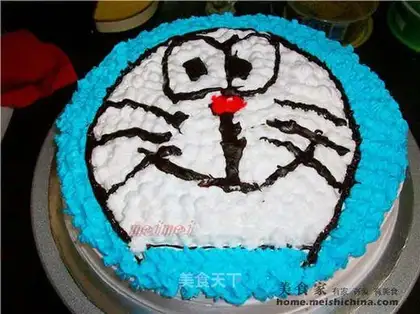
This cake is for my nephew to celebrate his birthday on Friday. This is the first time I made Doraemon cake-is it ugly? Hehe... Self-conscious failure and not doing it like Doraemon.
Speaking of which, my sister decided to come to my house at the last minute to go back to my mother's house with me. Coincidentally, it was my nephew's birthday. My sister told my nephew and aunt that she could make cakes. Ask aunt to make you a cake! Since the child has spoken, don't let him down! So he promised his nephew to make him a cake.
I have been thinking about what kind of cake to make on the way home from work. Because there is no time, bake a sponge cake quickly. I casually made Tinker Bell. It took me two hours to finish. Although the finished product comes out very different. At least not let my nephew down. But my nephew is very happy! I was also very happy to see that my child didn't have any unattractive cakes and had a satisfied smile. I wish my nephew a happy birthday! Good health!
Tinker Bell Cake
By VinceAbshire
Recipe Recommendations
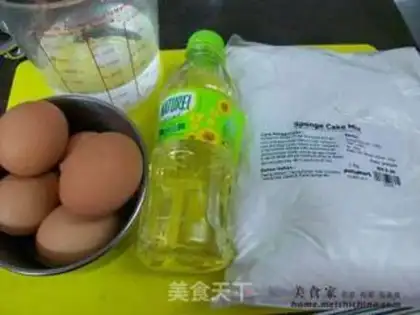
- Sponge cake mixed powder 250g
- eggs 5 capsules
- water 70ml
- food coloring appropriate amount
- whipped cream appropriate amount
- sunflower oil 70ml
Steps for Tinker Bell Cake
1
Prepare the required materials.
2
Add the sponge mixture to the eggs.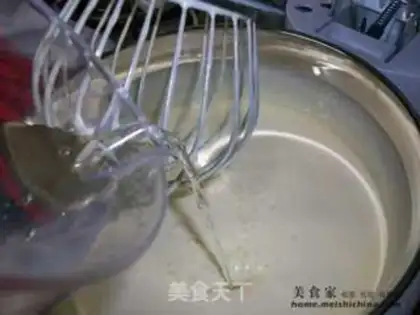
3
Add water and water to a mixing vessel.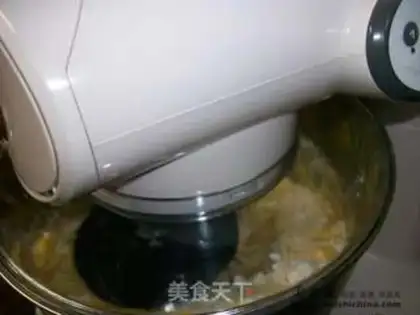
4
Beat on medium speed until hair is loose.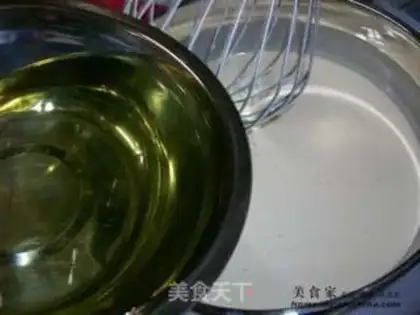
5
Add sunflower oil and continue to stir thoroughly.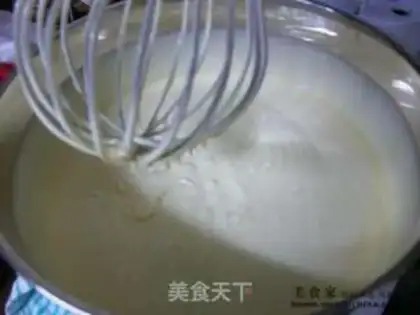
6
Pour the batter into a baking pan lined with oiled paper.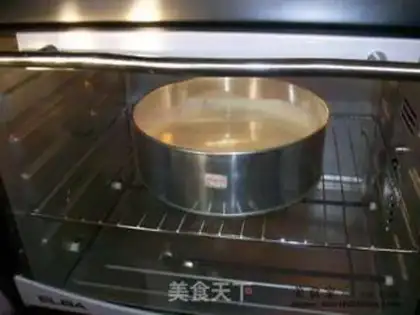
7
Place in preheated oven at 180°C for 40 minutes. (Individual oven temperatures vary, pay attention to adjusting the temperature and time.) After the cake is tested, cool and demold. Cut 2 cake slices equally.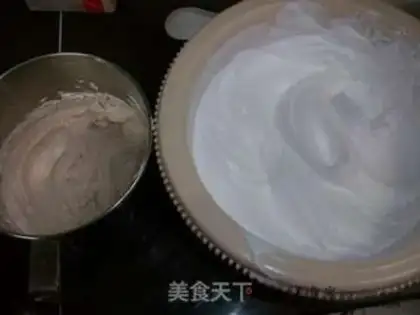
8
To make whipped cream, add cocoa powder to one serving and beat it to form chocolate cream, and set aside the other serving.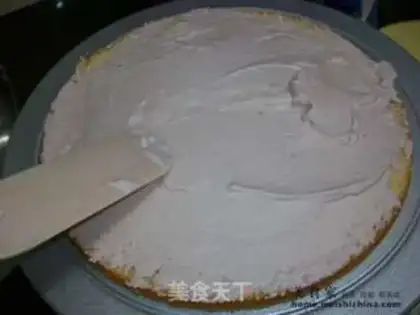
9
Take 1 cake slice and spread with a thick layer of chocolate cream filling.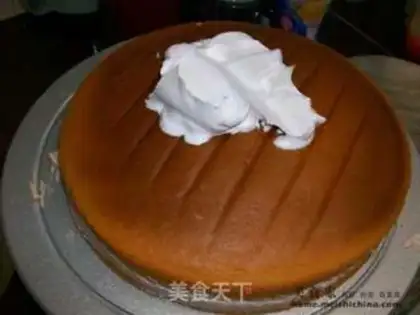
10
Put the second cake slice.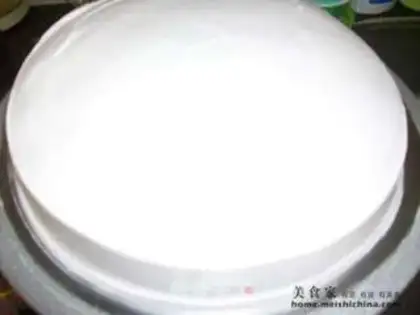
11
Spread the whipped cream on the surface of the cake.
12
First use a toothpick to outline the cake, and then melt the chocolate and draw a clear pattern.
13
Add the edible blue pigment to the cream and place it in the painting bag, and mount the extruded cream on the cake body according to the lines. Put another portion of whipped cream into a painting bag and do the same.
14
Use a little cream to make the nose red. Just the right amount of melted chocolate to outline and you will succeed.
15
Finished product picture @@ Doraemon ~~~~~ Here we go.