Yellow peach yogurt cake
By DessieRau
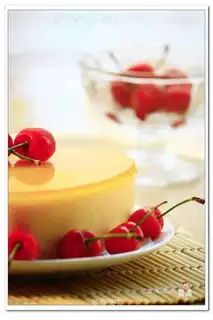
Mousse cakes have been made several times. Without exception, mousse cakes require light cream as the main ingredient of mousse filling. I have been thinking whether I can make mousse cakes without light cream, or make cakes with a taste similar to mousse. Today, I tried to make them with yellow peach yogurt flavor, which tastes good.
Recipe Recommendations
- low powder 48 grams
- eggs of 2
- yellow peach 200 grams
- yogurt 250 grams
- gelatin 2 and a half tablets
- orange juice 45 grams
- fine sugar 48 grams
- salt 1 grams
- white vinegar 5 drops
- butter 或植物油24 grams
Steps for Yellow peach yogurt cake
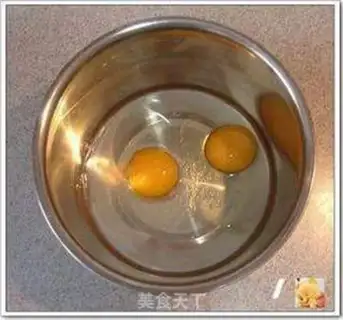
1
Let's briefly introduce the practice of sponge cake: First, break the eggs into a basin.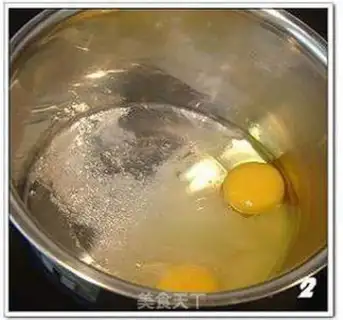
2
Add sugar, salt, and white vinegar to the eggs.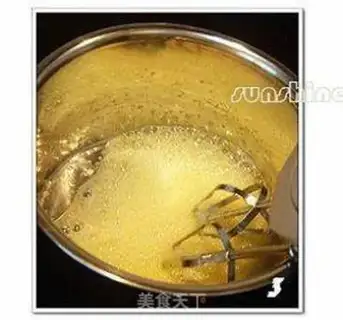
3
Use an egg beater to beat the egg liquid. It is not easy to beat the whole egg. It is best to beat the egg beater in warm water at about 40 degrees.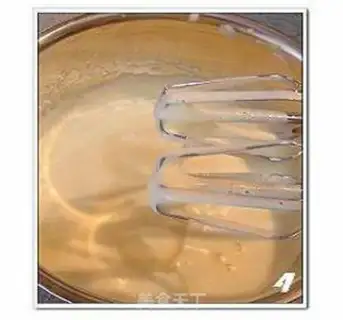
4
Send it until you lift the egg beater and the lines flowing down the egg liquid will not disappear quickly.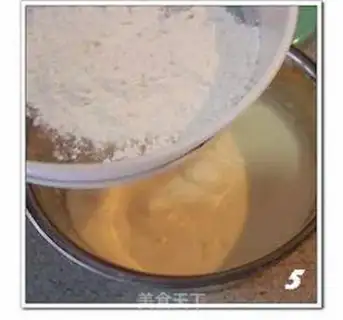
5
Sift the low flour and add it to the egg paste in three times. Mix well each time before adding the latter. Pay attention to the stirring technique. Use a rubber spatula to mix from bottom to top. Don't stir in circles, otherwise the egg paste will be easy to defrost.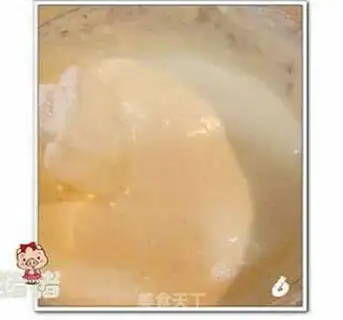
6
Add butter to the mixed egg paste, mix well, and serve.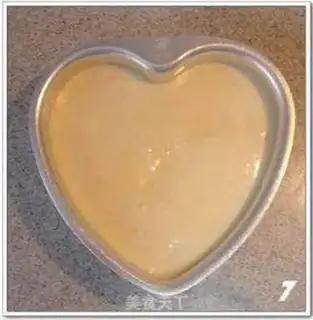
7
Apply oil around the cake mold, slowly pour in the egg paste, and after pouring, pick up the cake mold and shake it hard a few times to eliminate the large bubbles.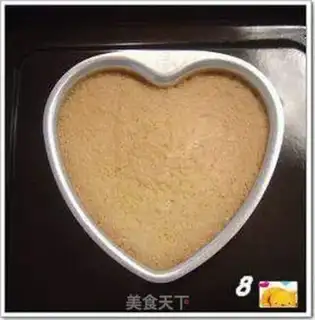
8
Preheat the oven to 170 degrees, lower, and bake for 40 minutes.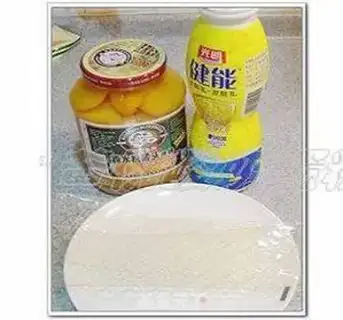
9
The cake body is ready, take it out of the oven and wait to cool. We can prepare the yellow peach jam now. The raw materials are yellow peaches, yogurt and gelatine tablets, which are soaked in cold water to soften.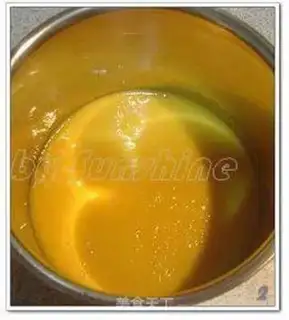
10
Use a processor to beat the yellow peaches into yellow peach paste.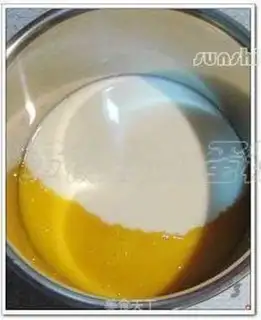
11
Add the yogurt to the yellow peach paste.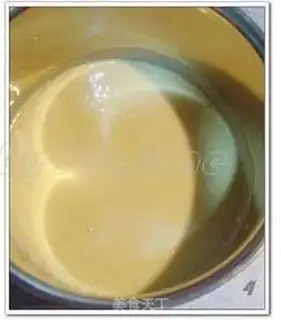
12
Stir the yogurt and yellow peach puree evenly.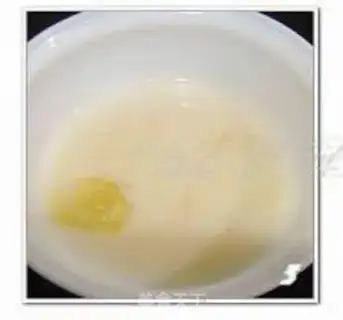
13
Put the soft gelatine tablets in a small bowl with a little yellow peach water or milk added, and heat and dissolve them in insulated water.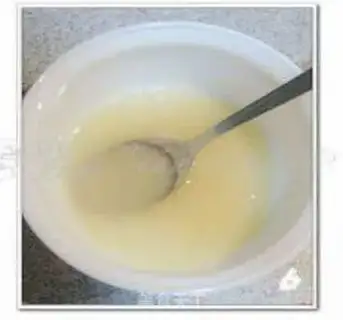
14
Then add the melted gelatine liquid to the yellow peach yogurt mixture.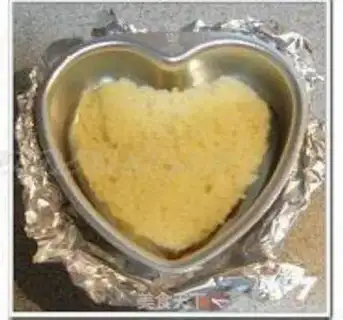
15
Leave about two-thirds of the thickness of the sponge cake and place it at the bottom of the cake mold. Use a knife to cut off part of the periphery to make the cake body smaller than the cake mold.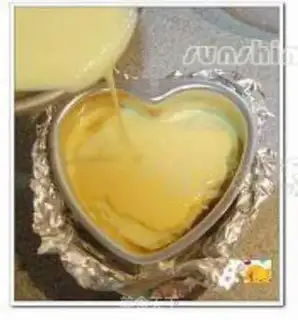
16
Pour the mixed liquid in step 6 into the cake body.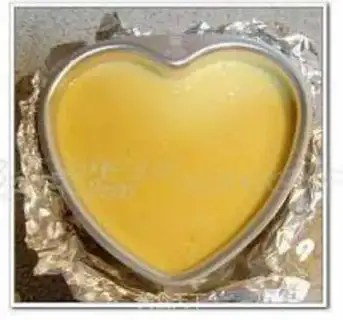
17
Hold it slightly to make the surface even, and then place it in the refrigerator for more than two hours. In short, let the liquid completely solidify.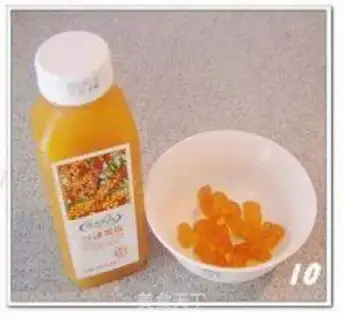
18
I am starting to make mirror glue now. Last time, I used mirror pectin I bought directly, but it was always uneven. This time, I am going to use QQ sugar to make mirror glue. Prepare QQ sugar and orange juice (I use sea buckthorn juice, and the color is right).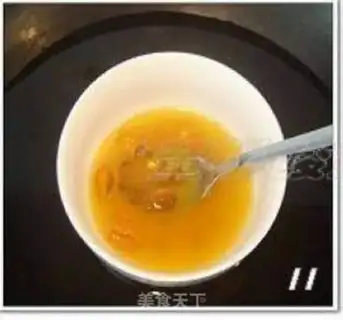
19
Put the QQ sugar into the orange juice, and heat it with insulated water to completely dissolve the QQ sugar.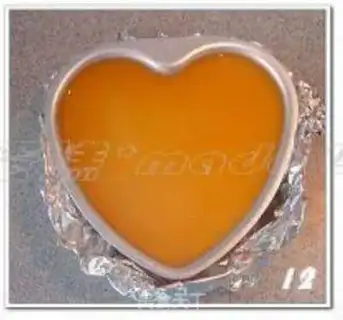
20
Allow the melted QQ sugar liquid to cool slightly and pour it into the frozen and solidified cake surface.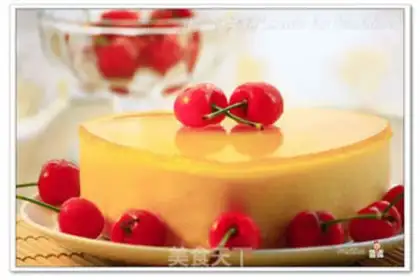
21
Put it in the refrigerator and refrigerate for three hours, and then completely solidify.Yellow peach yogurt cake Make Tips
6-inch sponge cake body ingredients: eggs, 2 fine sugar, 48 g salt, 1 g white vinegar, 5 drops of low powder, 48 g butter (vegetable oil), 24 g Baking: Preheat the oven to 170 degrees, lower layer, bake for 30 minutes Yellow peach yogurt filling ingredients: Yellow peach 200 g yogurt 250 g gelatine 2 and a half slices (It's the same if you change yellow peaches to mangoes. I was going to make mangoes, but I didn't buy mangoes yesterday, so I temporarily changed them to yellow peaches.) Mirror ingredients: pineapples flavor QQ sugar 38 grams of orange juice 45 grams 1. It's the same if you change yellow peaches to the same amount of mangoes. I didn't buy mangoes at that time and used yellow peaches. 2. The yellow peach yogurt paste should have a little consistency when added to the cake. If it is too thin, you can refrigerate it slightly in the refrigerator, but remember not to refrigerate it into pieces before taking it out. It will not look good when poured on the cake. 3. When demoulding, use a blower to blow around the cake mold once, and you can easily demoulding.