Hokkaido Qi Feng, known as the "softest Qi Feng", is now well known to everyone, and most of the credit is due to Junzhi's blog.
I also used Junzhi's formula, but the amount of cream filling was reduced by half, because there were too many cream filling made with his formula, so it was a pity to throw it away.
What I sent today is the finished product I made for the second time. I had no experience in making it for the first time. I baked the cake first and then made the cream filling. The cake was baked and the cream filling was not ready yet. As a result, the cake shrank back as soon as it was out of the oven. The dry skin was wrinkled like a little old man. No matter how hard the cream filling was, it couldn't support it. I learned a lesson when I made it the second time. I baked the cake with the cream filling I made first. The filling was squeezed as soon as the cake came out of the oven. The finished product was much better. However, this time, the surface was a little cracked when it was baked, so I wasn't very satisfied. But for me, a novice baker, it was just so good! I won't care so much, I still need to practice more in the future!
Hokkaido Qi Feng
By LynnSawayn

Recipe Recommendations
- milk 30 grams
- salad oil 30 grams
- fine sugar 100 grams
- low-gluten flour 35 grams
- egg yolk of 4
- protein of 4
- sugar 50 grams
- corn starch 5 grams
- vanilla extract few drops
- light cream 50ML
- sweetening
- baking
- half an hour
- ordinary
Steps for Hokkaido Qi Feng
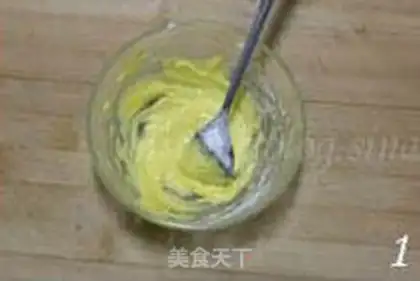
1
Add a few drops of vanilla essence to the egg yolks and beat until white. Mix low-gluten flour and corn starch and sieve into the egg yolks paste, and stir well.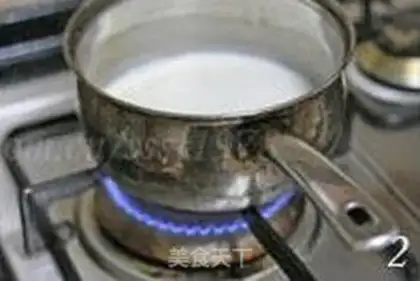
2
Stir the milk with sugar and stir well, and remove from heat when boiling.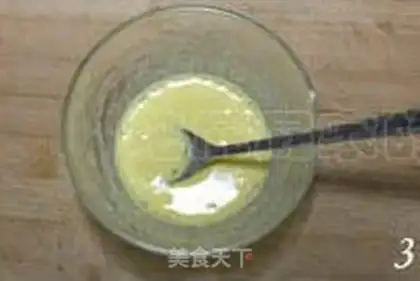
3
Pour 1/3 of the milk into the egg yolk batter and stir well while pouring.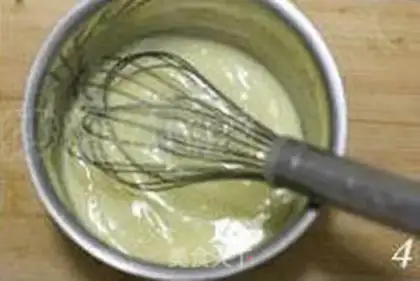
4
Then pour all the stirred egg yolk cream into the milk pan, stir well, then heat it again over low heat, stirring while heating until the batter boils and thickens. Immediately leave the heat and sit in ice water, and continue to stir. Don't stop, keep it smooth and delicate, and do not cake until the puree is almost cooled, wrap it with plastic wrap and place it in the refrigerator.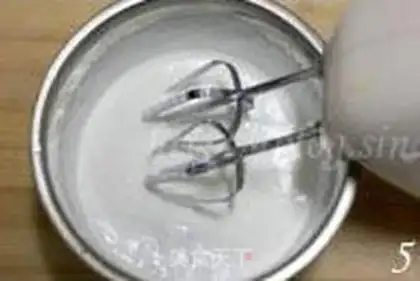
5
When the puree becomes cold, beat 50ML of light cream.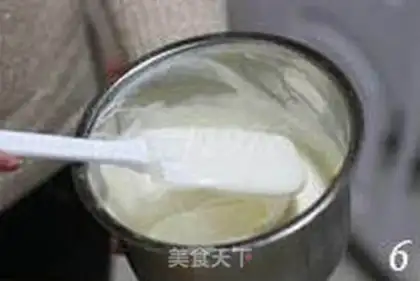
6
Mix in the custard and mix well with a spatula.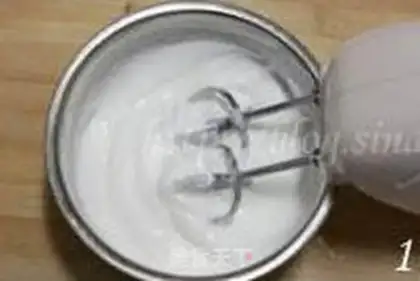
7
Make rough foam in the egg white, add 50 grams of fine sugar in three times and beat until wet and frothy, and refrigerate for later use to avoid defoaming the egg white.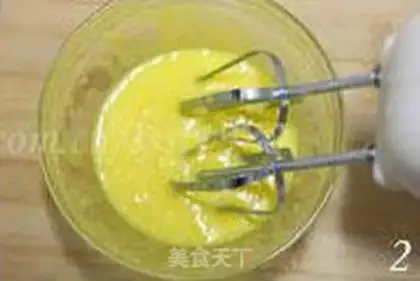
8
Add 20 grams of fine sugar to egg yolks and beat until white, then add milk and salad oil and beat well.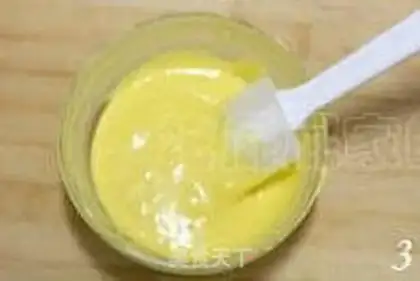
9
Sieve in low-gluten flour and mix to form a uniform batter.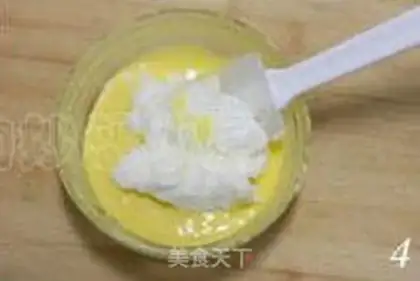
10
Add 1/3 of the beaten egg white, gently mix well from top to bottom, trying not to circle to avoid egg white foaming.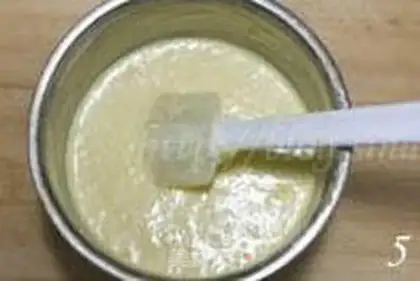
11
Then pour into a protein bowl and mix well in the same way.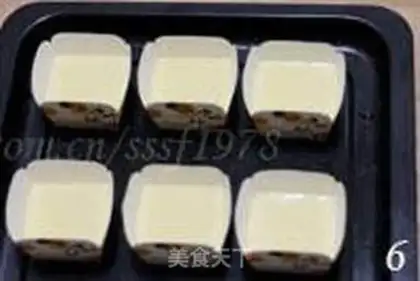
12
Pour into the mold until about 5- 60% full.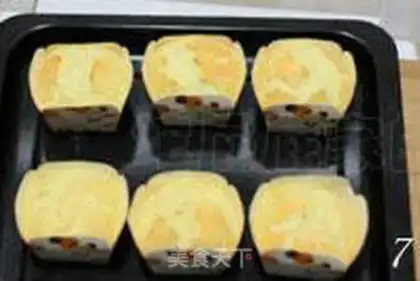
13
Preheat the oven to 180 degrees, put on top of the heat, place in the middle layer of the oven, and bake for 15 minutes.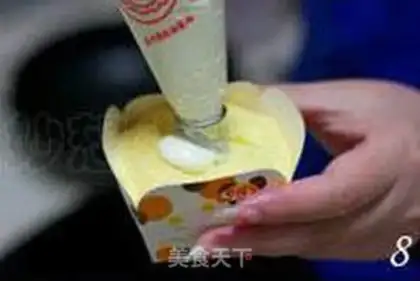
14
Put the cream filling into a decoration bag, insert the flower tip into the middle of the cake, and squeeze until a white dot appears in the middle.