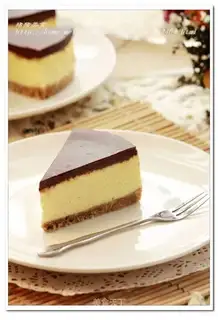
Chocolate cheesecake is a mixture of many delicious foods. Those who like desserts must not miss it.
I made it with a 6-inch moldable cake mold.
This cake is the first blog post published by the gourmand. After sorting it out, I am here to publish the recipe today.
Chocolate cheese cake
By HoseaKuvalis
Recipe Recommendations
- cream cheese 250 grams
- butter 50 grams
- animal whipped cream 60 grams
- dark chocolate 70 grams
- eggs of 2
- biscuits 100 grams
- vanilla extract 1.25ML
- light cream 60ML
- fine sugar 50 grams
Steps for Chocolate cheese cake
1
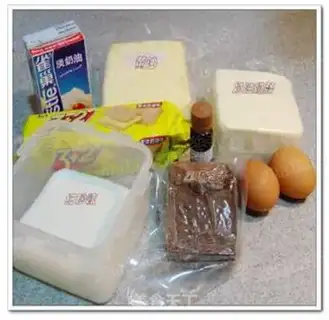
Let's take a look at the ingredients I prepared first.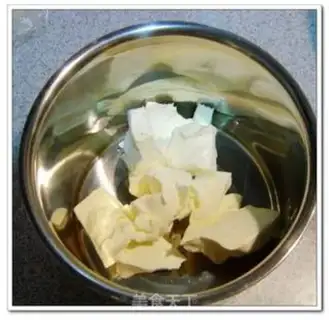
2
The cheese is taken from the refrigerator's freezer and served in a large bowl to soften at room temperature. I place it in my egg making bowl.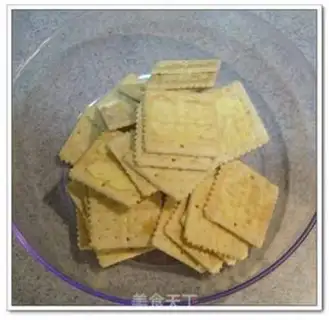
3
I bought a kind of biscuit in the supermarket. It has a sandwich. I was afraid of affecting the taste, so I used a knife to remove the sandwich layer.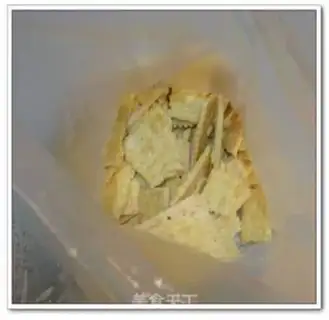
4
Take a crisper bag and place the digestive biscuits in the crisper bag.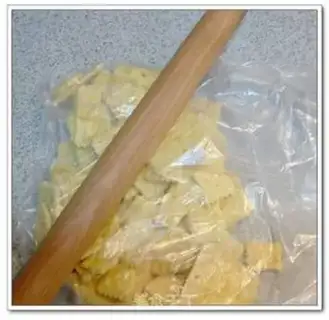
5
Use a rolling pin to press the digestive biscuits into pieces, the super crushed, the better.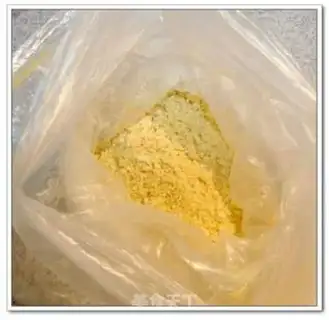
6
It was the first time I did it, and I thought it was very broken, but in the end I found that it could be even more broken. I started to put a fresh-keeping bag in, broke the bag a little halfway, put another one on the outside, and continued to press.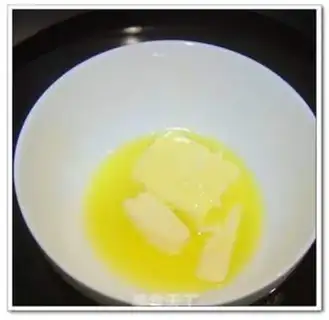
7
Cut 50 grams of butter into small pieces and heat over water until melted into a liquid state.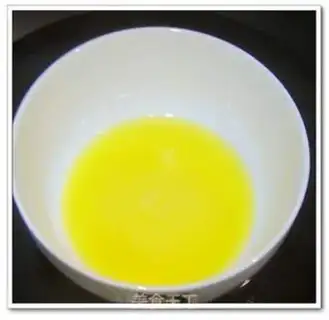
8
The butter has melted.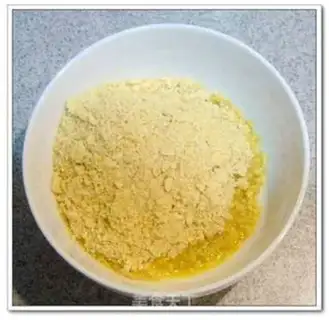
9
Pour the pressed cookie crumbs into the butter.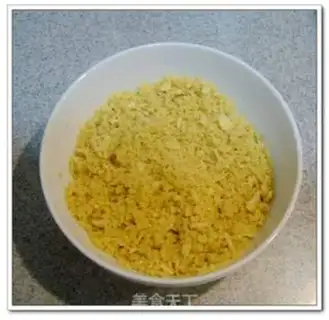
10
Rub the biscuits and butter evenly with your hands.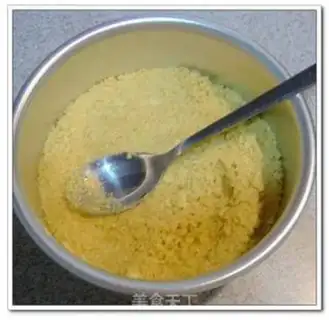
11
After grasping the biscuits and butter evenly, pour them into the cake mold, evenly spread the biscuits on the bottom of the cake mold, press with a spoon, and be sure to flatten and press tightly.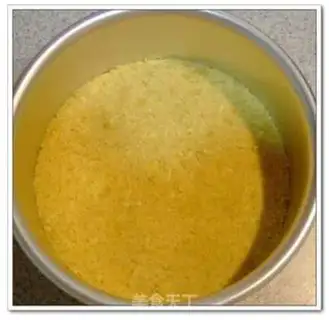
12
After pressing, place the cake mold in the refrigerator and refrigerate for later use.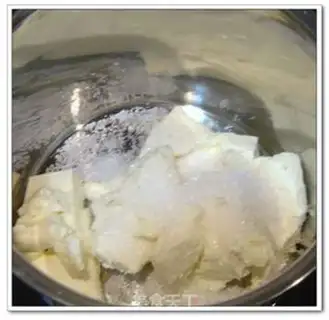
13
Now we can make the second layer of the cake. The picture shows 250 grams of cream cheese that I took out from the refrigerator in advance to soften, and 50 grams of fine sugar added.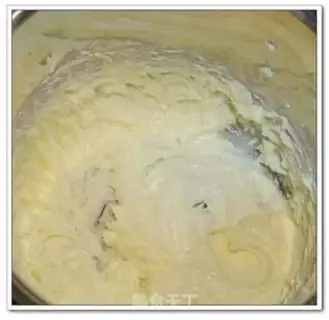
14
Place the container of cream cheese into a pot filled with hot water, and use an electric egg beater to beat the cream cheese and sugar until smooth.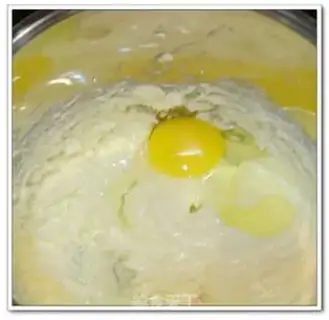
15
First beat an egg into the cheese paste, beat well with an electric egg beater, then add another egg and beat well.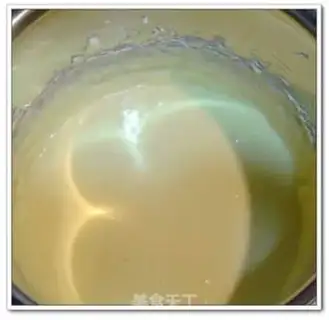
16
Whisk well with two eggs to make the cheese paste.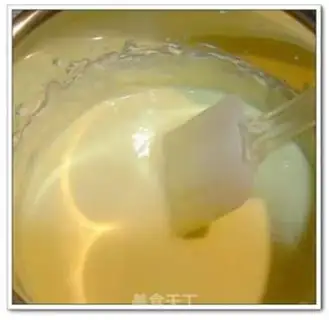
17
Remove the bowl from the hot water, pour 60ML of light cream and 1.25ML of vanilla essence into the cheese paste, and stir well to make a cheesecake paste.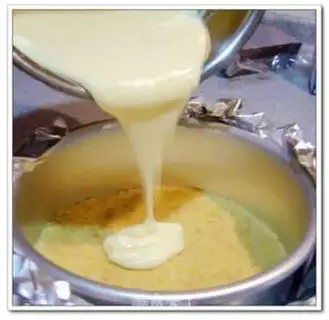
18
Remove the cake mold from the refrigerator and pour the cheesecake paste into the cake mold covered with cookie chips.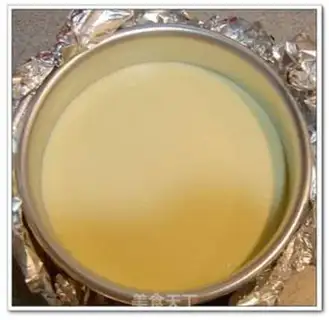
19
A slight vibration spreads the cake paste evenly.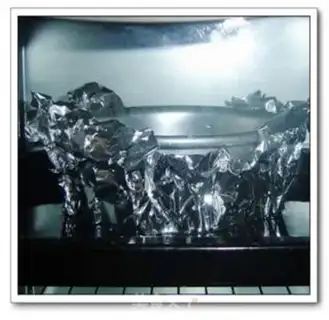
20
Pour hot water into a baking sheet, wrap the bottom of the cake mold with tinfoil water and add about 1/3 of the bottom of the baking sheet. Preheat oven to 160 degrees, medium, and bake over high heat for 1 hour.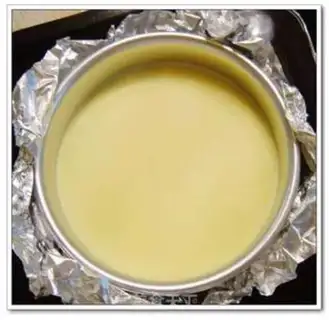
21
An hour later, the cheesecake was baked, taken out of the oven, and was waiting to cool.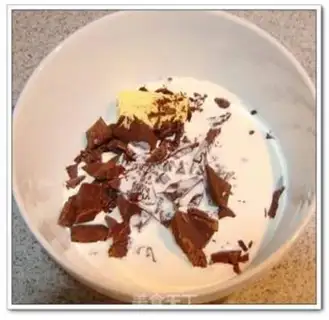
22
After the cheesecake has cooled for a while, we can make the chocolate layer. Put 70 grams of dark chocolate butter 10 grams of light cream and 60 grams of light cream into a large bowl.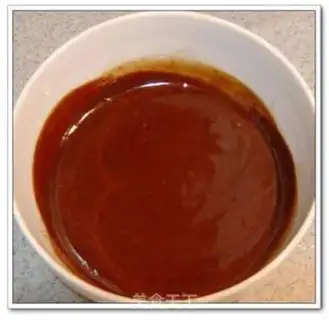
23
Heat against water and stir constantly to melt the butter and chocolate.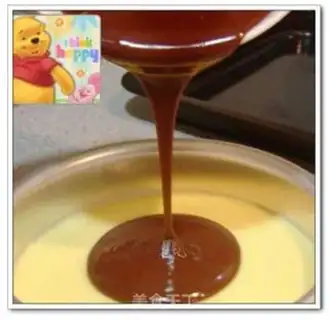
24
Allow the chocolate mixture to warm and slowly pour the mixture onto the cheesecake.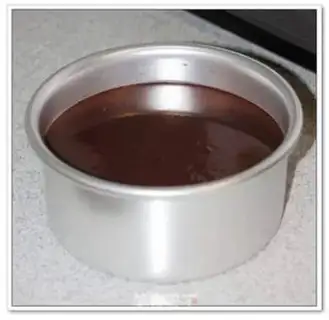
25
Gently shake it and spread the chocolate mixture on the cake. The chocolate cheesecake is ready. Cover it with plastic wrap and place it in the refrigerator. I made it the first night and ate it the next day.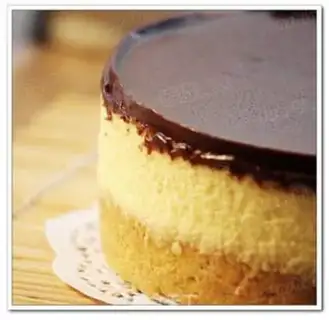
26
It tastes really goodChocolate cheese cake Make Tips
1. You don't need to add vanilla essence, but since this is my first time making it, I still plan to put all the ingredients in it. 2. Because it is a living cake mold, if you need to wrap tin foil when baking, if you don't wrap it, water will enter the cake mold. 3. When demoulding, I used a knife to draw a circle along the wall of the cake mold. I felt that I didn't draw it well. Some edges were scratched, and I was heartbroken. 4. When I took it out for photos the next day, I found a small problem. There was some flowing water on the surface of the cake, which caused part of the color on the surface of the cake to fade. The summary reason is that the cake did not completely cool when covering it with plastic wrap at night, causing water vapor to be generated, so if you need to cover it with TX refrigerated with plastic wrap, if you have time, it is best to wait until it has completely cooled before covering it. 5. I used Junzhi's recipe, but I don't know why I feel that the bottom of the biscuits I made this time is thicker. Next time, I may use two-thirds to half of the biscuits.