Milk embroidery
By VicentaLakin
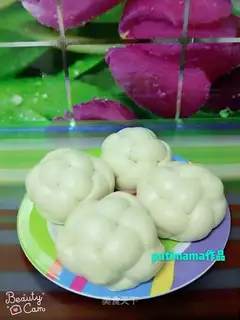
The plasticity of the noodles can vary greatly, and the buns are abundant as staple foods. The milk embroidery bun uses more pure milk and a small amount of water and soft and moderate noodles, with a few simple steps towards a table of pure white, soft, sweet and cute embroidery。
Recipe Recommendations
- flour 250g
- yeast appropriate amount
- white sugar 1 scoop
- pure milk appropriate amount
- water appropriate amount
Steps for Milk embroidery
1
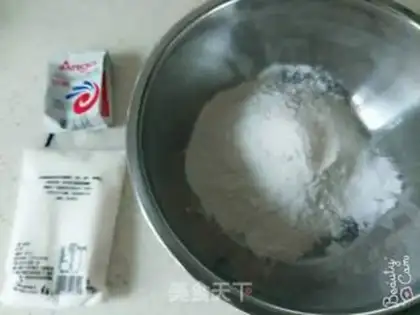
Flour is filled with a spoon of sugar, an appropriate yeast, pure milk and a small amount of water, and a slightly more hard-on than usual。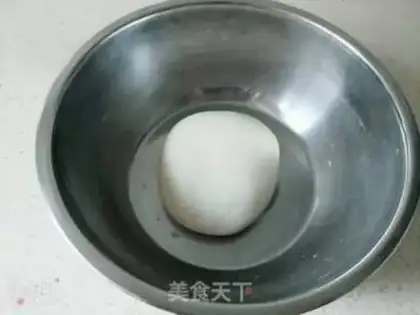
2
Repeated glossy faces and make them three-lighted。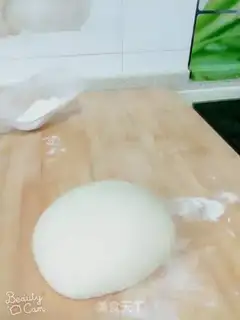
3
The fermented noodles take out and rub them in the smooth。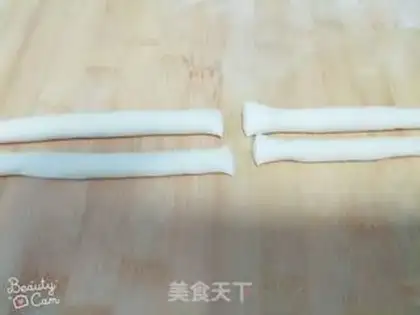
4
The formulation shall be made into a fine, even strip and divided into four equals。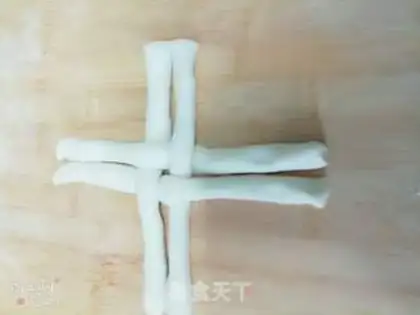
5
Put four strips on the other side。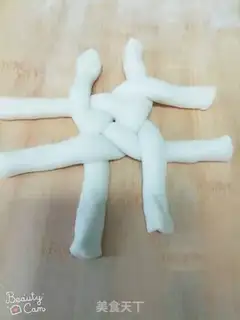
6
Then one piece will be pressed in one direction to the left。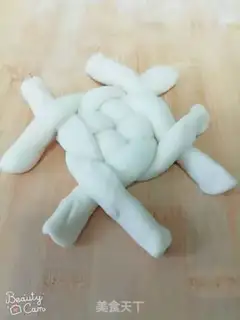
7
An additional bar at one interval presses from the left to the right and, by such push, ends up in a circle of four angle strips, i.e., embroidery。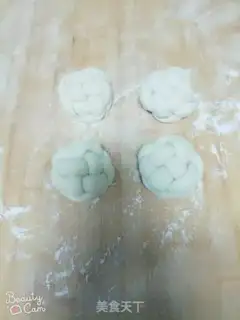
8
We'll do the embroidery buns one by one and double hair。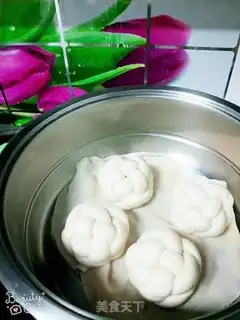
9
I'm a cold-water cooker and I'm firing. (The buns are in equal measure, and the picture is slightly larger than the lens)。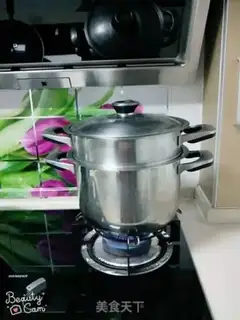
10
Steam for 12 to 15 minutes。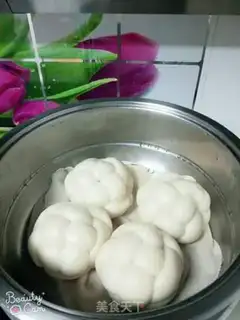
11
The steamed embroidery buns don't rush to the pot and wait three to five minutes (to prevent a collapse)。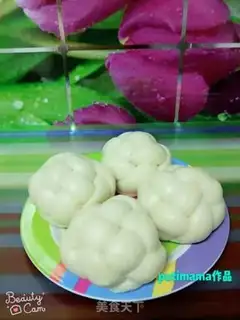
12
Beautiful, white, soft, milky, embroidered buns。